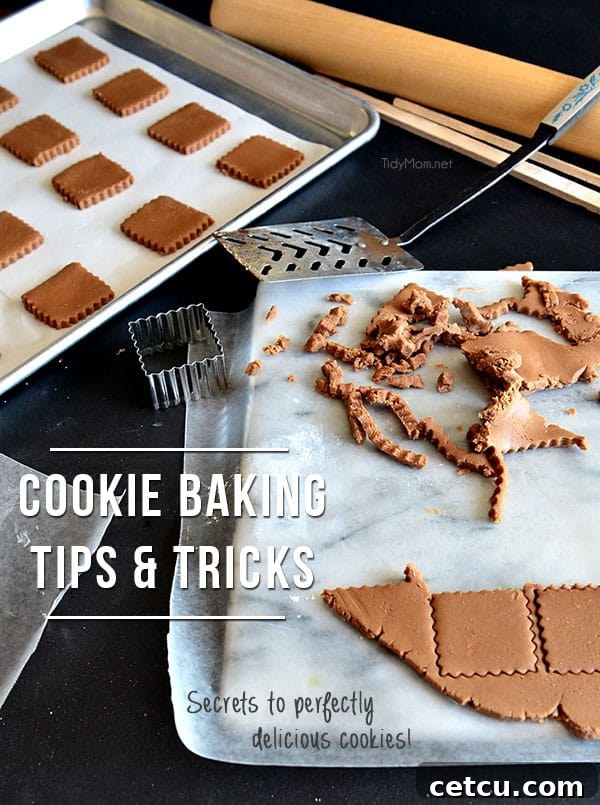
Transform your baking experience and consistently produce delicious, picture-perfect cookies with these invaluable Cookie Baking Secrets. Whether you’re a seasoned baker or just starting out, mastering the art and science behind cookies can elevate your treats from good to truly unforgettable. Get ready to impress with every batch!

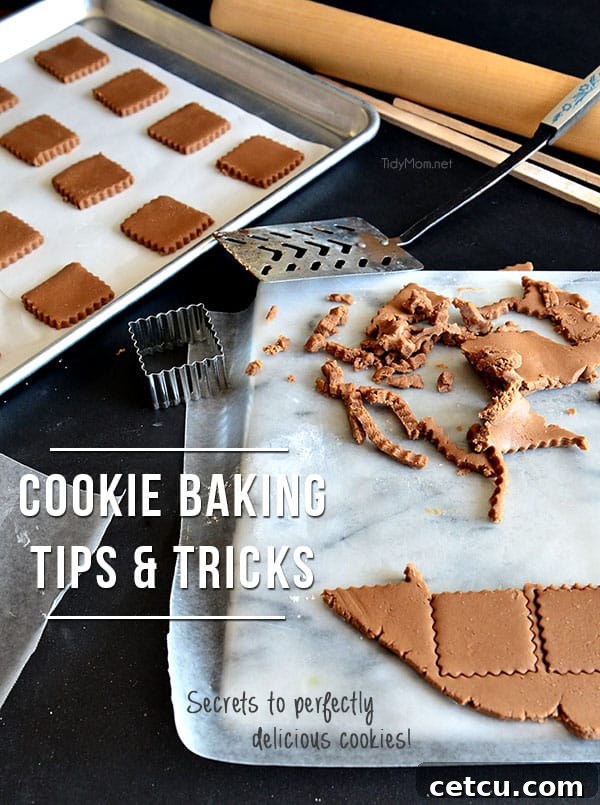
Essential Cookie Baking Tips and Tricks
Baking cookies is a delightful journey that combines precision with creativity. It’s truly an art and a science, where subtle adjustments can lead to dramatically different results. Over the years, I’ve gathered a collection of invaluable cookie baking secrets and proven tips that will help you achieve the best cookies every single time. Many cookie recipes share a fundamental dough base, with variations in ingredient proportions making all the difference. Because these recipes often leave little room for error, adhering to precise directions and incorporating these expert baking secrets will ensure your cookies are consistently superior. So, choose your favorite cookie recipe, and let’s embark on this delicious adventure!
Mastering the Art: Cookie Baking Secrets for Unbeatable Results
Every baker dreams of that perfect batch of cookies – golden edges, a soft, chewy center, and a flavor that keeps you coming back for more. Achieving this doesn’t require magic, but rather an understanding of a few fundamental principles. These secrets are designed to guide you from ingredient selection to the final cooling rack, ensuring your homemade cookies are nothing short of spectacular.
1. The Foundation of Flavor: Understanding Your Ingredients
The quality and handling of your ingredients are paramount to amazing cookies. Think of them as the building blocks of your culinary masterpiece.
Butter’s Critical Role: Temperature is Key
Butter isn’t just a fat; it’s a flavor carrier and a texturizer. For most cookie recipes, especially those that require “creaming,” using unsalted butter at room temperature is crucial. Why? Properly softened butter (not melted!) can trap air when creamed with sugar, creating a light, airy texture and helping the cookies rise. Cold butter will result in dense cookies, while melted butter often leads to a chewier, flatter cookie with less structure. Test your butter by gently pressing it; it should indent easily but not be greasy or oily.
Sugar’s Sweet Symphony: Granulated, Brown, and Powdered
Each type of sugar contributes differently to the cookie’s texture and flavor. Granulated sugar provides crispness and helps with spread. Brown sugar, with its molasses content, adds moisture, chewiness, and a deeper caramel note. Powdered sugar (confectioners’ sugar) typically creates a tender, melt-in-your-mouth texture, often used in shortbread or glazes. Understanding these roles allows you to manipulate texture and sweetness to your preference.
Flour Power: Measuring Matters
Flour provides the structure for your cookies. Most recipes call for all-purpose flour. The secret here lies in proper measurement. Too much flour results in dry, crumbly cookies, while too little can lead to excessive spreading. Always spoon flour into your measuring cup and then level it off with a straight edge, rather than scooping directly from the bag, which can compact the flour and add up to 25% more than intended.
Egg-cellent Binding: Freshness and Size
Eggs act as a binder, provide moisture, and contribute to the cookie’s structure and richness. Using fresh, large eggs at room temperature is often best. Room temperature eggs emulsify better with other ingredients, creating a smoother, more uniform dough. They also help with leavening, contributing to a lighter texture.
Leavening Agents: Baking Soda vs. Baking Powder
These are the unsung heroes that give cookies their lift. Baking soda requires an acid (like brown sugar, buttermilk, or cocoa powder) to activate and helps cookies spread and become chewier. Baking powder contains both an acid and a base and reacts with liquid and heat, leading to a cakier, puffier cookie. Some recipes use both for a balanced texture.
2. Mastering the Mix: Techniques for Cookie Perfection
Once you have your ingredients ready, how you combine them is the next crucial step in your quest for perfect cookies.
The Art of Creaming: Butter and Sugar
This isn’t just mixing; it’s a process of aeration. Creaming butter and sugar together until light and fluffy incorporates air into the mixture, which is critical for creating a tender crumb and contributing to the cookie’s rise. This can take 2-5 minutes with an electric mixer.
Don’t Overmix: The Gluten Trap
Once you add flour, mix just until combined. Overmixing develops gluten in the flour, leading to tough, chewy cookies (and not in a good way). A few streaks of flour are acceptable; they’ll disappear during baking.
Chilling the Dough: A Game Changer
Many recipes call for chilling cookie dough, and it’s a secret weapon for several reasons. Chilling allows the flour to fully hydrate, preventing dry cookies. It solidifies the fats, which reduces spreading in the oven, leading to thicker cookies. Perhaps most importantly, it deepens the flavor, allowing the ingredients to meld and mature, resulting in a more complex and delicious cookie. Aim for at least 30 minutes, or even overnight for best results.
3. Baking Bliss: Oven Management and Smart Practices
Even with the perfect dough, poor baking technique can ruin a batch. The oven is where the magic happens, but it needs to be managed carefully.
Preheat Properly: Consistency is King
Always preheat your oven for at least 15-20 minutes, even after it indicates it’s reached the desired temperature. This ensures the oven interior and elements are fully heated, providing a consistent temperature from the moment your cookies enter. An accurately calibrated oven is also a plus; consider using an oven thermometer.
The Right Baking Sheet: Color and Material
Light-colored, heavy-gauge aluminum baking sheets are generally best as they promote even baking and prevent over-browning on the bottoms. Dark sheets absorb more heat and can cause cookies to burn. Always line your sheets with parchment paper or silicone baking mats to prevent sticking and ensure even heat distribution.
Evenly Spaced Dough: Airflow Matters
Place your cookie dough balls at least 1-2 inches apart on the baking sheet. This allows for proper airflow around each cookie, promoting even baking and preventing them from merging into one giant cookie blob.
Knowing When They’re Done: Visual Cues
This is often a matter of intuition, but there are clear signs. For most drop cookies, look for golden edges and centers that still appear slightly soft or set but not gooey. Over-baking can lead to dry, hard cookies. Remember that cookies continue to cook for a minute or two on the hot baking sheet after they come out of the oven.
Cooling Correctly: Wire Racks are Your Friend
Once out of the oven, let cookies cool on the baking sheet for 5-10 minutes. This allows them to firm up slightly without sticking. Then, transfer them to a wire cooling rack to cool completely. Cooling on a rack prevents the bottoms from becoming soggy and allows air to circulate, maintaining their crispness.
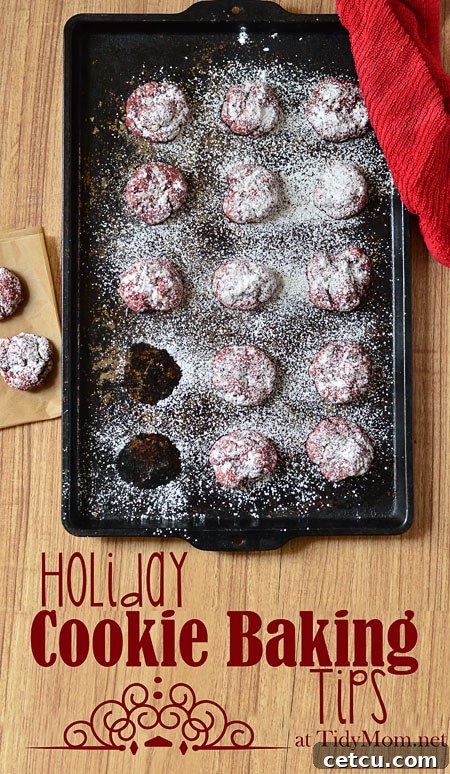
Special Holiday Cookie Baking Tips
4. Advanced Cookie Baking Secrets and Troubleshooting
Even with the basics down, sometimes you need to fine-tune your approach for that truly professional touch.
Achieving the Perfect Spread (or Preventing Too Much!)
If your cookies spread too much, revisit your butter temperature (was it too soft or melted?), flour measurement (too little?), or chilling time (not enough?). If they’re not spreading enough, your butter might be too cold, or you might have used too much flour. A little experimentation can solve many spread issues.
Batch Consistency: Measuring and Portioning
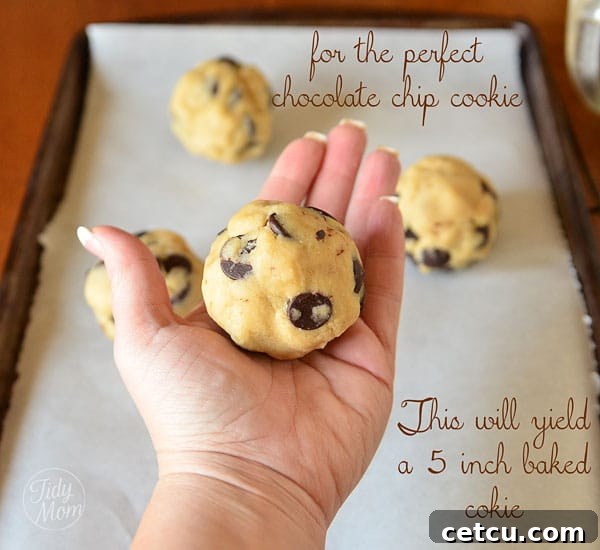
For perfectly uniform cookies that bake evenly, invest in a cookie scoop. Using a scoop ensures that each cookie is the same size, leading to consistent baking times and a beautiful presentation.
The Magic of Salt: Balancing Sweetness
Don’t skip the salt! A pinch of salt enhances all the other flavors in your cookie, balancing the sweetness and making the chocolate taste chocolatier and the vanilla more fragrant. Fine sea salt is excellent for this purpose.
Customizing Your Creations: Add-ins and Flavor Boosters
The fun part! High-quality chocolate chips, toasted nuts, dried fruits, citrus zest, and pure extracts (vanilla, almond, peppermint) can transform a simple cookie into a gourmet delight. Don’t be afraid to experiment, but ensure add-ins are uniformly distributed.
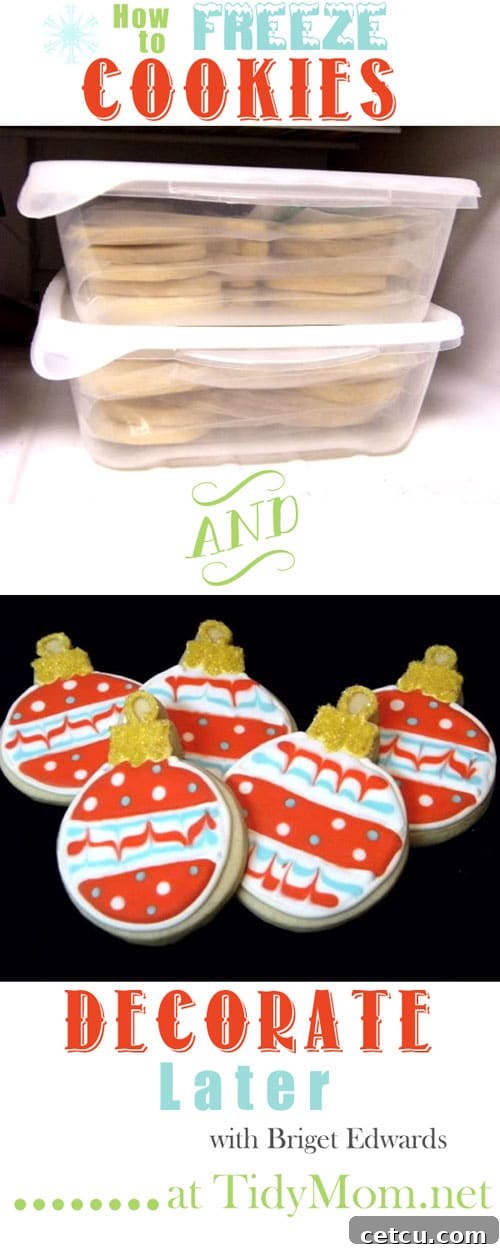
How to Freeze Cookies and Decorate Later
5. Beyond the Basics: Storage, Freezing, and Decorating
Your perfect cookies deserve proper care even after they’ve come out of the oven.
Keeping Cookies Fresh: Storage Tips
Once completely cooled, store cookies in an airtight container at room temperature. For soft cookies, adding a slice of bread to the container can help maintain moisture. For crisp cookies, ensure they are stored separately from soft ones to prevent them from softening. Most cookies are best enjoyed within 3-5 days.
The Art of Freezing Cookie Dough and Baked Cookies
Freezing is a fantastic way to enjoy homemade cookies anytime. You can freeze unbaked cookie dough balls, ready to pop into the oven whenever a craving strikes. Simply arrange them on a baking sheet to freeze solid, then transfer to a freezer-safe bag. Baked cookies can also be frozen, ideally in a single layer or separated by parchment paper in an airtight container, then thawed at room temperature for a quick treat.
Elevate Your Presentation: Decorating Made Easy
Decorating cookies can be as simple or as elaborate as you wish. From a dusting of powdered sugar to intricate royal icing designs, decorating adds a personal touch and visual appeal. For holiday cookies or special occasions, simple glazes, sprinkles, or even melted chocolate drizzles can make a big impact without requiring expert skills.
The BEST Chocolate Chip Cookie Recipe

Delightful Holiday Cookie Recipes
How to Make Beautiful Decorated Christmas Cookies

Your Cookie Journey Starts Here: Embrace the Process!
Baking cookies is one of life’s simple pleasures, and with these cookie baking secrets, you’re well on your way to creating bakery-quality treats right in your own kitchen. Don’t be afraid to experiment, learn from each batch, and most importantly, have fun! Whether you’re whipping up a classic chocolate chip cookie or venturing into intricate decorated designs, these foundational tips will serve you well. Pick a new cookie recipe or revisit an old favorite with newfound confidence!
What kind of cookies will you be baking this season? I’d love to hear your own personal Cookie Baking Secrets in the comments below!