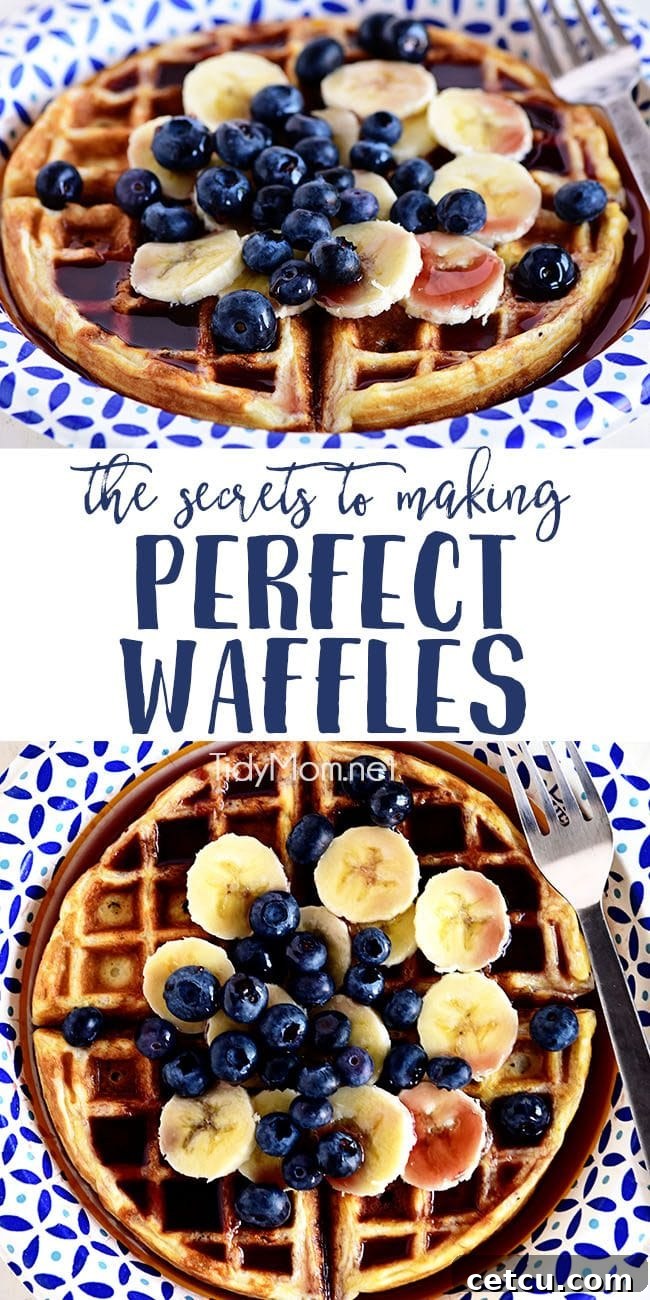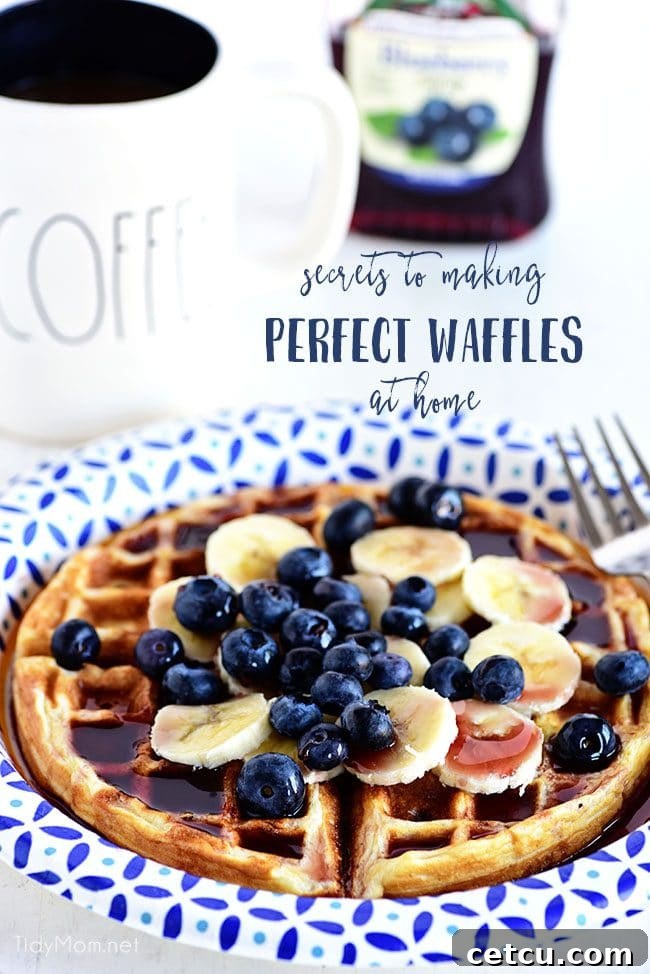
Unlock the secrets to crafting truly exceptional waffles – golden brown, impossibly crispy on the outside, and wonderfully fluffy on the inside, bursting with flavor every single time. Perfect waffles are not just a dream; they are a delightful reality waiting to be discovered in your kitchen. Say goodbye to soggy, lackluster attempts and prepare to master the art of waffle making with our comprehensive guide, packed with essential tips and tricks from preparation to serving.
Where Did Waffles Come From?
Delving into the history of waffles reveals a journey as rich and delightful as the treat itself. Did you know that the modern waffle craze has historical roots dating back centuries, long before it became a breakfast staple in American homes? The earliest forms of waffles, known as “wafers” or “gaufres,” emerged in medieval Europe, often cooked between two hot metal plates. These were thin, crispy cakes, frequently adorned with coat of arms or religious symbols, and served more as communion wafers or celebratory treats.
It wasn’t until the 18th century that waffles began to resemble the breakfast food we recognize today. A fascinating tidbit connects their growing popularity in the United States to none other than Thomas Jefferson. Upon his return from France in 1789, Jefferson brought with him a long-handled waffle iron, sparking a nationwide sensation. Waffle parties quickly became a fashionable social event among the elite, where guests could customize their waffles with an array of sweet and savory toppings.
This culinary trend took a particularly delicious turn in the Southern states, where the pairing of crispy waffles with savory fried chicken gave birth to a beloved comfort food classic. While Jefferson introduced the concept, it was Cornelius Swartwout who significantly advanced waffle technology by patenting the first modern waffle iron in 1869, making the process more accessible. By the 1930s, General Electric’s mass production of electric waffle irons cemented their place as a household item, transforming them from a novelty into an enduring breakfast tradition found in virtually every American kitchen.
Secrets to Making Perfect Waffles Every Time
Many home cooks own a waffle iron, yet struggle to achieve that coveted balance of crisp exterior and tender interior. Transforming your waffles from a drab, soggy disappointment to a fabulously golden, crispy delight is entirely within reach. With a few strategic techniques and insider tips, you can elevate your waffle game to professional levels. Let’s explore the essential secrets that will ensure every batch of homemade waffles is nothing short of perfection.
This post may contain affiliate links. Please read my disclosure policy here.
Choose the Perfect Waffle Maker
The foundation of a great waffle starts with the right equipment. Investing in a quality waffle maker tailored to your needs can significantly impact the final result. When purchasing a waffle iron, consider these crucial factors:
- Temperature Control is Key: An adjustable thermostat is a game-changer. It allows you to precisely dial in the cooking temperature, catering to various preferences from soft, lightly golden waffles to deeply colored, extra-crispy ones. This feature is also essential when experimenting with different batter types, such as whole-grain, gluten-free, or oatmeal waffles, as varying ingredients require different cooking intensities to achieve optimal texture and doneness.
- Safety Features for Peace of Mind: If you have curious little hands in the kitchen, prioritize waffle makers with cool-touch handles. Models featuring plastic housing and handles typically heat up less on the exterior compared to those with chrome or stainless-steel finishes, minimizing the risk of accidental burns and making the cooking process safer and more comfortable for everyone.
- Size and Design Matter: Consider your storage space and the volume of waffles you plan to make. Some waffle makers can be quite bulky. For families or entertaining crowds, a model that produces multiple individual waffles simultaneously can save significant time. Conversely, if kitchen real estate is limited, a mini waffle maker offers a compact solution that’s easy to store and perfect for single servings or small batches. Also, decide between classic round or square waffles, or opt for a Belgian style for thicker, deeper pockets ideal for holding more toppings.
Regardless of your choice, always thoroughly read your waffle maker’s instruction manual. Each model has unique quirks and recommended cooking guidelines that will help you get the most out of your appliance and ensure consistently perfect results.
Don’t Forget the Secret Ingredient
Achieving that coveted crispness on the outside while maintaining a tender, fluffy interior often hinges on a secret ingredient that might surprise you: cornstarch. While it may seem unusual to add a thickening agent to waffle batter, its inclusion is a crucial technique for achieving restaurant-quality texture.
When combined with flour, cornstarch plays a pivotal role in creating a superior waffle. It works by inhibiting the full development of gluten in the flour, which is often responsible for a chewier, less tender texture. Simultaneously, cornstarch absorbs excess moisture in the batter, leading to a more pronounced crispness once cooked. The result is a waffle that holds its structural integrity, boasting a delightful crunch with every bite, without compromising on the soft, airy inside.
A Quick Note: Always check the expiration date on your cornstarch package. While it’s not a safety concern, expired cornstarch loses its efficacy as a thickening and crisping agent. Using fresh cornstarch ensures you achieve the desired textural contrast that elevates your waffles from good to absolutely perfect.
Separate Egg Whites + Sugar
The secret to achieving an incredibly light and airy interior in your perfect waffles lies in a classic baking technique: separating and whipping your egg whites. This step introduces a significant amount of air into the batter, creating a delicate, cloud-like texture that sets truly great waffles apart.
Begin by separating the egg yolks from the whites. Incorporate the yolks directly into the wet ingredients of your waffle batter. In a separate, impeccably clean bowl, beat the egg whites until they form soft peaks. At this stage, gradually sprinkle in the sugar. Continuing to beat the egg whites with the sugar transforms them into firm, glossy peaks – essentially, a meringue. The sugar helps stabilize the whipped egg whites, ensuring they retain their volume and airiness when folded into the batter.
Once your egg whites are stiff and shiny, gently fold them into the final batter using a rubber spatula. The key here is to be delicate, preserving as much of that incorporated air as possible. This careful folding technique ensures your waffles rise beautifully and boast that desirable, melt-in-your-mouth fluffy texture.
Don’t Overmix Batter
Waffle batter can be surprisingly finicky. While you want it smooth enough to spread evenly across the waffle iron plates, it’s crucial to resist the urge to overmix. Overmixing is one of the most common pitfalls in waffle making, leading to a dense, chewy, and less-than-fluffy result. The culprit is gluten development.
Flour contains proteins that, when agitated in the presence of liquid, form gluten. While gluten is desirable in bread for its structure and chewiness, it’s the enemy of tender waffles. Excessive mixing develops these gluten strands, resulting in a rubbery texture instead of the light, airy fluffiness you crave. Think of it like cake batter – a gentle hand and patience are your best tools.
To avoid this chewy disaster, grab a rubber spatula and combine your wet ingredients into the dry ingredients with a gentle, folding motion. Mix just until the dry ingredients are moistened and no large pockets of flour remain. A few small lumps are perfectly acceptable and even desirable; they indicate you haven’t overmixed. This step should take only a couple of minutes. Once combined, gently fold in the whipped egg whites and sugar until just incorporated. This careful approach ensures a delicate, fluffy interior that is the hallmark of a truly perfect waffle.
Use Buttermilk and Milk
Achieving the ideal balance of flavor and crispness in your waffles often comes down to the right liquid combination. A common misconception is that a thinner batter automatically yields a crisper waffle. While true to some extent, the type of liquid used plays an equally significant role. Buttermilk, a cornerstone of many classic waffle recipes, imparts a wonderfully rich flavor and tender texture due, in part, to its acidity reacting with leavening agents. However, a batter made solely with buttermilk can sometimes produce a waffle that is delicious but not as crisp as desired.
Conversely, waffles made exclusively with regular milk tend to be crisper, but often lack the depth of flavor that buttermilk provides. The magic happens when you combine both. By using a blend of buttermilk and milk, you strike a perfect equilibrium. The buttermilk contributes its characteristic tang and tenderizing qualities, while the regular milk thins the batter slightly and promotes a crispier exterior. This harmonious blend ensures each waffle is robust in flavor with an irresistible crunch.
Pro Tip: For the best and most authentic flavor, always opt for real buttermilk. If you find yourself without it, a quick homemade substitute can be made by adding 1-2 tablespoons of lemon juice or white vinegar to 1 cup of regular milk. Let it sit for 5-10 minutes until it slightly curdles, then use it as you would store-bought buttermilk. While not identical, it provides the necessary acidity to activate your leavening and contribute to the desired texture.
No Peeking
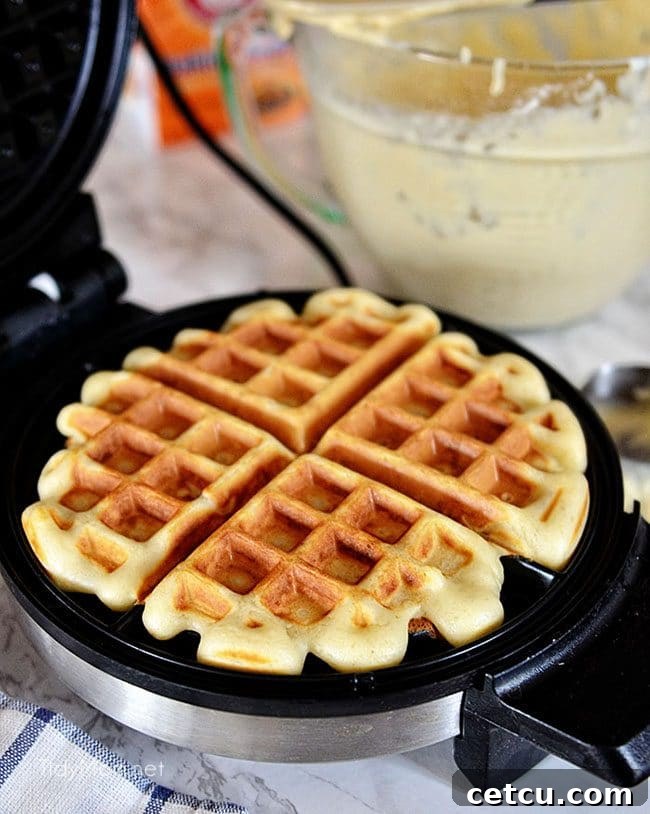
Patience is a virtue, especially when it comes to cooking waffles. The temptation to lift the lid of your waffle iron to check on its progress can be strong, but it’s a critical mistake that can ruin your perfect waffle. Lifting the lid too early causes a sudden drop in temperature within the iron, disrupting the cooking process and preventing the waffle from fully setting. This premature peek often leads to the dreaded ripped waffle, where one half adheres stubbornly to the top plate and the other to the bottom, resulting in an unevenly cooked, less-than-picturesque outcome.
Most modern waffle makers are equipped with indicator lights or audible beeping mechanisms that signal when your waffle is perfectly cooked. Trust these cues! If your iron lacks such features, consult the manufacturer’s instructions for recommended minimum cooking times. Another excellent indicator is the steam. As a waffle cooks, it releases steam. When the steam production significantly diminishes or stops, it’s a good sign that your waffle is nearing completion and has achieved its ideal crispness.
To further prevent sticking and ensure a flawless release every time, make it a habit to re-spray or brush your waffle iron plates with oil or butter after every single waffle. This seemingly tedious step is crucial for maintaining the non-stick surface and guaranteeing that beautiful, intact waffle shape without any portions left behind on the iron.
Crisp Waffles in Oven
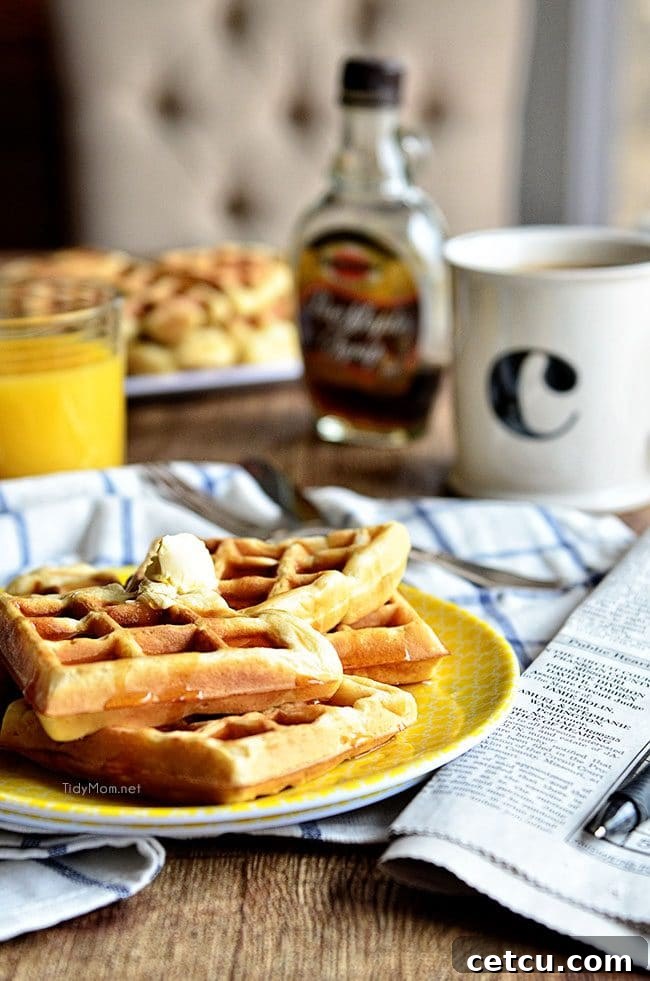
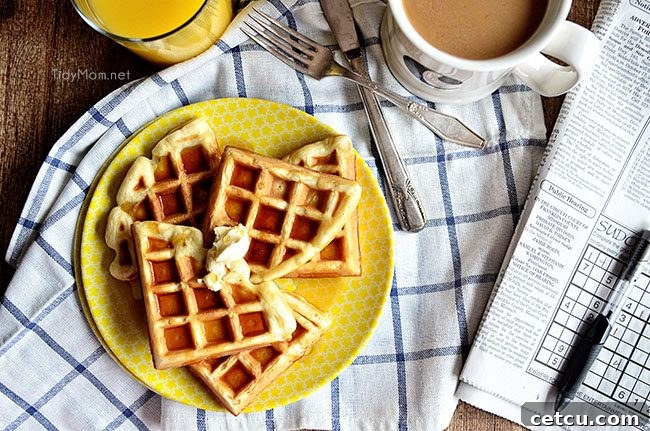
Serving multiple perfect waffles to a group can be a challenge; by the time you cook the last one, the first ones might have lost their crispness. The solution is simple and incredibly effective: crisping them further in the oven. This method not only keeps your waffles warm but also enhances their desirable crunch, ensuring every serving is as delightful as the first.
While your waffles are cooking in the iron, preheat your oven to 250°F (120°C). As each waffle finishes cooking, immediately transfer it to the oven. Crucially, place the waffles directly on the oven rack. Avoid stacking them, as stacking traps steam between the waffles, causing them to quickly become moist and limp. Spreading them out on the rack allows air to circulate, maintaining and even amplifying their crisp texture.
Allow the waffles to bake for about five minutes before serving. This low heat treatment reinforces the waffle’s crispness, ensuring they stay warm and perfectly textured until everyone is ready to eat. It’s the ultimate strategy for synchronized serving and consistently crispy results.
First Waffle is the Tester
Any seasoned waffle maker will tell you that the first waffle is almost always the “tester.” Don’t be disheartened if your initial attempt doesn’t come out perfectly golden and uniform. This is a common phenomenon, as the waffle iron needs time to reach and stabilize its optimal cooking temperature, and you need a moment to dial in the perfect amount of batter. Think of it as seasoning the iron and fine-tuning your technique.
Often, the first waffle might be a little undercooked, unevenly browned, or slightly sticky. Use this opportunity to make necessary adjustments. Evaluate the color and crispness – if it’s too light, increase the heat setting slightly. If it’s too dark, reduce it. Pay attention to how much batter you used. Start with approximately 1/2 cup of batter for smaller waffle irons and about 2/3 cup for larger Belgian-style irons. If the waffle doesn’t fill out the entire grid, gradually increase the amount of batter for subsequent waffles until you achieve full coverage without overflow.
This first waffle, imperfect as it may be, is rarely a waste. It’s often quickly devoured by the chef as a delicious snack while the rest of the batch cooks. Embrace the tester waffle as part of the process, and soon you’ll be churning out perfect waffles with confidence.
Find the Perfect Waffles (and Toppings) Recipe
While mastering the techniques is vital, the journey to the perfect waffle wouldn’t be complete without an exceptional recipe to serve as your foundation. A well-crafted batter is the heart of a truly memorable waffle. Today, you’re in luck, as we have just the recipe to get you started on your path to waffle excellence.
Our Buttermilk Waffles Recipe is a cherished staple in our household, designed to flawlessly incorporate all the tips and tricks discussed here. These waffles are so irresistible, they’ll inspire you to ditch your usual breakfast routine and pull out your waffle iron immediately. The blend of real buttermilk, precisely mixed batter, and proper cooking techniques results in waffles that are consistently tender, flavorful, and wonderfully crispy.
To elevate your morning meal even further, an array of delicious toppings is a must. For a burst of natural sweetness, consider making your own Homemade Blueberry Syrup or a vibrant Roasted Strawberry Sauce – personal favorites that complement the waffles beautifully. Beyond fruit sauces, think about fresh berries, whipped cream, chocolate chips, nuts, or even a drizzle of warm caramel.
And for those occasions when you want to create an extra special breakfast or brunch experience for a group, consider setting up your own homemade waffle bar. It’s a fantastic idea for parties, holiday gatherings, baby showers, or any special occasion, allowing guests to customize their waffles with an exciting selection of sweet and savory toppings.
Make Extra Perfect Waffles
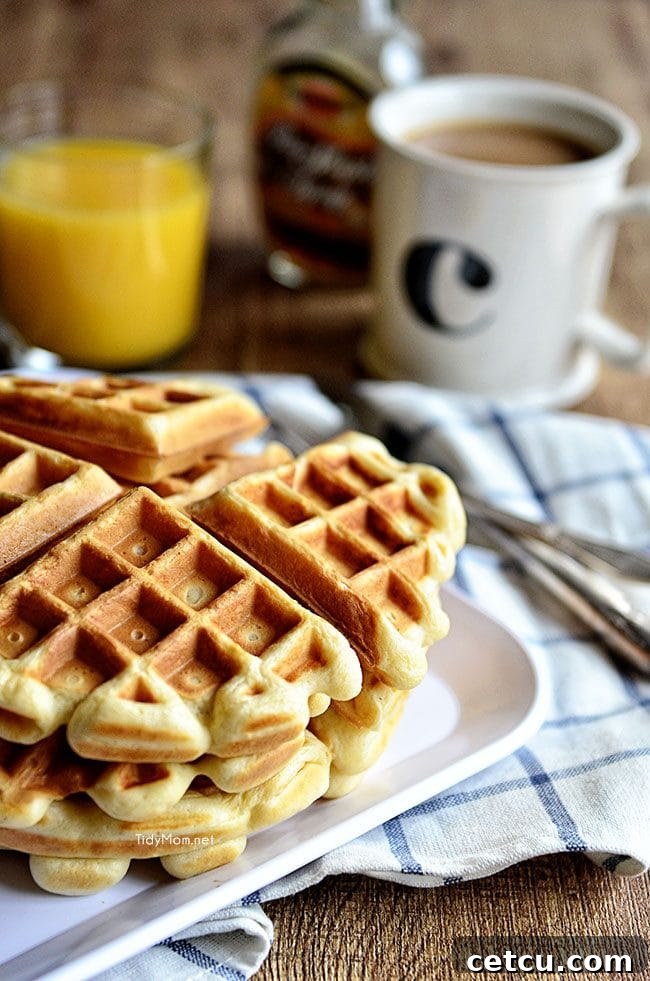
One of the best things about mastering the art of perfect waffles is their excellent keeping qualities. Waffles freeze beautifully, making them an ideal candidate for meal prepping. Instead of making just enough for one meal, whip up a double or triple batch! This simple trick ensures you always have a quick, delicious breakfast or snack on hand, even on the busiest days.
Once your waffles are cooked and cooled completely (this is crucial to prevent freezer burn and sogginess), store the leftovers in a freezer bag or an airtight container. They can be stored for up to three months, offering a convenient, homemade alternative to store-bought frozen options. When the mood for waffles strikes, simply retrieve them from the freezer and reheat. For optimal crispness, reheat individual frozen waffles in a toaster, toaster oven, or a 400-degree F (200-degree C) conventional oven until they are hot and crisp. Avoid the microwave, which tends to make them soft and chewy.
Now that you’re armed with all the essential knowledge and techniques, there’s nothing stopping you from creating perfect, crispy-on-the-outside, fluffy-on-the-inside waffles at home. Break out your waffle iron and treat yourself and your loved ones to these delectable delights for breakfast, brunch, or even a fun dinner!
PIN THIS POST TO SAVE IT FOR LATER!