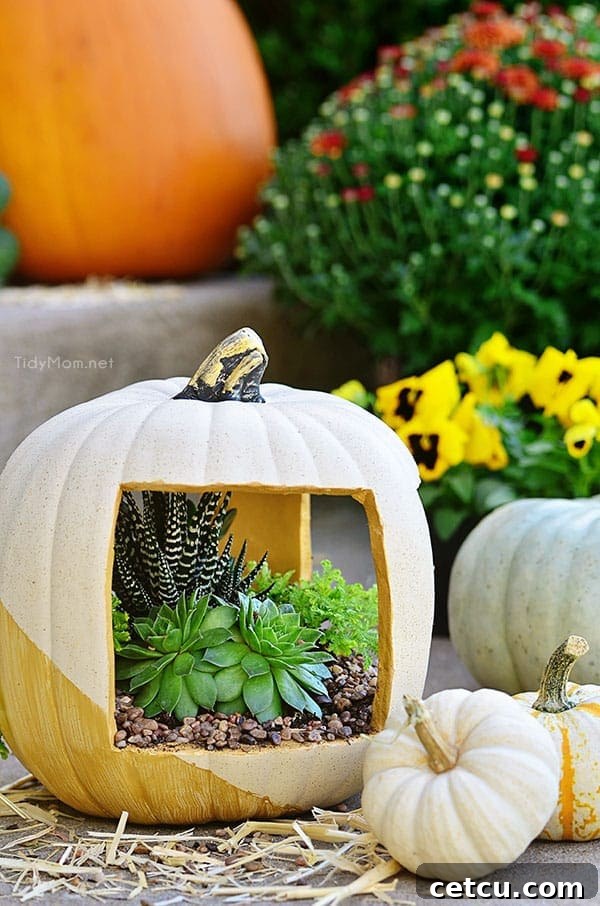
Transform a simple faux white pumpkin into a breathtaking piece of autumnal artistry with this easy-to-follow tutorial for a DIY Elegant Succulent Pumpkin Planter. Combining the enduring charm of succulents with a touch of metallic sophistication, this project is perfect for enhancing your fall decor, whether as a stunning centerpiece or a welcoming accent on your porch. With just a few basic craft supplies, a sprinkle of imagination, and our detailed guide, you’ll create a unique and long-lasting display that beautifully captures the essence of the season. Forget traditional carving; it’s time to elevate your pumpkin game with a functional and incredibly chic succulent planter. Let’s dive into making a statement piece that blends natural beauty with refined elegance.
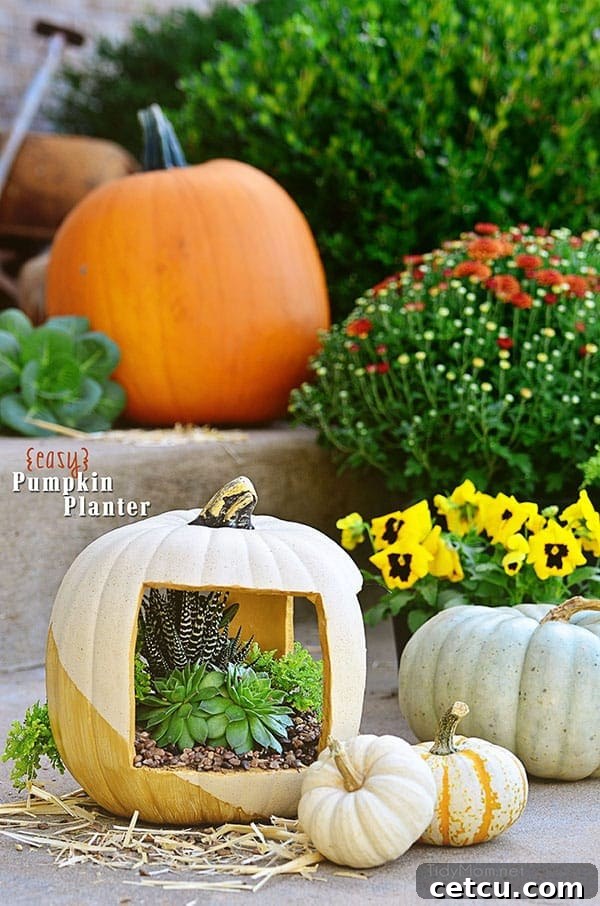
Click HERE to save this tutorial to Pinterest!
Embrace the Trend: Why Succulent Pumpkin Planters are This Season’s Must-Have
The trend of turning pumpkins into planters has taken the fall decor world by storm, and for good reason! It’s an innovative way to make your pumpkins not just pretty, but also beautifully functional. A carefully crafted succulent pumpkin planter adds an unexpected touch of vibrant green life and unique texture to any fall display or centerpiece. Moving beyond the typical autumn palette, this project offers a fresh, modern twist on seasonal decorating, allowing you to infuse elegance and personality into your home.
Succulents, the stars of this DIY project, are particularly captivating this time of year. Renowned for their incredible resilience and low-maintenance nature, they are truly the “set it and forget it” plant – perfect for busy crafters or those new to gardening. These hardy plants can withstand a great deal of neglect and still thrive, making them an ideal choice for a temporary, decorative planter. Their diverse shapes, sizes, and colors provide endless possibilities for arrangement, creating miniature living landscapes that are both captivating and easy to care for.
For this project, we’re stepping away from the traditional bright orange hues often associated with fall. Instead, we’re embracing a softer, more neutral aesthetic by utilizing a white faux pumpkin. This choice offers a sophisticated backdrop, allowing the golden accents and lush green succulents to truly pop. The addition of gold paint elevates the design, lending an air of understated glamour and turning a simple craft pumpkin into an elegant seasonal statement piece. While the pumpkin subtly nods to autumn, the refined color scheme ensures it complements a wide range of interior styles, making it a versatile addition to your fall home decor. Plus, you’ll find that you don’t need a long list of exotic supplies; many of the items you probably already have on hand, making this an accessible and enjoyable DIY endeavor.
Essential Supplies List for Your Elegant Succulent Pumpkin Planter
Gathering your materials is the first step to creating your stunning DIY succulent pumpkin planter. We’ve curated a list of essentials, along with helpful tips to ensure you have everything you need for a smooth and successful crafting experience.
- Faux Craft Pumpkin: Opt for a good quality faux pumpkin. These are readily available at most craft stores, especially during the fall season. A faux pumpkin is crucial for this project as it allows for longevity and easy cutting. White pumpkins offer a chic, modern canvas, but you could also choose a cream or light gray if you prefer. Consider the size and shape that best fits your desired display area – whether it’s a grand centerpiece or a small accent.
- A Hot Knife: This specialized tool, often found in the wood-burning or craft supply aisle, will make cutting through the faux pumpkin incredibly easy and precise. Its heated blade melts through the foam, creating clean edges. If a hot knife isn’t accessible, a sharp utility knife or even a pumpkin carving kit knife can work, though they might require more effort and produce rougher edges.
- Sandpaper: A fine-grit sandpaper (around 150-220 grit) is perfect for smoothing out any rough edges that may result from cutting the pumpkin. This step is key to achieving a professional, polished finish.
- Gold Acrylic Craft Paint: A high-quality metallic gold acrylic craft paint will provide that elegant shimmer. Brands like Martha Stewart Metallic Gold are excellent, but any good metallic gold will do. Consider whether you prefer a subtle sheen or a more intense, reflective finish.
- Painter’s Tape: This low-tack tape is indispensable for creating crisp, clean lines when painting. Choose a width that suits your design – wider tape for broad stripes, narrower tape for delicate accents.
- Sponge Brush: Ideal for applying acrylic paint smoothly and evenly, especially on textured surfaces. You can also use a regular synthetic paintbrush, but a sponge brush often minimizes brush strokes for a cleaner look.
- Potting Soil, Succulents, and Pebbles:
- Potting Soil: Crucial for your succulents’ health, ensure you use a well-draining potting mix specifically formulated for succulents or cacti. Regular potting soil retains too much moisture, which can lead to root rot.
- Succulents: Select a variety of small succulents with different textures, colors, and heights to create an interesting arrangement. Echeveria, Sedum, Haworthia, and Sempervivum are popular choices that thrive in small containers. Purchase them from your local nursery or garden center.
- Pebbles or Decorative Rocks: These serve multiple purposes. A layer at the bottom aids in drainage, and a top layer adds a decorative touch, helping to hold the succulents in place and giving your planter a finished, professional look. You could also use small bark chips or decorative moss.
How To Craft Your Elegant Succulent Pumpkin Planter: A Step-by-Step Guide
Creating this beautiful succulent pumpkin planter is a straightforward process that yields stunning results. Follow these detailed steps to bring your elegant fall vision to life.
Step 1: Planning and Precision Cutting
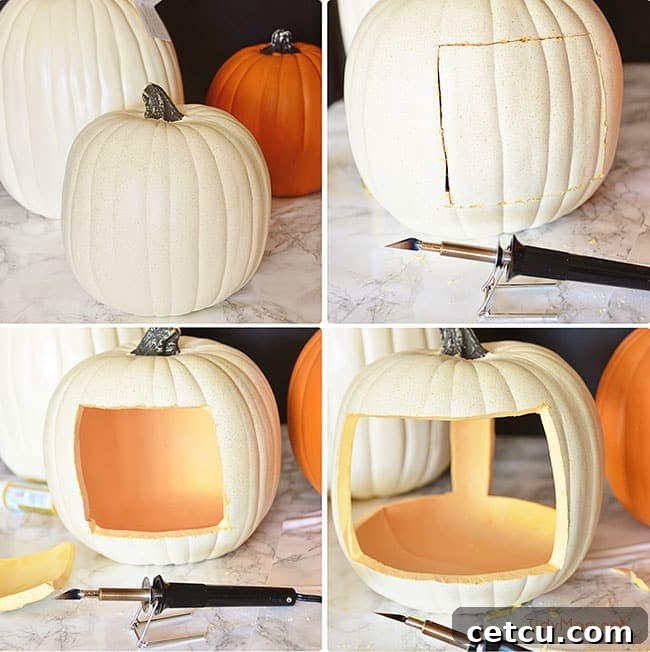
First, you’ll want to carefully plan and cut the openings in your faux pumpkin where your succulents will reside. For this design, we’re aiming for three distinct square or rectangular holes, but feel free to experiment with circles or organic shapes if you prefer a different aesthetic. Before you cut, it’s a good idea to lightly mark the outlines of your desired openings with a pencil. Remember to leave enough space at the bottom of the pumpkin to hold sufficient soil and accommodate your succulents’ roots. The depth is just as important as the width of your openings.
While you could try using a standard pumpkin carving knife or a sturdy utility knife, my hot knife made this step incredibly simple and precise. A hot knife is essentially a utility knife with a heated blade, designed to effortlessly slice through foam and other craft materials. This tool creates clean, smooth edges without the jaggedness that can sometimes occur with unheated blades. If you don’t own one, you can often pick one up at major craft stores like Michaels for around $10, especially with a handy 40% off coupon. When using a hot knife, always work in a well-ventilated area and protect your work surface. Take your time, allowing the heated blade to do the work, gently guiding it along your marked lines.
Step 2: Refining the Edges for a Polished Look
Once your openings are cut, you might notice some slight imperfections or rough edges. To ensure a truly elegant and finished appearance, take a moment to sand these edges. Using a fine-grit sandpaper, gently smooth out any unevenness or excess foam. This step not only makes the planter look more professional but also prevents any small pieces of foam from flaking off later. A smooth edge provides a much better surface for the painter’s tape and paint application in the subsequent steps.
Step 3: Masking for Metallic Perfection
With the pumpkin cut and smoothed, it’s time to prepare for painting. This is where your painter’s tape comes in handy to create those sharp, clean lines for your metallic accents. Carefully apply the painter’s tape to mark off the areas where you want to add a touch of gold to your pumpkin. For an elegant stripe, wrap the tape around the pumpkin at your desired height. You could also tape off geometric patterns or other creative designs. Press the tape down firmly along all edges to prevent paint from seeping underneath, ensuring a crisp separation between the white pumpkin and the gold paint.
Step 4: Painting with Elegance
Now for the glamorous part! Using your sponge brush, apply a few thin coats of gold acrylic craft paint to the areas you’ve taped off. I used Martha Stewart Metallic Gold, which provides a beautiful, rich shimmer. Don’t forget to paint the inside edge of your openings and the pumpkin stem as well. Painting these often-overlooked areas gives your planter a more cohesive and professional, finished look. Applying thin coats allows for even coverage and faster drying times, reducing the risk of drips or smudges. Allow each coat to dry to the touch before applying the next, building up the color until you achieve your desired opacity and metallic gleam. Typically, 2-3 coats are sufficient for a brilliant finish.
Step 5: The Grand Reveal and Essential Drainage
Once the final coat of paint is dry (which usually only takes about 5-10 minutes for acrylics), carefully and slowly remove the painter’s tape. Pulling the tape off at a slight angle can help create a cleaner line. Marvel at your beautifully painted design!
Next, and this is a crucial step for the health of your succulents, turn the pumpkin over and drill a few drainage holes in the bottom. While faux pumpkins don’t absorb water like real ones, allowing excess water to escape is vital to prevent root rot in your succulents. You can use a small drill bit for this. (You could also do this step before painting, if preferred.) Aim for 3-5 small holes, evenly spaced, to ensure proper drainage.
Step 6: Planting Your Miniature Succulent Garden
With the pumpkin prepared, it’s time to plant! Fill the bottom of each opening with your well-draining succulent potting soil. Gently remove your succulents from their nursery pots, loosen any compacted roots, and carefully place them into the openings. Arrange them artfully, considering their different heights, textures, and colors to create a visually appealing miniature garden. Once your succulents are in place, backfill with more potting soil, gently tamping it down around the plants. Finally, to add an extra layer of visual interest and help anchor your succulents, fill in the remaining space with some decorative pebbles or small rocks. This finishing touch not only looks great but also helps to hold the plants securely and can even help to retain a little moisture around their bases. And just like that, your elegant succulent pumpkin planter is complete!
Displaying Your Elegant Fall Creation
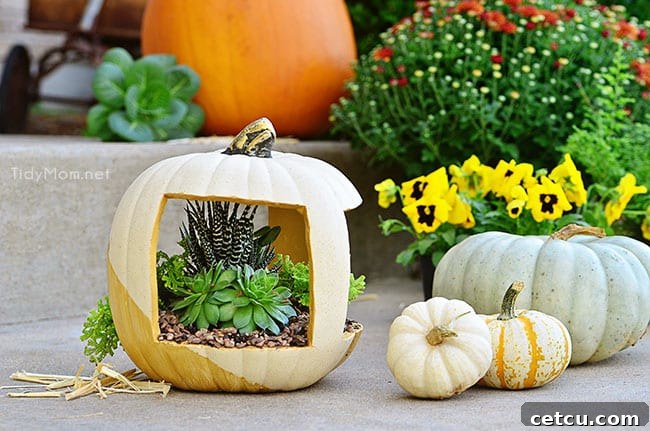
Your newly crafted gold and white succulent pumpkin planter is incredibly versatile and will look stunning in various settings. Outdoors, it makes a gorgeous statement when paired with other pumpkins, vibrant mums, and fall foliage on your front porch or patio. Its elegant aesthetic instantly elevates your curb appeal, welcoming guests with sophisticated seasonal charm.
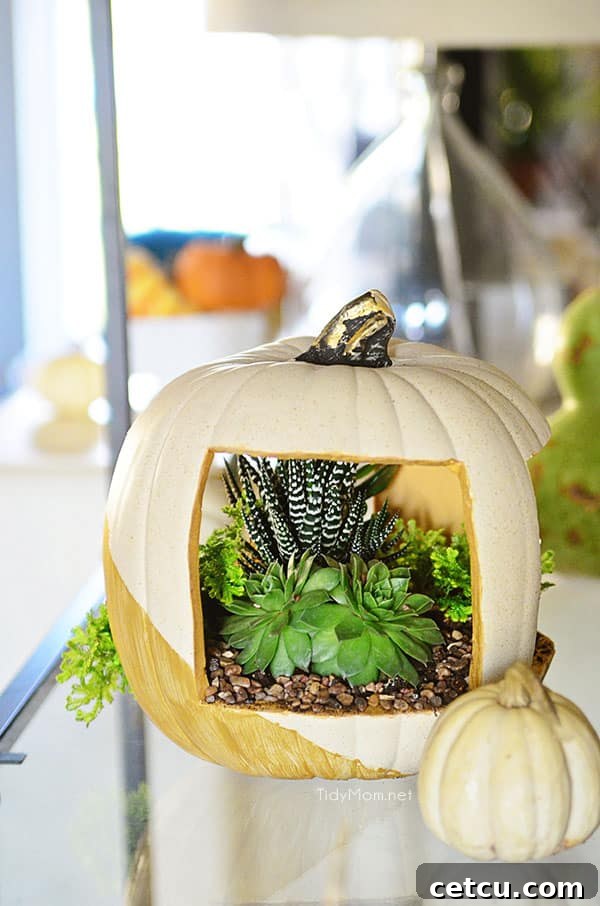
Indoors, it can serve as a captivating centerpiece for your dining table, a stylish accent on a mantelpiece, or a charming addition to a bookshelf or console table, as seen on my bookcase. The neutral color scheme ensures it blends seamlessly with existing decor, while the live succulents bring a touch of natural beauty and freshness to your living spaces.
One of the greatest advantages of using a faux pumpkin for this project is its longevity. Unlike real pumpkins that quickly rot, your faux pumpkin planter will easily last through Thanksgiving and beyond, allowing you to enjoy your fall decor for much longer. When the season eventually transitions, you can simply transplant the succulents into another container, ensuring their continued growth and enjoyment until next year’s autumn festivities.
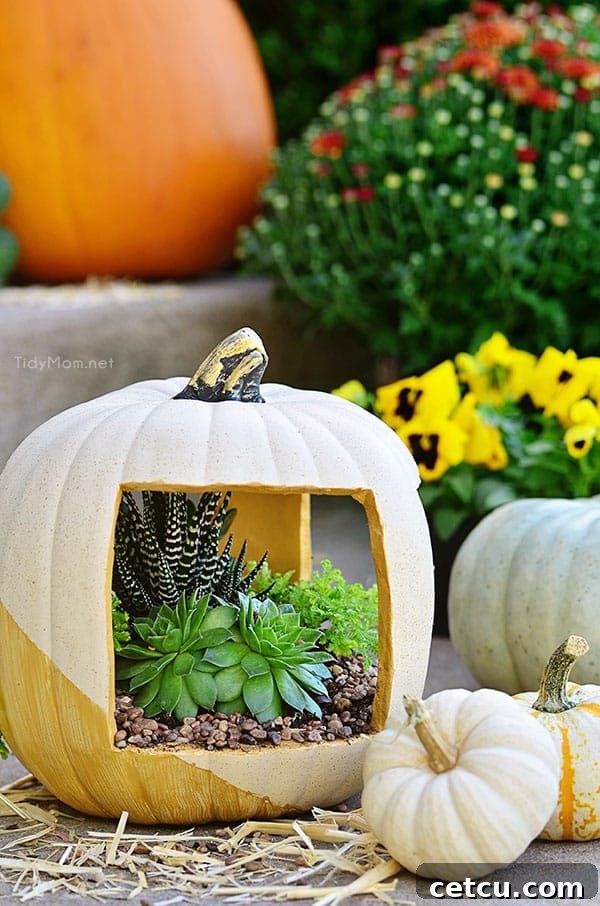
This project was inspired by Clinton Kelly’s (from The Chew) 30-minute pumpkin challenge, proving that spectacular fall decor doesn’t have to be time-consuming. We encourage you to explore more fabulous 30-minute pumpkin ideas and even take the challenge yourself over at ClintonKelly.com!
Join the creative community by sharing your own 30-minute pumpkin ideas! Be sure to follow and use the hashtags #30minpumpkin and #pumpkinchallenge on Twitter and Instagram. We would absolutely love to see the innovative and beautiful creations you come up with!
More Easy & Inspiring Fall and Halloween Ideas:
Looking for more ways to celebrate the autumn season and get into the Halloween spirit? Check out these fantastic, easy-to-make projects:
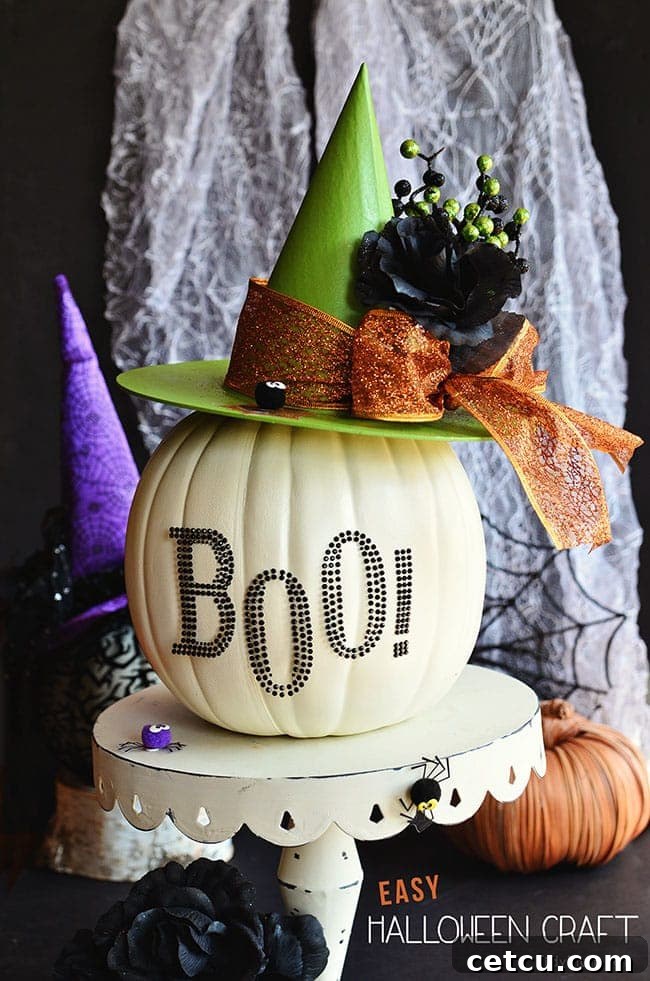
Easy Halloween Pumpkin Craft
Get spooky and creative with a simple yet charming Halloween pumpkin craft. Perfect for adding a festive touch to your home.
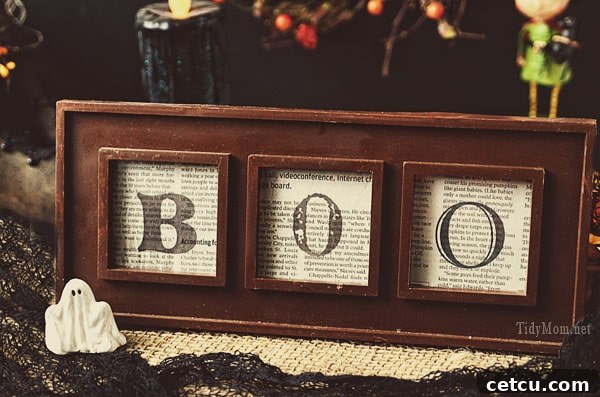
DIY BOO! Art Frame
Craft your own “BOO!” wall art to create a welcoming and fun Halloween display. This project is quick, impactful, and adds a personalized touch to your holiday decor.
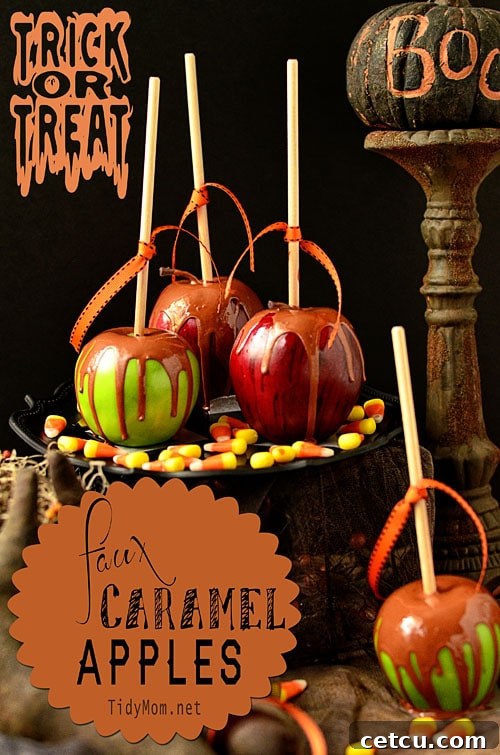
Faux Caramel Apples
Indulge in the sweetness of fall without the sticky mess! Learn how to create adorable faux caramel apples that look good enough to eat and last all season long.
Halloween Treats and More!
From ghostly goodies to delightful desserts, explore a collection of fun and easy Halloween treat recipes and tutorials to make your holiday celebrations extra special.