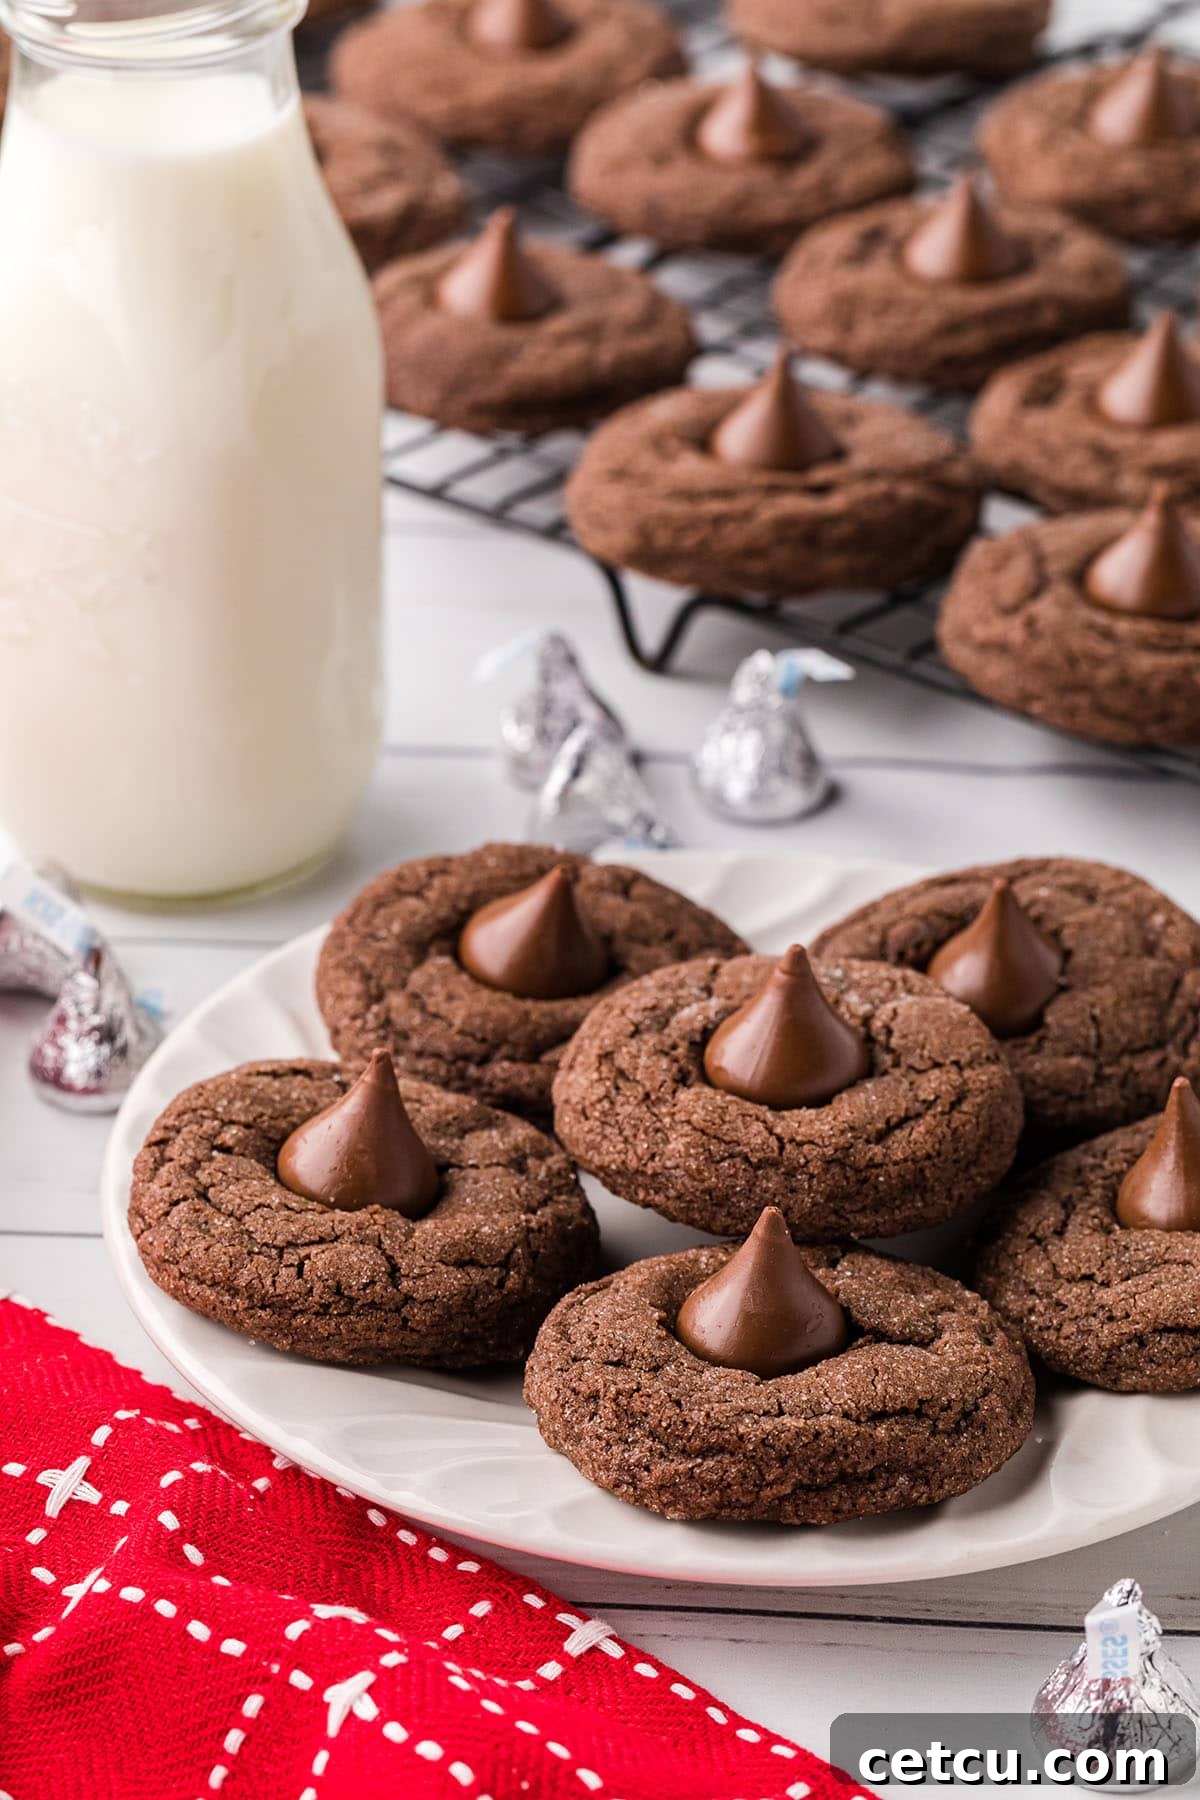
Double Chocolate Kiss Cookies are a delightful fusion of rich, fudgy chocolate cookies crowned with a sweet, iconic Hershey’s Kiss. This recipe promises a truly decadent experience, making these cookies an irresistible choice for any chocolate enthusiast. Whether you’re looking to fill festive holiday trays, create heartwarming Valentine’s Day treats, or simply indulge in a homemade sweet, these cookies are guaranteed to impress with their soft, chewy texture and intense cocoa flavor.
If your cookie jar is always open for more classic and beloved recipes, be sure to explore other favorites like The Best M&M Cookies, the delightful Rice Krispies Peanut Butter Balls, and the always-popular Monster Cookies. Each offers a unique flavor profile that complements the rich indulgence of these chocolate kiss cookies.
Why Double Chocolate Kiss Cookies Are a Must-Bake
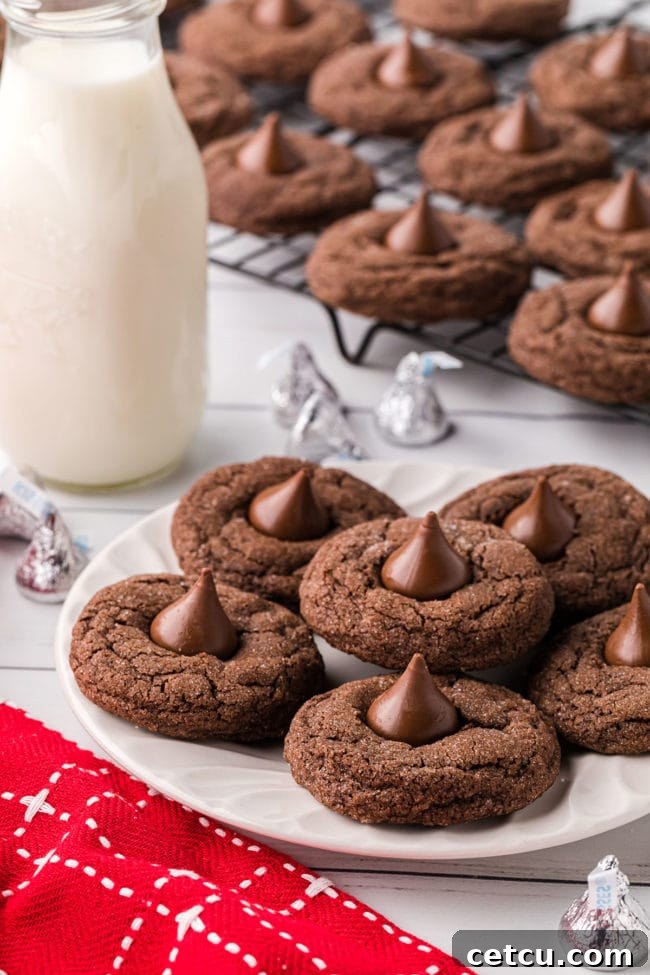
These Double Chocolate Kiss Cookies are more than just a sweet treat; they are an experience designed for pure enjoyment. Enriched with a generous amount of cocoa, rolled in sugar for a sparkling finish, and crowned with a sweet Hershey’s Kiss, each cookie offers a decadent bite that truly stands out. Here’s why these cookies will quickly become a cherished recipe in your baking repertoire:
- Unparalleled Decadence: Dive into the luxurious depth of double chocolate flavor. The rich cocoa in the cookie dough perfectly complements the creamy sweetness of the Hershey’s Kiss, delivering a fudgy, intensely satisfying delight that will curb even the strongest chocolate cravings.
- Irresistible Sweet Kiss Topping: The signature Hershey’s Kiss perched atop each cookie isn’t just a decoration; it’s a melt-in-your-mouth finishing touch. This visually appealing addition makes each cookie a mini masterpiece, inviting you to take a bite and experience its delightful texture and taste.
- Perfectly Versatile for Any Occasion: These cookies are incredibly adaptable. While they shine brightest on festive holiday cookie trays and make heartfelt Valentine’s Day surprises, their universal appeal makes them suitable for potlucks, birthday parties, or simply as an everyday treat to brighten your afternoon coffee break.
- A True Chocolate Lover’s Dream: Crafted specifically for those who adore all things chocolate, these cookies deliver a powerful double dose of cocoa goodness. Every soft, chewy bite is packed with rich chocolate flavor, making them an absolute dream for any chocoholic.
- Quick, Easy, and Fun to Make: Don’t let their gourmet appearance fool you; these delightful Kiss cookies are surprisingly simple to whip up. With a prep time of just 10 minutes, they offer a quick and enjoyable baking activity perfect for the whole family. Kids, in particular, will love joining in the kitchen fun, especially when it comes to rolling the dough and pressing in those iconic chocolate kisses.
Essential Ingredients for Perfect Chocolate Kiss Cookies
For precise measurements and detailed instructions, please refer to the complete printable recipe card located at the bottom of this post.
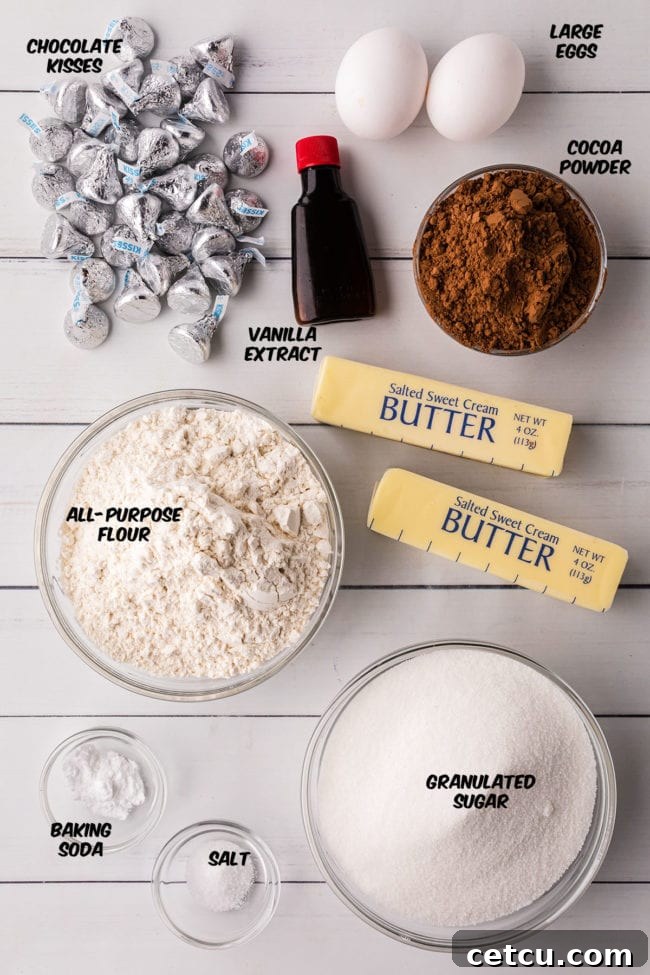
Crafting the perfect Double Chocolate Kiss Cookies begins with selecting the right ingredients. Each component plays a vital role in achieving that signature fudgy texture and rich chocolate flavor:
- All-Purpose Flour: The structural backbone of our cookies. For consistently perfect results, we highly recommend measuring your flour by weight using a reliable kitchen scale. If a scale isn’t available, the ‘fluff, spoon, and level’ method is crucial to prevent over-measuring, which can lead to dry, dense cookies.
- Unsweetened Cocoa Powder: This is where the deep chocolate flavor truly comes from. Opt for a good quality unsweetened cocoa powder to ensure a rich, intense taste. Dutch-processed cocoa powder will yield a darker cookie with a milder chocolate flavor, while natural cocoa powder offers a lighter color and a slightly fruitier, more acidic chocolate note.
- Baking Soda: Our essential leavening agent. Baking soda reacts with the acidic components in the recipe (like cocoa powder) to create carbon dioxide, giving the cookies their desired lift and helping them spread slightly for a soft, chewy texture. Always check that your baking soda is fresh and not expired for optimal effectiveness.
- Salt: A crucial flavor enhancer. Salt doesn’t just make things salty; it balances the sweetness and intensifies the chocolate notes, bringing out the full depth of flavor in every bite.
- Butter (Softened): The fat that provides richness, moisture, and aids in the texture. Ensure your butter is softened to room temperature – soft enough to cream easily with sugar, but not melted or greasy. This state allows it to properly emulsify with the sugar, creating air pockets that contribute to a fluffy, tender cookie.
- Granulated Sugar: Provides sweetness and contributes to the cookie’s tender texture. A portion of the sugar will also be used for rolling the cookie dough, giving them a delightful sparkly crust and a subtle crunch.
- Eggs (Large and Room Temperature): Eggs bind the ingredients, add moisture, richness, and help with leavening. Using room temperature eggs ensures they incorporate smoothly and evenly into the butter and sugar mixture, resulting in a more uniform and tender crumb.
- Vanilla Extract: A key flavor enhancer. Pure vanilla extract adds a warm, aromatic depth that complements and elevates the rich chocolate flavor, making the cookies taste even more complex and delicious. Don’t skip this!
- Hershey Kisses Brand Chocolates (Unwrapped): The iconic topping! These milk chocolate kisses melt perfectly into the warm cookies, creating the characteristic “kiss” shape and adding a creamy, sweet finish. Remember to unwrap them before you start baking for quick placement after baking.
The Art of Measuring Flour Properly: It’s a common baking pitfall, but did you know the way you measure flour significantly impacts your baked goods? The most precise method for measuring flour is by weight, using a digital kitchen scale. Typically, 1 cup of all-purpose flour weighs between 125 to 130 grams. If you don’t have a scale, employ the “spoon and level” technique: fluff the flour in its container, then gently spoon it into your dry measuring cup until it overflows. Use a straight edge (like the back of a knife) to level off the excess, ensuring an accurate measure. Avoid using your measuring cup itself to scoop flour directly from the bag, as this compacts the flour, leading to an excess amount and a dense, dry cookie.
This post may contain affiliate links. Please read my disclosure policy here.
Baking Perfection: How To Make Double Chocolate Kiss Cookies
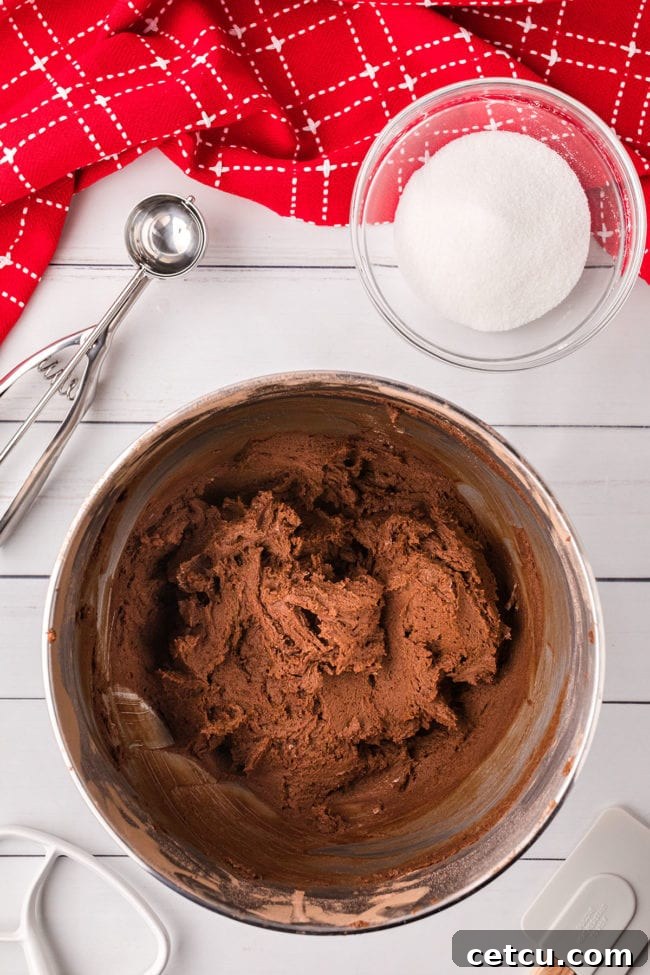
Get ready to create some magic in your kitchen! Before you begin, gather your essential tools: a spacious medium mixing bowl, a reliable electric mixer (stand mixer or hand mixer), a handy cookie scoop for perfectly sized dough balls, a small bowl for rolling sugar, and a spatula for scraping down the bowl. Then, prepare your baking station by lining a sturdy baking sheet with parchment paper, preheating your oven to the specified temperature, and let’s embark on the delicious journey of baking these irresistible Double Chocolate Kiss Cookies.
While these steps provide a concise overview, always refer to the full recipe card at the bottom of the page for detailed ingredient quantities and precise instructions to ensure the best results.
- Combine Dry Ingredients: In your medium mixing bowl, whisk together the all-purpose flour, unsweetened cocoa powder, baking soda, and salt. Sifting these ingredients together can help eliminate lumps and ensure they are evenly distributed, which is vital for a consistent cookie texture. Set this dry mixture aside.
- Cream Wet Ingredients: In the bowl of your electric mixer, cream together the softened butter with the granulated sugar until the mixture becomes light, pale, and fluffy. This process incorporates air, contributing to the cookies’ soft texture. Then, beat in the room temperature eggs one at a time, followed by the vanilla extract, mixing until everything is well combined and smooth.
- Integrate Flour Mixture: Gradually add the whisked dry ingredient mixture to the wet mixture in the mixer. Mix on low speed, just until the flour is incorporated and no dry streaks remain. Be careful not to overmix, as this can lead to tough cookies. Stop mixing as soon as the dough comes together.
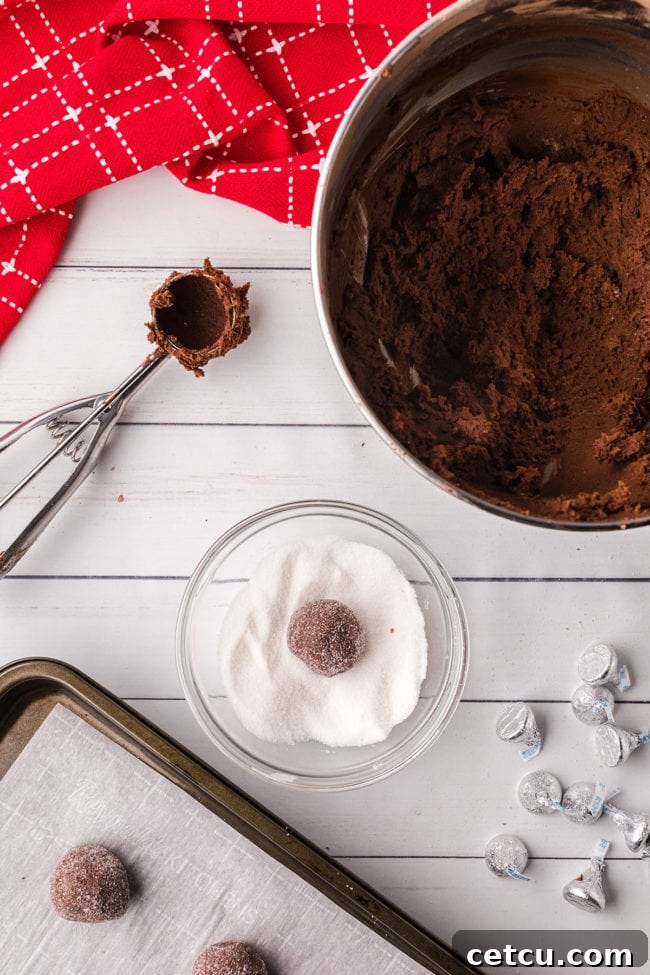
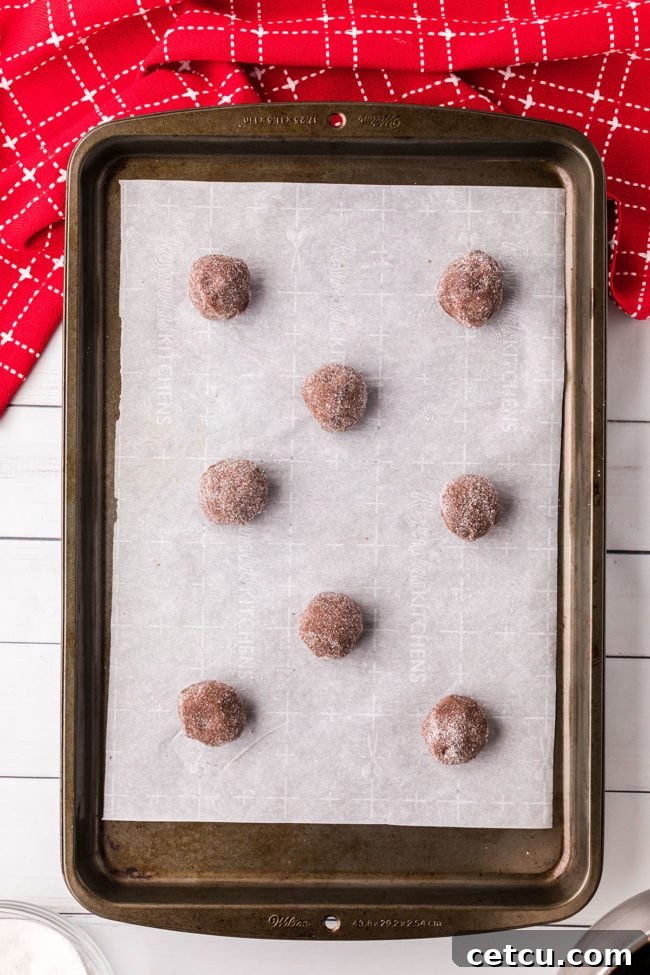
- Shape and Sugar Coat: Pour the remaining granulated sugar into a small, shallow bowl for coating. Using a medium cookie scoop (approximately 1-inch in diameter), portion out the dough. Roll each dough ball gently in the sugar until it’s fully coated. Place the sugar-coated dough balls onto your prepared baking sheet, ensuring they are spaced about 2 inches apart to allow for proper spreading during baking.
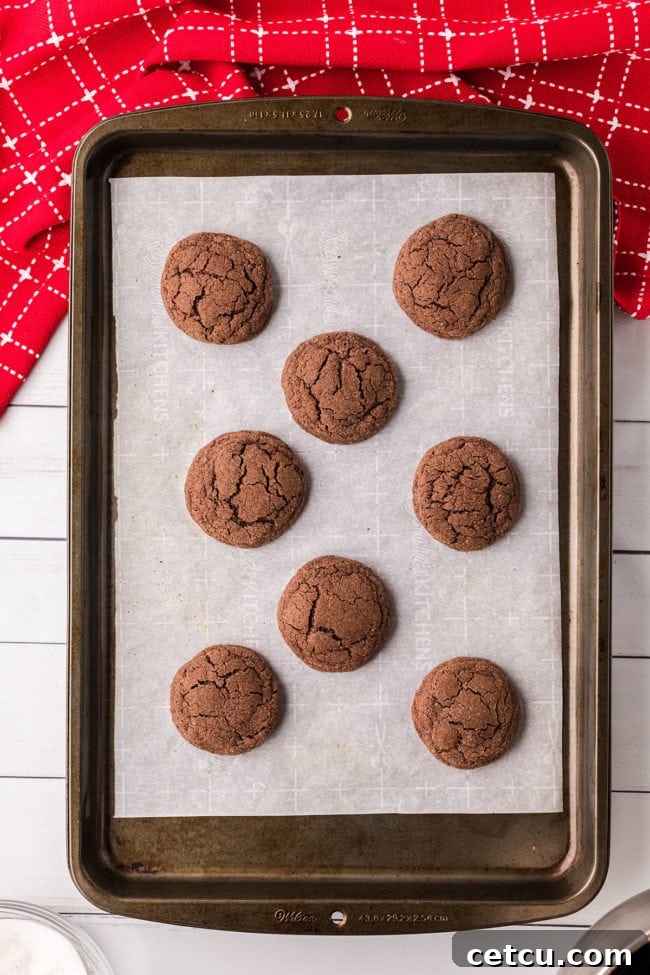
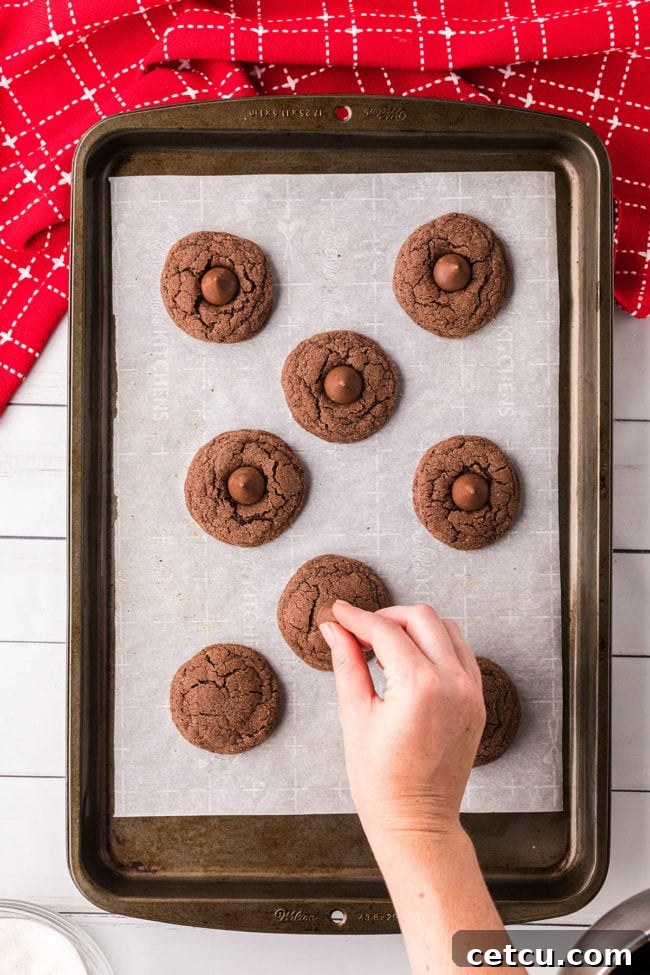
- Bake and Kiss: Bake the cookies in your preheated oven for 8-10 minutes. Keep an eye on them; they should be set around the edges but still soft in the center. As soon as you remove the baking sheet from the oven, immediately press one unwrapped Hershey’s Kiss into the center of each warm cookie. The residual heat from the cookie will gently melt the chocolate, allowing it to adhere perfectly and create that signature soft, creamy topping.
- Cool Completely: Allow the cookies to rest on the baking sheet for a few minutes before carefully transferring them to a wire rack. Let them cool completely on the rack. This step is essential as it allows the cookies to firm up and the chocolate kisses to set, preventing them from melting further and making them easier to handle.
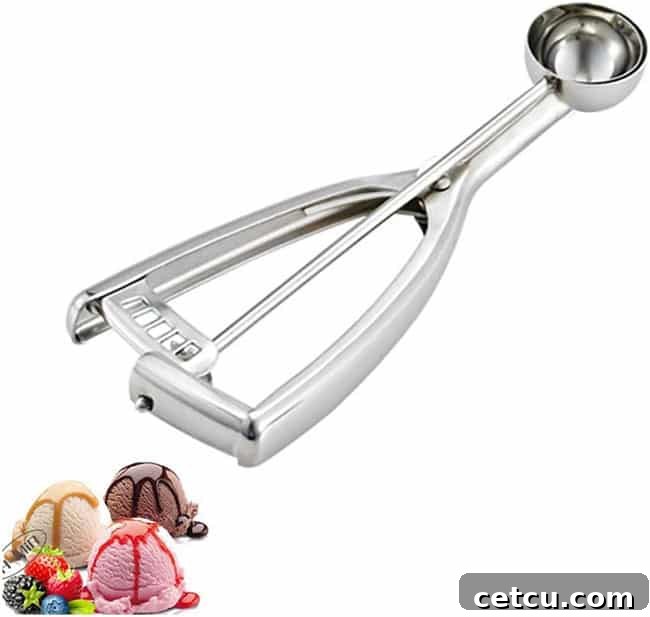
Featured Product: The Indispensable Cookie Scoop
Achieve perfectly uniform cookies with minimal effort using our featured cookie scoop. This versatile kitchen tool is not just for cookie dough; it’s also ideal for creating beautifully rounded portions of ice cream, crafting meatballs, precisely filling cupcake liners, forming melon balls, and much more. Its ergonomic design ensures comfortable use and consistent results every time, elevating your baking and cooking precision.
Expert Tips for Perfect Double Chocolate Kiss Cookies
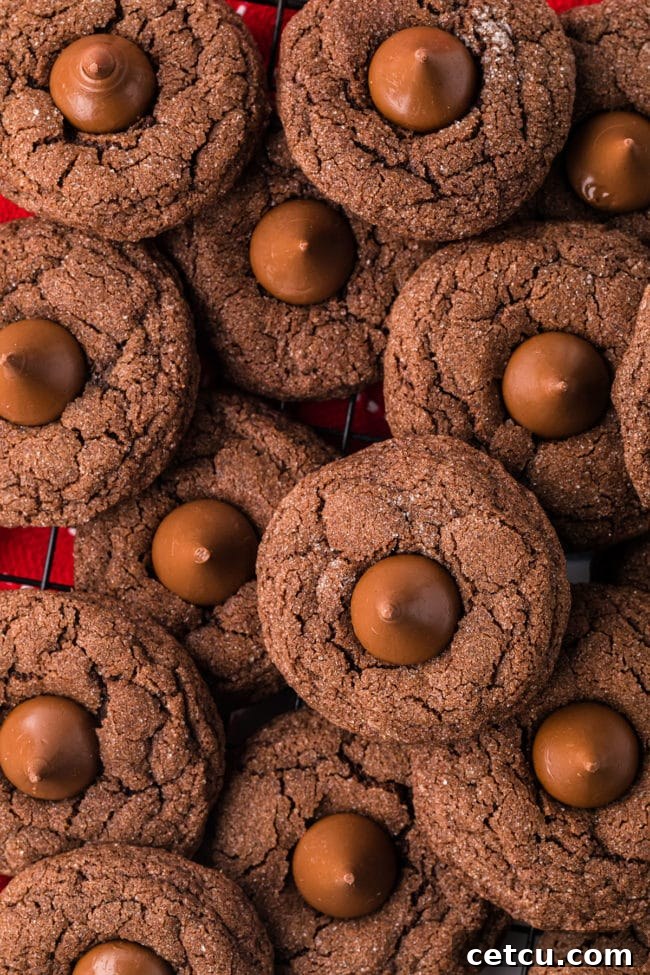
Double Chocolate Kiss Cookies are beloved for their signature soft and chewy center, complemented by a delicately crisp edge. The combination of cocoa powder and the strategic placement of a Hershey’s Kiss contributes to their wonderfully fudgy and tender texture. To ensure your cookies turn out perfectly every time, follow these expert tips:
- Embrace a Stress-Free Baking Experience: If you’re embarking on a major baking project, especially for the holidays, thoughtful planning can make all the difference. Check out our comprehensive Holiday Cookie Baking Tips to streamline your process, minimize stress, and ensure your baking day is as enjoyable and efficient as possible.
- Always Read the Recipe First: Before you even gather your ingredients, take a moment to read through the entire recipe from start to finish. Familiarizing yourself with each step, the order of operations, and the required ingredients will significantly smooth out your baking process, prevent errors, and help you organize your workspace and tools effectively.
- The Importance of Softened Butter: The state of your butter is paramount. Ensure your butter is truly softened to room temperature, where it gives slightly when pressed but isn’t greasy or melted. Properly softened butter creams beautifully with sugar, incorporating essential air that leads to a tender, light cookie texture. Cold butter won’t cream properly, and melted butter will result in a flatter, denser cookie.
- Master Precise Flour Measurement: Accuracy in measuring flour is critical for achieving the ideal cookie texture. Too much flour will yield dry, crumbly, and dense cookies, while too little can make them overly flat and spread too much. Always use a kitchen scale for the most accurate measurement (1 cup = 125-130g), or if using measuring cups, employ the “spoon and level” method as detailed above.
- Perfectly Placed Kisses: Timing is everything when adding the chocolate kisses. Gently press them into the very center of each cookie immediately after taking the baking sheet out of the oven. The cookies’ residual heat will slightly melt the base of the chocolate, allowing it to adhere beautifully without completely losing its iconic shape. If you wait too long, the cookies will cool and the kisses won’t stick as well.
- Ensure Uniform Cookie Sizes: For a batch of cookies that bake evenly and look professionally made, consistency is key. Utilize a cookie scoop (as recommended in our featured product section) or a measuring spoon to portion out the dough. Uniformly sized cookies will bake at the same rate, preventing some from being overdone while others are underbaked, resulting in a batch of consistently delicious and perfectly textured chocolate kiss cookies.
- Don’t Overbake: Double Chocolate Kiss Cookies are best when they are slightly underbaked, resulting in a soft, fudgy center. They should appear set around the edges but still look a little soft in the middle. They will continue to cook slightly from residual heat once removed from the oven.
- Quality Ingredients Matter: While all ingredients are important, using a good quality cocoa powder and fresh butter and eggs can significantly impact the overall flavor and texture of your cookies.
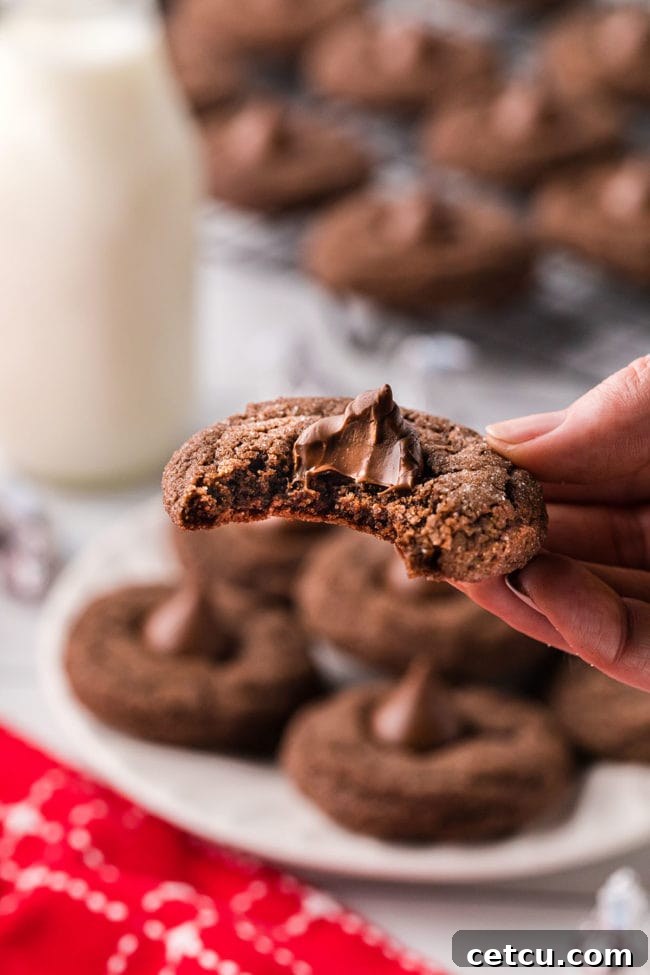
Double Chocolate Kiss Cookies: Frequently Asked Questions
Absolutely! This is a fantastic way to customize your Double Chocolate Kiss Cookies. Feel free to experiment with a variety of Hershey’s Kiss flavors, such as dark chocolate, caramel-filled, peppermint, or even white chocolate. Each variation will offer a unique and exciting twist, perfect for different seasons or personal preferences.
The key is timing. To ensure the chocolate kisses soften just enough to adhere but retain their iconic shape, press them firmly into the center of each cookie immediately after removing them from the hot oven. The residual heat will do the trick without causing them to fully melt and flatten. If the cookies are too hot, or you press too hard, they might melt excessively.
Yes, these cookies freeze beautifully! Once your baked Double Chocolate Kiss Cookies have cooled completely, arrange them in a single layer on a baking sheet and flash freeze for about an hour. Then, transfer the frozen cookies to an airtight, freezer-safe container or a heavy-duty freezer bag, separating layers with parchment paper to prevent sticking. They can be stored for up to 2-3 months. Thaw them at room temperature when you’re ready to enjoy a sweet treat.
Certainly! Preparing the cookie dough in advance is a great time-saver. You can refrigerate the dough, tightly wrapped in plastic, for up to 48 hours before baking. Chilling the dough actually enhances the flavors and helps prevent the cookies from spreading too much, resulting in a richer taste and better texture. Just allow the dough to sit at room temperature for about 15-20 minutes to soften slightly before scooping and rolling, making it easier to work with.
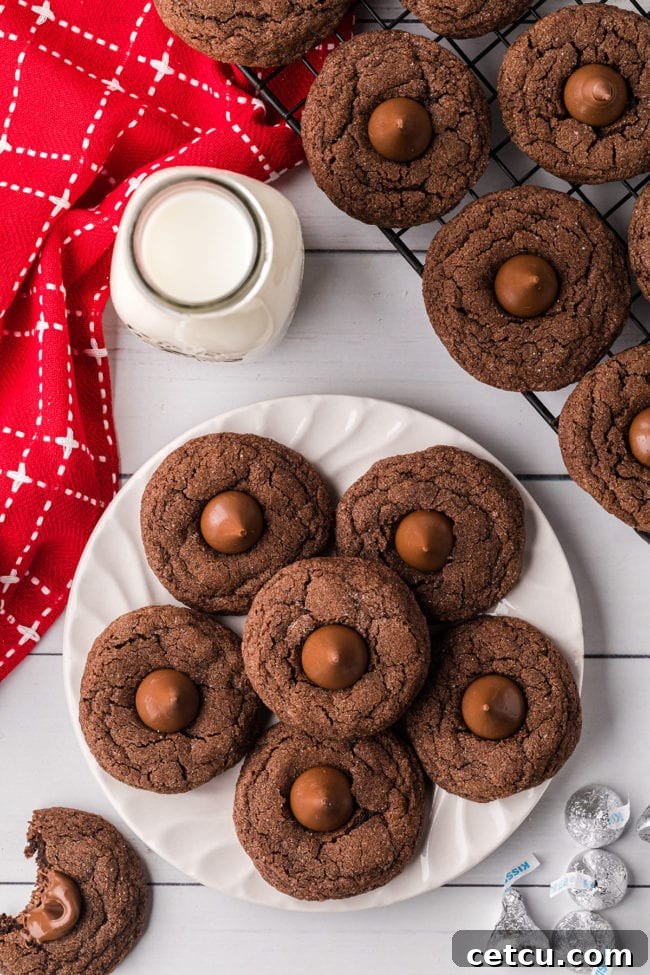
Optimal Storage for Your Double Chocolate Kiss Cookies
Ensuring your Double Chocolate Kiss Cookies remain fresh and delicious for as long as possible is crucial. Proper storage techniques will preserve their fudgy texture and rich flavor.
Once your cookies have cooled completely to room temperature (this is very important to prevent condensation), transfer them to an airtight container. Stored on the counter at room temperature, these cookies will maintain their freshness and deliciousness for up to 5 days. For optimal freshness, consider placing a slice of bread or a half-eaten apple in the container; these will release moisture and help keep your cookies soft.
Refrigerate & Freeze for Extended Freshness
If you live in a warmer climate, or simply prefer a chewier, firmer cookie, you can refrigerate your baked cookies. Place them in an airtight container in the refrigerator to extend their shelf life for up to a week. Be aware that the texture may become slightly firmer when chilled, but they will still be incredibly tasty.
For even longer-term storage, freezing is an excellent option for both baked cookies and unbaked cookie dough.
How to Freeze Chocolate Kiss Cookie Dough for Future Baking
Freezing cookie dough is a fantastic way to prepare ahead, ensuring you always have fresh, warm cookies just minutes away. Here’s how to properly freeze your Double Chocolate Kiss Cookie dough:
- Scoop Individual Portions: Using your preferred cookie scoop (or a spoon for smaller portions), shape the prepared cookie dough into individual one-inch balls. This ensures uniform size and even baking later.
- Flash Freeze on a Tray: Arrange the cookie dough portions on a baking sheet lined with parchment paper. Make sure the dough balls are not touching each other, as they will stick together if frozen in contact. Place the entire tray in the freezer for approximately 1-2 hours, or until the dough balls are completely firm and frozen solid. This “flash freezing” step prevents them from clumping together when transferred to a bag.
- Transfer to an Airtight Container or Bag: Once the individual cookie dough balls are firm and frozen, transfer them from the baking sheet into an airtight, freezer-safe container or a heavy-duty zip-top plastic bag. It’s helpful to label the container with the date and the type of cookie for easy identification later.
- Store in Freezer: Your frozen cookie dough can be safely stored in the freezer for up to 6 months. This allows you to bake fresh cookies whenever a craving strikes!
- Baking Instructions from Frozen: When you’re ready to bake, preheat your oven as directed in the original recipe. Place the frozen cookie dough balls directly onto a parchment-lined baking sheet (no need to thaw). You may need to add a few minutes (typically 2-4 minutes) to the original baking time, as they are baking from a frozen state. Once baked and removed from the oven, immediately press the Hershey’s Kisses into the center of each warm cookie, just as you would with freshly made dough. Enjoy your perfectly fresh, warm, and fudgy cookies!

Loved This Double Chocolate Kiss Cookie Recipe?
We pour our hearts into creating recipes that bring joy to your kitchen! If you tried these incredible Double Chocolate Kiss Cookies and enjoyed them as much as we do, we would absolutely love to hear your thoughts. Your feedback helps us grow and inspires others to create delicious memories. Please consider leaving a review below and share with us how much you loved this fudgy, chocolatey delight!
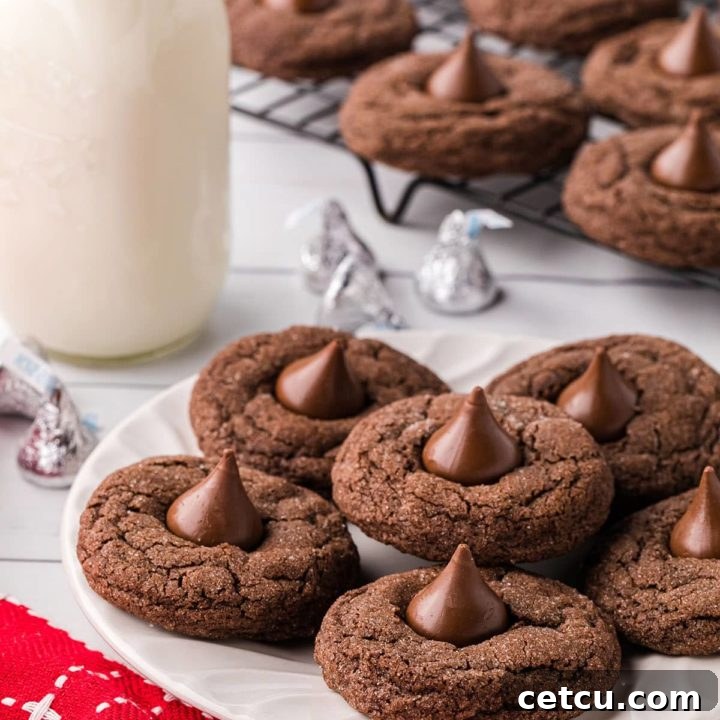
Double Chocolate Kiss Cookies
24 cookies
10 minutes
10 minutes
20 minutes
Indulge in these rich and fudgy Double Chocolate Kiss Cookies – a delightful combination of soft, chewy chocolate cookie dough topped with a sweet, iconic Hershey’s Kiss. Perfect for holiday cookie platters, romantic Valentine’s Day treats, or simply to satisfy your chocolate cravings any day of the year. This easy-to-follow recipe ensures a perfect batch every time!
Ingredients
- 2 cups all-purpose flour
- ⅔ cup unsweetened cocoa powder
- ¾ teaspoon baking soda
- ½ teaspoon salt
- 1 cup (2 sticks) unsalted butter, softened
- 2 cups granulated sugar (divided: 1 ½ cups for dough, ½ cup for rolling)
- 2 large eggs, at room temperature
- 2 teaspoons pure vanilla extract
- 24 Hershey Kisses brand chocolates, unwrapped
Instructions
- Preheat your oven to 350°F (175°C). Line a baking sheet with parchment paper or a silicone baking mat.
- In a medium bowl, whisk together the flour, cocoa powder, baking soda, and salt. Set aside.
- In the bowl of a stand mixer fitted with the paddle attachment (or using a hand mixer), cream together the softened butter and 1 ½ cups of granulated sugar on medium speed until light and fluffy. Beat in the eggs one at a time, then add the vanilla extract, mixing until well combined and smooth.
- Gradually add the flour mixture to the wet ingredients, mixing on low speed just until combined and no dry streaks of flour remain. Do not overmix.
- Pour the remaining ½ cup of granulated sugar into a small, shallow bowl. Using a medium cookie scoop (about 1-inch in diameter), scoop out dough and roll each portion into a smooth ball. Roll each ball in the sugar to coat it completely. Place the sugar-coated dough balls onto the prepared baking sheet, ensuring they are approximately 2 inches apart.
- Bake for 8-10 minutes. The cookies should be set around the edges but still appear slightly soft in the center. Immediately remove the baking sheet from the oven and gently press one unwrapped Hershey’s Kiss into the center of each warm cookie.
- Allow the cookies to cool on the baking sheet for about 5 minutes before carefully transferring them to a wire rack to cool completely. This helps them set and prevents the kisses from fully melting.
Notes
Freezing Chocolate Kiss Cookie Dough for Future Baking
Prepare for spontaneous cookie cravings by freezing your dough! This method ensures you have fresh, warm cookies whenever you desire, with minimal effort.
Scoop: Begin by shaping the cookie dough into individual, uniform portions using a cookie scoop or a spoon. Place these rounds onto a baking tray lined with parchment paper, making sure they are spaced apart to prevent sticking during freezing.
Freeze on Tray (Flash Freeze): Transfer the tray of scooped dough to the freezer. Allow the cookie dough portions to freeze undisturbed for approximately 1-2 hours, or until they are solid and firm to the touch. This crucial step prevents the dough balls from clumping together in storage.
Transfer to Container or Bag: Once the dough balls are thoroughly frozen, carefully remove them from the tray. Transfer the individual frozen cookie dough balls into an airtight, freezer-safe container or a heavy-duty zip-top plastic bag. Don’t forget to label the container with the date and the type of cookie for easy reference.
Store in Freezer: The frozen cookie dough can be stored in the freezer for up to 6 months, allowing for long-term freshness and convenience.
Baking Instructions: When you’re ready to bake a batch, preheat your oven as specified in the original recipe. Place the frozen cookie dough balls directly onto a prepared baking sheet (no need to thaw!). Bake according to the original recipe instructions, but anticipate adding an extra 2-4 minutes to the baking time to compensate for the frozen state of the dough. Immediately after baking, press a Hershey’s Kiss into the center of each warm cookie, then let them cool as usual. Enjoy your freshly baked, homemade cookies at any time!
Nutrition Information:
Yield: 24
Serving Size: 1 cookie
Amount Per Serving (estimated):
Calories: 210Total Fat: 10gSaturated Fat: 6gTrans Fat: 0gUnsaturated Fat: 3gCholesterol: 37mgSodium: 154mgCarbohydrates: 29gFiber: 1gSugar: 19gProtein: 2g
Nutrition information is an estimate based on the ingredients and cooking instructions as described in this recipe and is intended for informational purposes only. Please note that actual nutrition details may vary due to methods of preparation, origin, brand, and freshness of ingredients used. For the most accurate results, especially if these numbers are critical for dietary planning, we encourage you to calculate them independently.
Did you make this recipe?
Please leave a comment on the blog or share a photo on Instagram