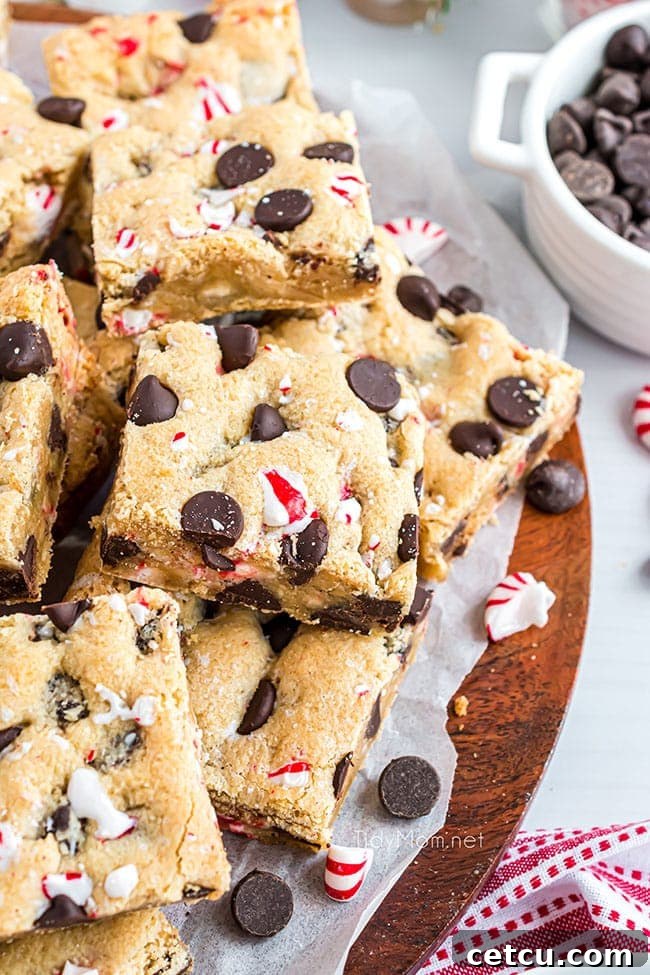
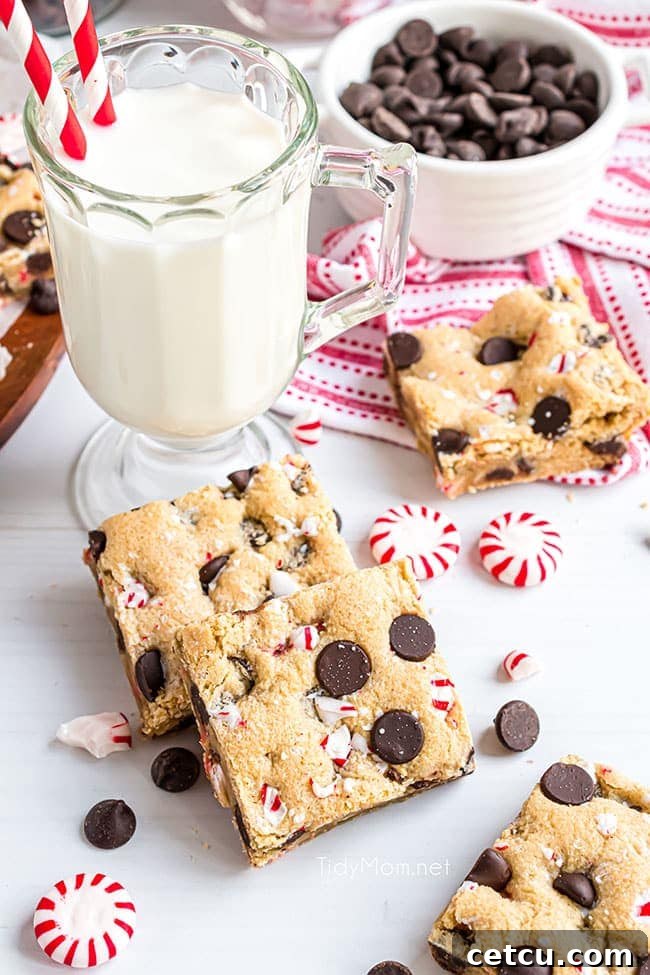
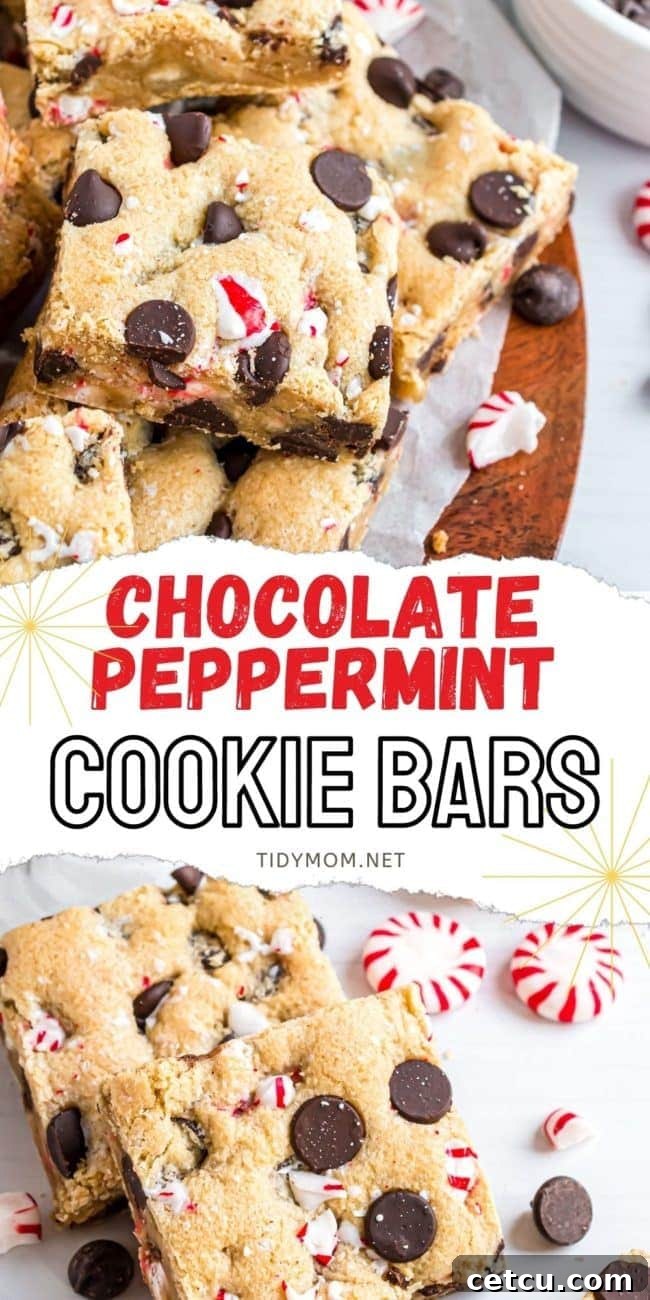
Welcome to a world where festive flavors collide in the most delicious way possible! If you’re searching for a dessert that embodies the holiday spirit, look no further than these **Dark Chocolate Chip Peppermint Cookie Bars**. Imagine a perfectly balanced sugar cookie dough, elevated with the deep, rich notes of dark chocolate chips and the invigorating coolness of peppermint candy. It’s a symphony of flavors that delivers the magic of the holidays in every single bite!
For those who adore the classic combination of chocolate and peppermint, these cookie bars are an absolute dream come true. They take your traditional chocolate chip cookie bar recipe and infuse it with a seasonal twist that’s simply irresistible. This festive treat is not just a dessert; it’s an experience that will leave your taste buds singing with holiday cheer.
If you’re already a fan of this iconic flavor pairing, you might also enjoy exploring these other delightful holiday recipes:
- Peppermint Surprise Crinkle Cookies
- Chocolate Peppermint Brownie Cake
- Classic Peppermint Bark
- Christmas Tree Peppermint Bark
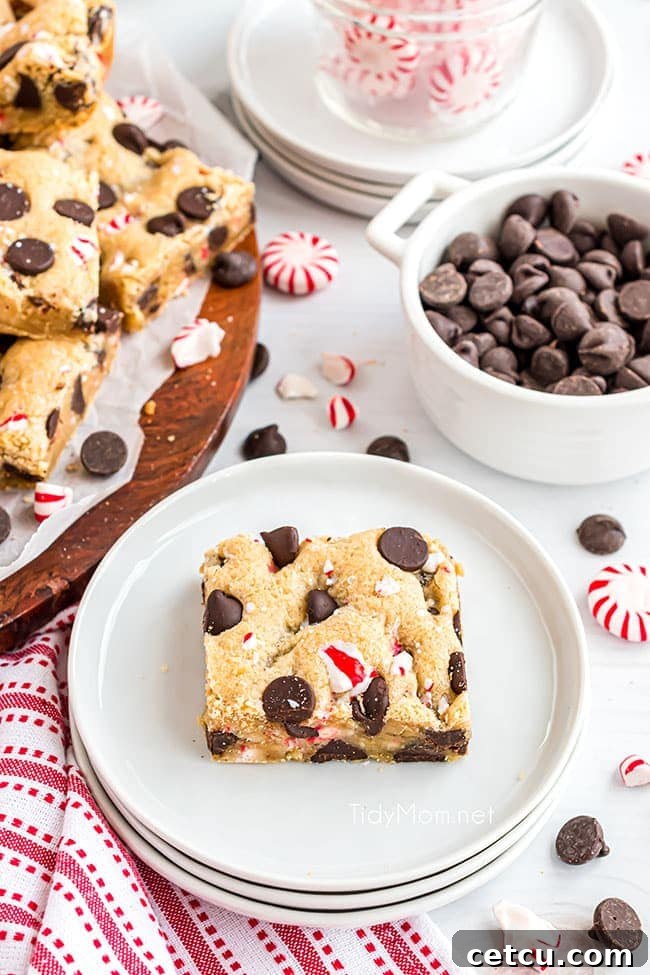
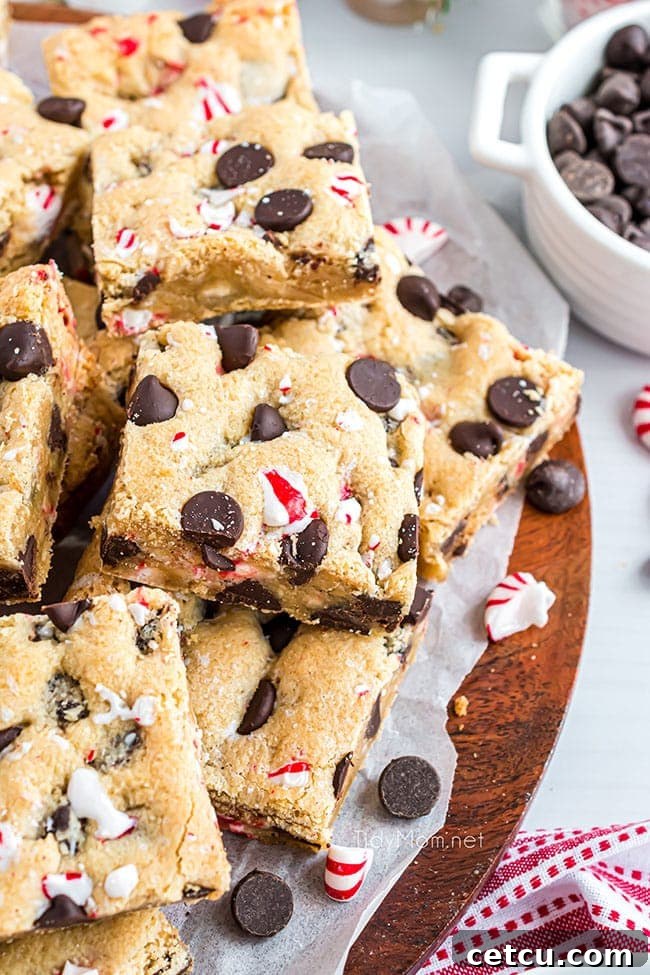
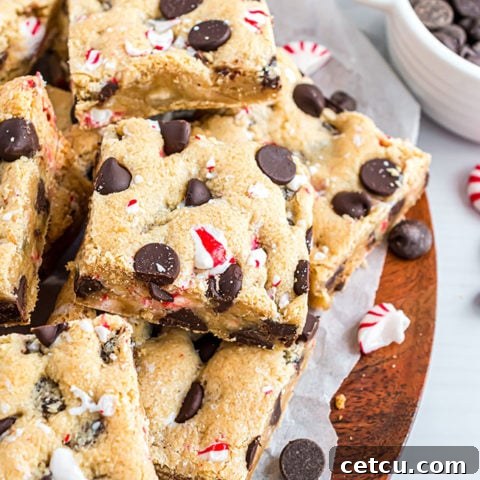
As the holiday season draws near, our kitchens become bustling hubs of warmth, laughter, and, of course, baking! Among the many festive treats, these **Dark Chocolate Chip Peppermint Cookie Bars** have quickly become a cherished favorite. The delightful crunch of crushed peppermint candy, perfectly complemented by the robust flavor of dark chocolate chips, creates a holiday dessert that’s as beautiful to look at as it is delicious to eat. Their festive appearance makes them a standout addition to any holiday table.
One of the best aspects of these cookie bars is their incredible ease of preparation. Whether you’re planning a holiday party, preparing thoughtful gifts for loved ones, or simply craving a delicious treat, this recipe is a lifesaver. You can whip them up at home with common pantry staples, making holiday baking less stressful and more enjoyable. The ability to customize them with your favorite flavors adds another layer of appeal, but the classic peppermint candy truly shines during this time of year, delivering that quintessential holiday taste we all love.
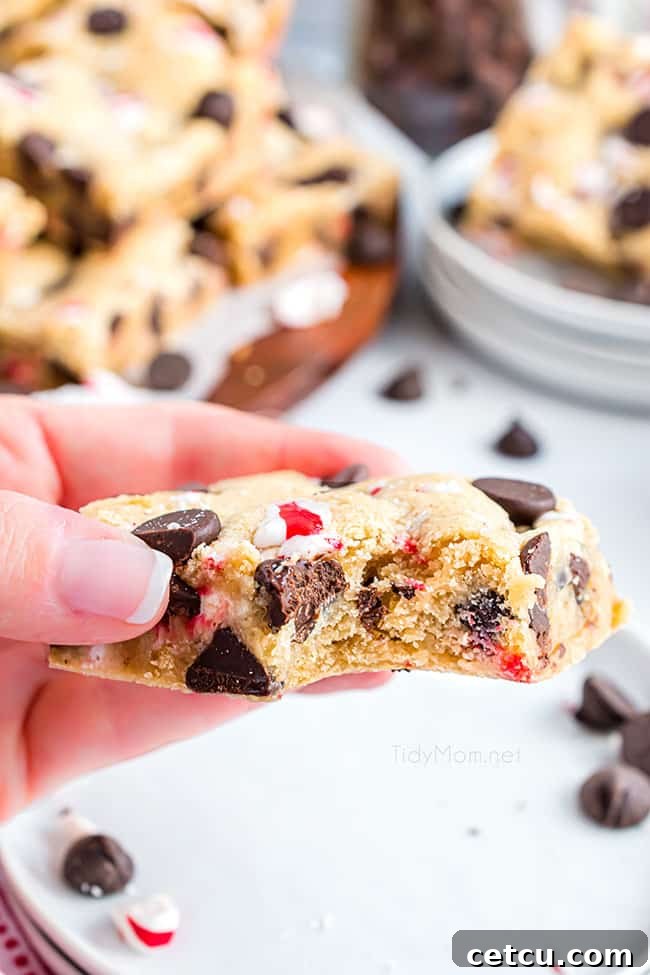
These bars boast a wonderfully soft and chewy texture, enhanced by the subtle, refreshing crunch of peppermint. They are the ultimate indulgence to enjoy after a grand Christmas feast, pairing beautifully with a hot cup of cocoa or a festive holiday beverage. Indeed, you can never go wrong with the timeless pairing of chocolate and peppermint!
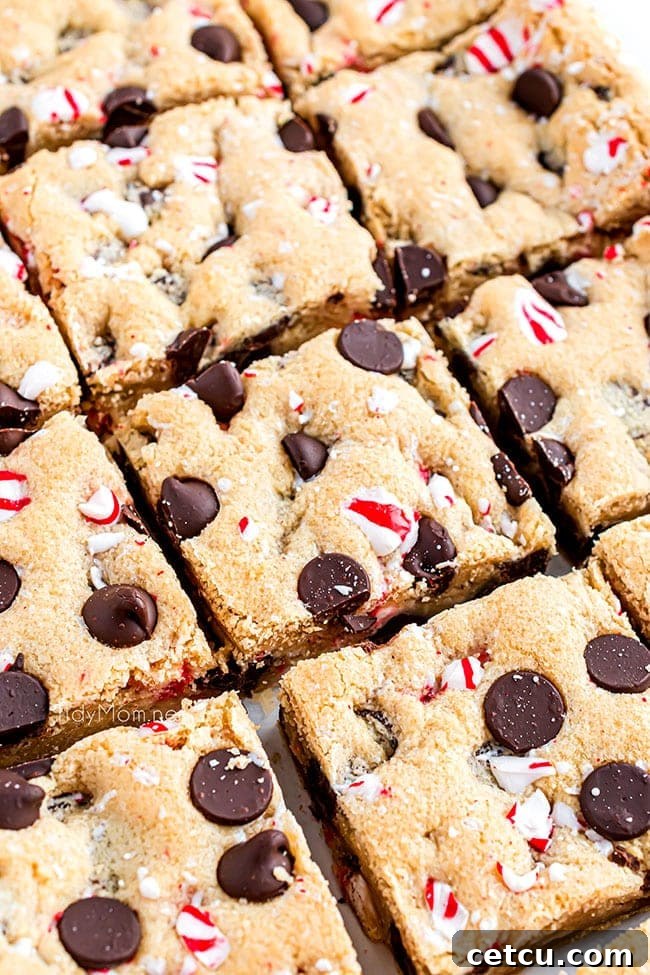
Why These Peppermint Cookie Bars Are a Holiday Must-Make
There are countless reasons to fall in love with these delightful cookie bars. They are more than just a dessert; they are a joyful addition to your holiday traditions, bringing warmth and cheer to every occasion.
- Perfect Holiday Gift: These **Dark Chocolate Chip Peppermint Cookie Bars** make exceptional homemade gifts for family, friends, neighbors, and teachers during the festive season. Package them elegantly in a decorative box, tie them with a festive ribbon, and you have a sweet, heartfelt present that shows you care. They travel well and are always appreciated.
- Irresistibly Festive Taste: From the moment you take your first bite, these cookie bars transport you straight into the heart of the Christmas season. The harmonious blend of rich chocolate and cool, invigorating peppermint is the epitome of holiday flavor. They evoke cherished memories and create new ones, truly tasting like Christmas in every chew.
- Surprisingly Easy to Prepare: Despite their gourmet appeal, these Chocolate Peppermint Cookie Bars are remarkably simple to create. Don’t let their impressive look fool you! Our comprehensive recipe breaks down the process into easy-to-follow steps, ensuring even novice bakers can achieve perfect results. You’ll impress everyone with your baking prowess without spending hours in the kitchen.
- A Guaranteed Crowd-Pleaser: Whether you’re hosting a large gathering or a small family get-together, these bars are sure to disappear quickly. Their universally loved flavors and appealing presentation make them a hit with both kids and adults. Prepare for compliments and requests for the recipe!
- Versatile & Customizable: While the dark chocolate and peppermint combination is classic, the base recipe is incredibly versatile. You can experiment with different types of chocolate or even add other festive mix-ins to make them uniquely yours. However, the original recipe holds a special place for a reason!
This post may contain affiliate links. Please read my full disclosure policy here for more information.
Essential Ingredients for These Holiday Cookie Bars
For precise measurements and detailed instructions, kindly refer to the printable recipe card located at the bottom of this article.
Crafting these delectable Dark Chocolate Chip Peppermint Cookie Bars requires a handful of simple, high-quality ingredients, most of which you likely already have in your pantry. Each component plays a vital role in achieving that perfect balance of chewy, chocolatey, and minty goodness.
- Pantry Staples: You’ll need standard all-purpose flour for the structure, a touch of salt to balance the sweetness, baking soda for a perfect rise and chewy texture, and a combination of granulated sugar and light brown sugar for depth of flavor and moisture.
- Flavoring Extracts: Pure vanilla extract is crucial for a warm, classic cookie flavor, while peppermint extract provides that signature cool, festive kick. Be sure to use high-quality extracts for the best taste.
- Eggs: Large, room-temperature eggs act as a binder, contributing to the bars’ rich texture and structure.
- Unsalted Butter: Softened unsalted butter is key for achieving a tender, flavorful dough. Using unsalted butter gives you control over the overall saltiness of the recipe.
- Dark Chocolate Chips: These are the star of the show, providing a rich, slightly bitter contrast to the sweet cookie base and peppermint. A 10-ounce bag (approximately 1 ¾ cups) is usually sufficient. Feel free to substitute with semi-sweet, milk chocolate, or even white chocolate chips based on your preference.
- Crushed Peppermint Candy: This ingredient adds both a burst of refreshing flavor and a delightful crunch. You can often find pre-crushed peppermint candy in bags near the chocolate chips or holiday baking supplies at your local grocery store during the holidays. If not, they are also readily available on Amazon, or you can easily crush your own candy canes (see FAQ section for tips!).
Baking Your Own Dark Chocolate Chip Peppermint Cookie Bars
For the complete, step-by-step recipe, please refer to the detailed instructions in the recipe card at the bottom of this page.
Creating these festive cookie bars is a straightforward and rewarding process. Here’s a quick overview of the essential steps:
- Prepare Your Pan: Begin by preheating your oven to 350° F (175° C). Crucially, line a 9×13 inch baking pan with parchment paper, ensuring you leave a generous overhang on all sides. This simple trick will make lifting the cooled bars out of the pan incredibly easy, preventing sticking and ensuring clean cuts. Set your prepared pan aside.
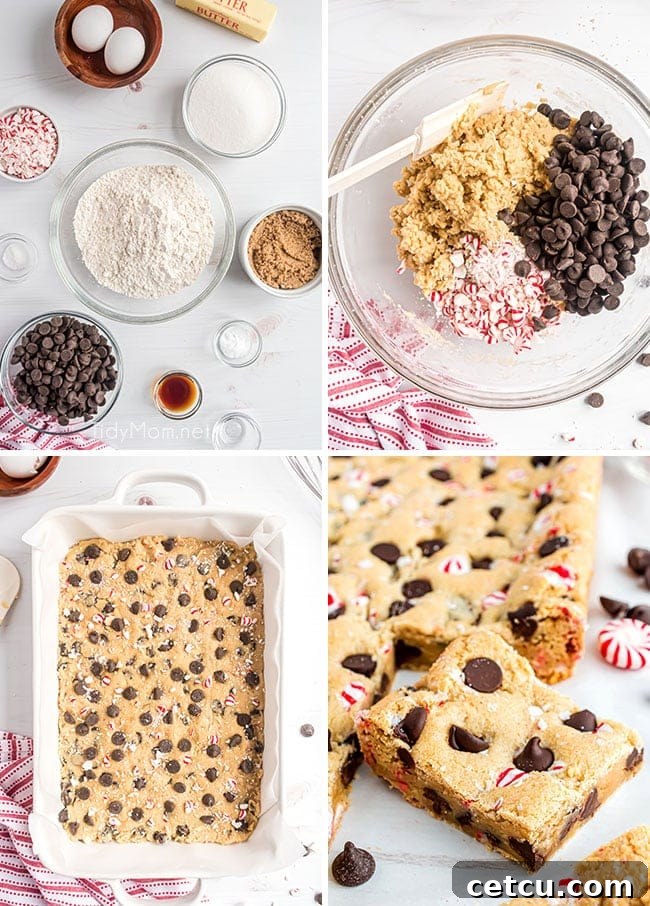
- Craft the Cookie Dough: In a large bowl, you’ll first cream together the softened butter and both sugars until light and fluffy. Next, incorporate the eggs and both vanilla and peppermint extracts until thoroughly blended. In a separate bowl, whisk together your dry ingredients (flour, salt, baking soda). Gradually add the dry mixture to the wet ingredients, mixing until just combined. Finally, fold in those beautiful dark chocolate chips and crushed peppermint candy until they are evenly distributed throughout the rich dough. Using your hands can sometimes be the easiest way to ensure an even mix.
- Bake to Perfection: Gently transfer the prepared cookie dough into your parchment-lined pan. Press it into an even layer using your hands or a spatula. For an extra touch of visual appeal, you can press a few additional chocolate chips and peppermint pieces onto the top of the dough before baking. Bake for the recommended time (typically 20-22 minutes), or until the edges are lightly golden and a toothpick inserted into the center comes out with only moist crumbs.
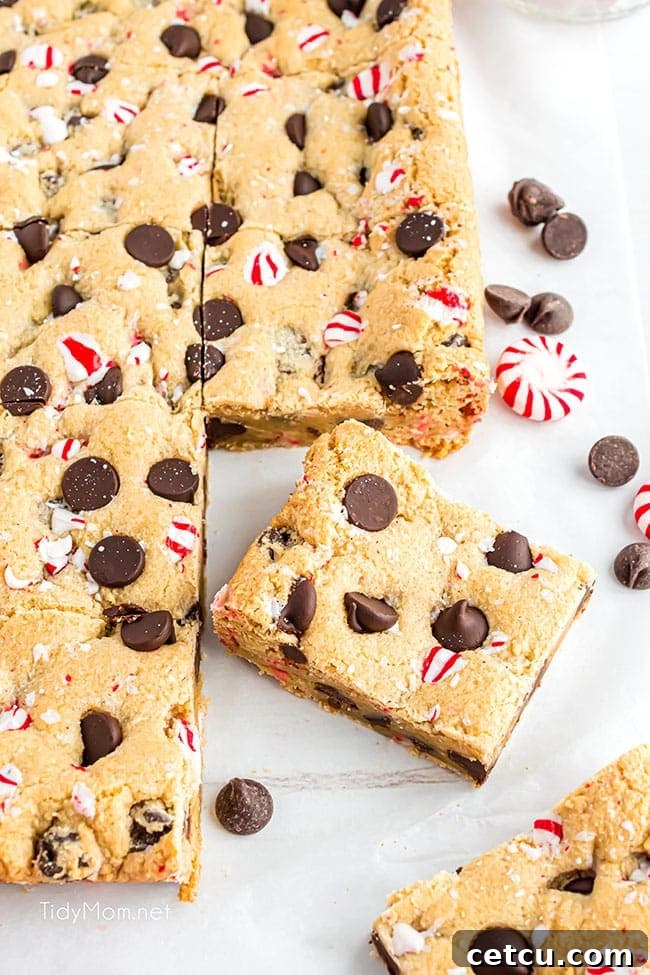
- Cool and Slice: Once baked, allow the cookie bars to cool completely in the pan on a wire rack. This is a critical step for perfect texture and clean cuts. Once fully cooled, use the parchment paper overhang to lift the entire slab of cookie bars onto a cutting board. Then, slice them into your desired squares or bars.
Proper Storage for Freshness
To keep your delicious **Dark Chocolate Chip Peppermint Cookie Bars** fresh and flavorful for as long as possible, store them in an airtight container at room temperature. They will maintain their quality for up to one week. Choose a cool, dry spot away from direct sunlight to prevent them from drying out or melting. If you live in a particularly hot or humid climate, it’s advisable to store your cookie bars in the refrigerator to preserve their texture and prevent the chocolate from becoming too soft.
For longer storage, these cookie bars freeze exceptionally well. Once completely cooled and sliced, arrange them in a single layer on a baking sheet and freeze for about an hour until firm. Then, transfer the frozen bars to an airtight freezer-safe container or a heavy-duty freezer bag, separating layers with parchment paper to prevent sticking. They can be frozen for up to 2-3 months. Thaw them at room temperature or gently warm them for a few seconds in the microwave for a fresh-baked taste.
Expert Recipe Tips for Perfect Cookie Bars
Achieving bakery-quality **Dark Chocolate Chip Peppermint Cookie Bars** is easy with these helpful tips:
Bake on the Middle Rack: For optimal and even baking, always place your cookie bar pan on the middle rack of your oven. This ensures that the heat circulates properly around the pan, preventing over-browning on the bottom or under-baking in the center.
Use Softened Real Butter: Do not substitute butter for margarine in this recipe; real butter provides superior flavor and texture. Furthermore, ensure your unsalted butter is properly softened to room temperature. It should be cool to the touch but yield easily when you gently press it with your finger. This allows it to cream effectively with the sugars, creating a light and airy dough that results in chewy bars.
Crushed Peppermint Candy: For convenience, I recommend buying bags of pre-crushed peppermint candy, which are typically found near the chocolate chips or in the holiday baking section of most grocery stores during the festive season. If you can’t find them, they are also available online. Alternatively, crushing your own candy canes is simple (refer to the FAQ section for detailed instructions).
Chill for Clean Cuts: To achieve beautifully crisp and clean edges on your cookie bar squares, it’s highly recommended to chill the entire pan of baked cookie bars in the refrigerator for at least 30 minutes (or even longer) before attempting to cut them. Cold chocolate peppermint cookie bars will slice much more cleanly and easily than bars that are still warm or at room temperature, preventing crumbling and smudging.
Parchment Paper is Key: Always line your baking pan with parchment paper, leaving an overhang on the sides. This ensures that the bars don’t stick to the pan and allows you to easily lift the entire cooled slab out for effortless cutting. Never use wax paper for baking, as it is not heat-safe and can catch fire in the oven.
Frequently Asked Questions About Dark Chocolate Chip Peppermint Cookie Bars
Here are answers to some common questions you might have while baking these delightful holiday treats:
How do you know when cookie bars are perfectly baked?
Your cookie bars are ready when the edges are lightly golden brown, and the center appears set but still slightly soft. The best way to check for doneness is to insert a clean toothpick into the very middle of the pan. If the toothpick comes out with only a few moist crumbs clinging to it, they are done. Avoid overbaking, as this will result in dry, crumbly bars instead of the desired soft and chewy texture. If the toothpick is covered in wet batter, the bars need a few more minutes in the oven.
Can I prepare the cookie bar dough in advance?
Absolutely! Preparing the cookie dough ahead of time is a fantastic way to streamline your holiday baking. You can store the unbaked cookie dough in the refrigerator, tightly covered with plastic wrap, for up to three days. When you’re ready to bake, allow the dough to come to room temperature for about 20-30 minutes before pressing it into the pan and baking as directed. This makes it a great option for busy schedules.
Is it necessary to chill the cookie bar dough before baking?
For this specific recipe, chilling the dough before baking isn’t strictly necessary; you can bake it right away. However, chilling cookie dough is almost always a good idea if you have the time. It allows the flavors to meld and deepen, resulting in a richer taste. More importantly, chilling solidifies the fats in the butter, which helps prevent the cookies from spreading too much in the oven, leading to thicker, chewier bars with a more defined texture. If you desire a slightly thicker bar, a 30-minute chill can work wonders.
What’s the best way to cut bar cookies cleanly?
Achieving perfectly neat and tidy cookie bar squares or rectangles is simpler than you think with these professional tips:
- Parchment Paper is Your Friend: Always start by lining your baking pan with parchment paper, leaving an overhang on all sides. This allows you to easily lift the entire cooled slab of cookie bars out of the pan, making cutting much simpler and mess-free.
- Chill Thoroughly: As mentioned in our tips, chilling the pan of baked cookie bars for at least 30 minutes (or up to a couple of hours) in the refrigerator is crucial. Cold chocolate peppermint cookie bars will cut significantly more cleanly and precisely than bars that are still warm or at room temperature. The chocolate will be firm, preventing smears.
- Use a Warm, Clean Knife: Once chilled, remove the uncut bars from the pan using the parchment overhang and place them on a sturdy cutting board. For the cleanest cuts, run a sharp, long knife under very hot water, then carefully wipe it completely dry. The warm blade will glide through the chocolate and cookie dough more smoothly.
- Measure and Trim: Use a ruler as a guide for consistent sizes. For truly pristine edges on all of your cookie bars, you might consider trimming off the very edges that were against the sides of the pan. This is optional but yields a professional look.
- Wipe Between Cuts: You may need to wipe the knife clean between each cut, and reheat it under hot water as needed, especially if the chocolate starts to stick. This ensures every bar is as perfect as the last.
How many servings can I get from a 9×13 inch pan?
The number of servings depends on your desired bar size. A standard 9×13 inch pan is quite versatile:
- For 12 generous servings: Cut the short side of the pan into three equal parts, then cut the long side into four equal parts. This will result in fairly large, satisfying chocolate chip cookie bars.
- For 15 standard servings: Cut the short side into three equal parts, and the long side into five equal parts. This yields a more standard-sized serving, perfect for most occasions.
- For 20 smaller servings: To get the most servings from your 9×13 pan, cut the short side into four equal parts and the long side into five equal parts. This is ideal for parties or when you want smaller portions.
Using a ruler as a guide will help ensure all your cuts are even and your bars are uniform.
What type of chocolate chips work best?
While the recipe calls for dark chocolate chips to complement the sweetness of the peppermint, the choice is ultimately yours! You can absolutely experiment with other varieties. Milk chocolate chips will yield a sweeter, creamier bar, while semi-sweet provides a classic balance. For a fun twist, consider white chocolate chips, which would offer a beautiful visual contrast and a different flavor profile. Whatever your preference, these cookie bars are incredibly adaptable and delicious with any kind of chocolate chip.
What’s the best method for crushing candy canes?
If you can’t find pre-crushed peppermint candy, crushing your own candy canes is easy and quite satisfying! My favorite method is to place them in a sturdy Ziploc bag, remove as much air as possible, and then use the flat side of a meat tenderizer to smash them. You can also achieve excellent results with a rolling pin or even a small hammer. The key is to take your time and aim for pieces that are about the size of “pop rocks” – visible enough to provide texture, but small enough to chew comfortably without any sharp edges. Avoid crushing them into a fine powder; you want those delightful little crunchy bits!
We hope you enjoy baking and sharing these incredible **Dark Chocolate Chip Peppermint Cookie Bars** as much as we do. They are truly a highlight of the holiday season, bringing joy and deliciousness to every celebration. Don’t forget to come back and let us know how your peppermint cookie bars turned out!
Chocolate Peppermint Cookie Bars
9×13 pan (12-15 servings)
10 minutes
20 minutes
20 minutes
These DARK CHOCOLATE PEPPERMINT COOKIE BARS are a holiday dream for any chocolate chip cookie bar lover, bringing festive joy to your taste buds in just one bite!
Ingredients
- 3 cups all-purpose flour
- 1/2 teaspoon salt
- 1 teaspoon baking soda
- 1/2 cup (1 stick) unsalted butter, softened
- 1 cup granulated sugar
- 1/2 cup packed light brown sugar
- 1 teaspoon vanilla extract
- 1/2 teaspoon peppermint extract
- 2 large eggs, room temperature
- 1 (10 ounce) bag dark chocolate chips*
- 2/3 cup crushed peppermint candy**
- optional: a few extra chocolate chips and candy to place on top of bars before baking
Instructions
- Preheat oven to 350° F. Line a 9×13 cake pan with parchment paper leaving an overhang on all sides to easily lift the bars from the pan when cool. Set aside.
- Whisk together flour, salt and baking soda in a large bowl and set aside.
- Using a large bowl and an electric mixer on medium-high, cream butter, granulated sugar, and brown sugar together until fully, about 1 minute. Beat in extracts and eggs until blended.
- Slowly add dry ingredients and mix together until well combined. Fold in the chocolate chips and crushed peppermint candy until evenly distributed in the dough, using clean hands to work the dough may be easiest.
- Transfer the dough to the prepared pan and pat it into an even layer. Press a few chocolate chips and crushed peppermint candy onto the top of the dough (this is optional, but makes the bars look extra yummy).
- Bake for 20-22 minutes or until very lightly browned on the edges.
- Allow the pan to cool on a wire rack for about an hour. Once cool, lift the parchment out of the pan using the overhang, place on a cutting board, and slice into squares or bars.
Notes
* You can substitute dark chocolate chips for semi-sweet or another preference. A 10-ounce bag is approximately 1 ¾ cups.
** Pre-crushed peppermint candy is usually found near chocolate chips or in the holiday baking section. If unavailable, crush candy canes in a zip-top bag with a rolling pin or heavy object.
TIP: Always use parchment paper to line your pan, NOT wax paper. Wax paper is not oven-safe and can ignite when exposed to heat.
- PRO-Tip: For the cleanest cuts, ensure bars are thoroughly chilled before slicing.
Store finished bars in an airtight container at room temperature for up to one week.
Nutrition Information:
Yield: 15
Serving Size: 1
Amount Per Serving:
Calories: 250Total Fat: 3gSaturated Fat: 2gTrans Fat: 0gUnsaturated Fat: 1gCholesterol: 26mgSodium: 174mgCarbohydrates: 52gFiber: 1gSugar: 29gProtein: 4g
Nutrition information is estimated based on the ingredients and cooking instructions as described in each recipe and is intended to be used for informational purposes only. Please note that nutrition details may vary based on methods of preparation, origin, and freshness of ingredients used.
Did you make this recipe?
Please leave a comment on the blog or share a photo on Instagram