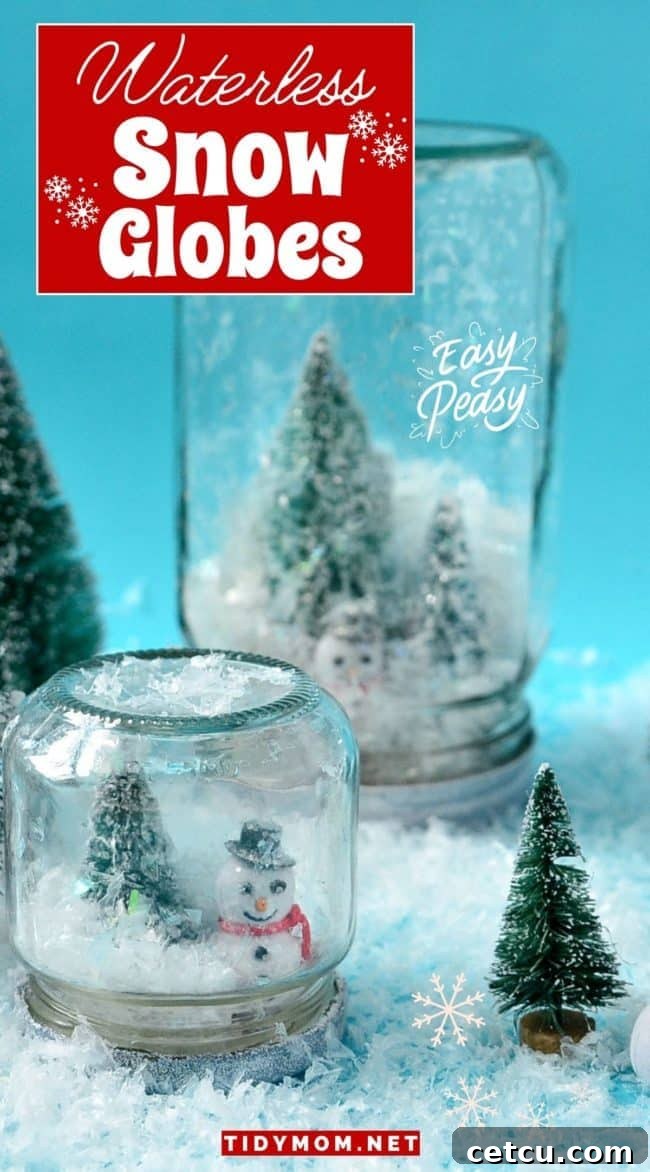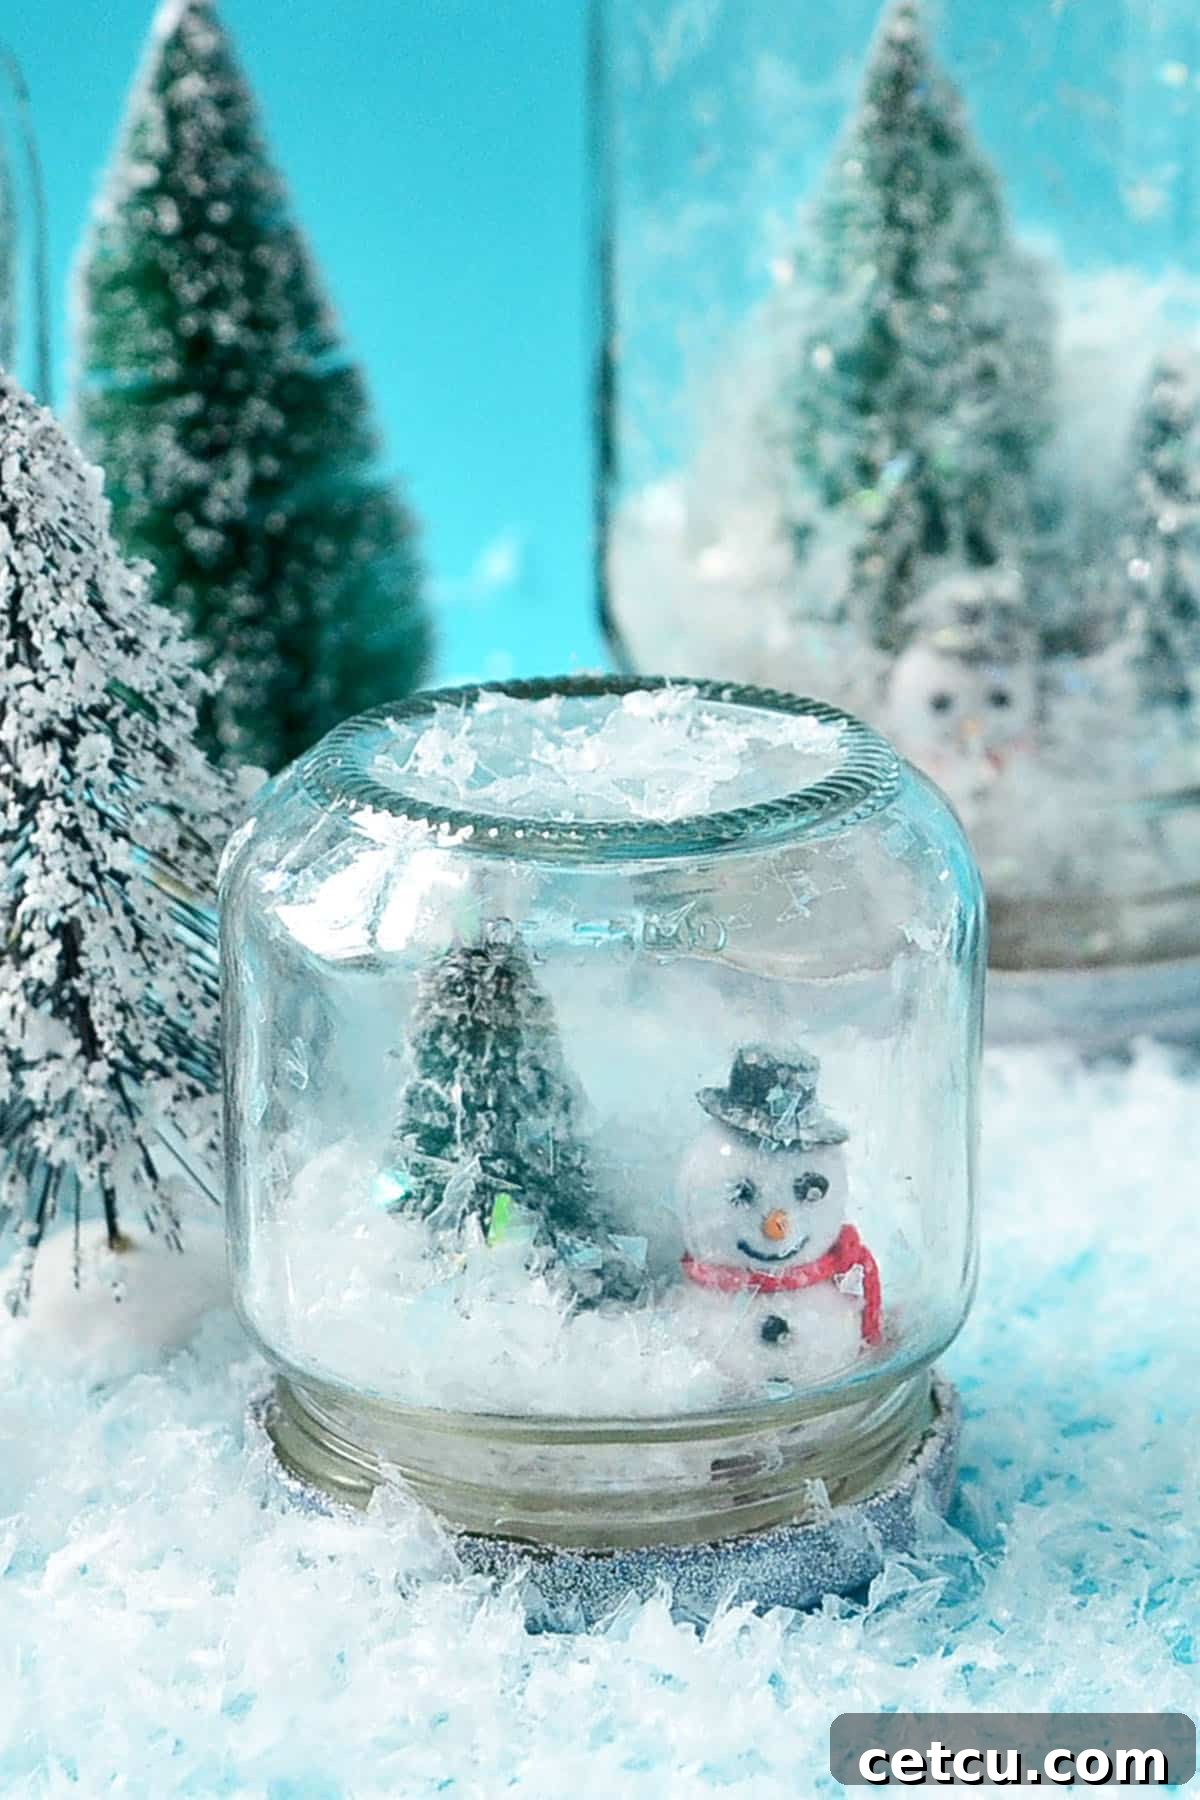
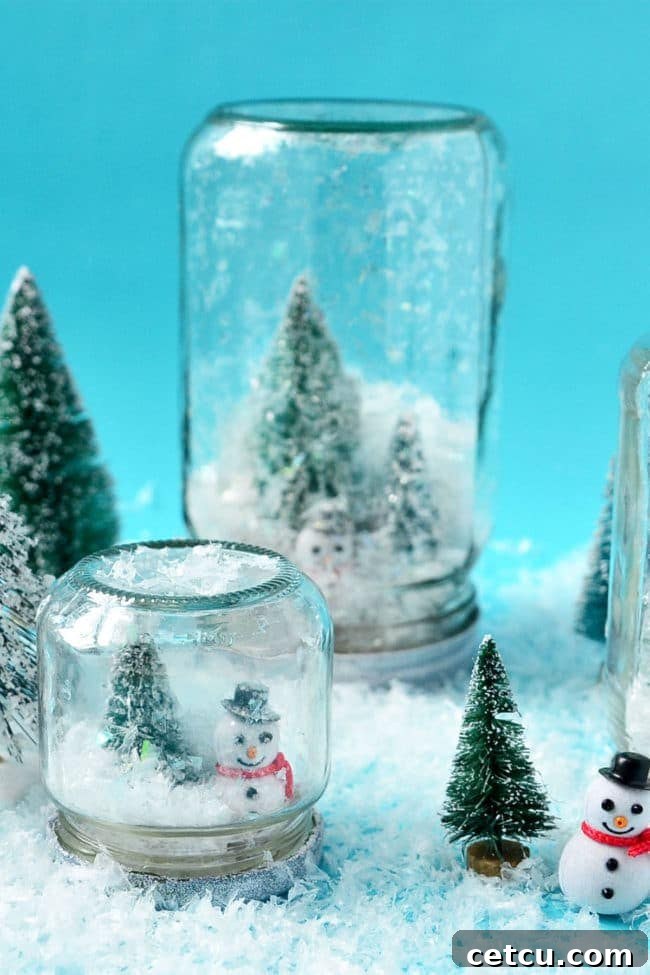
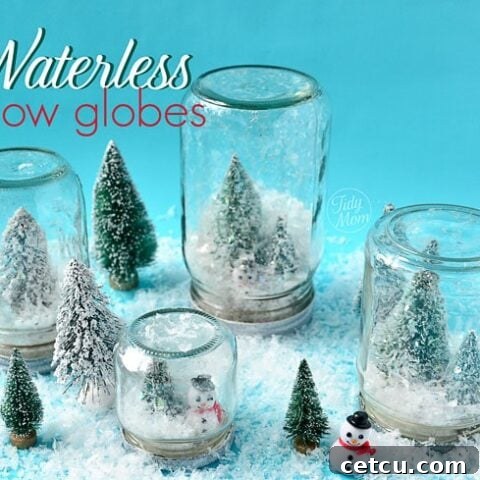
Embark on a delightful crafting journey with a modern twist on a beloved winter classic. Discover the simple joy of creating your very own waterless snow globes – a mesmerizing alternative to traditional designs that promises endless fun without the fuss.
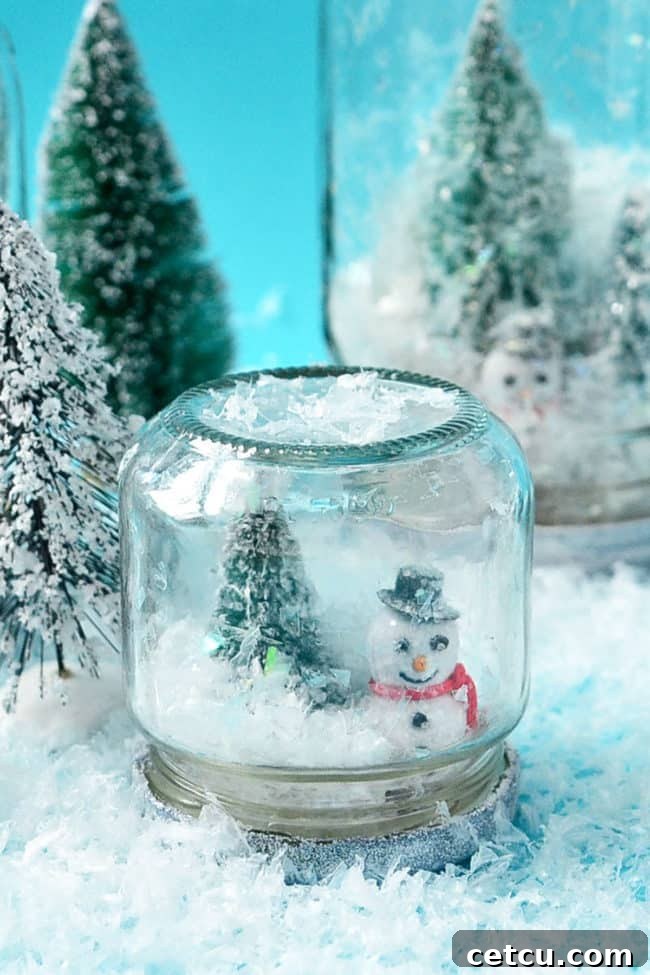
For years, I’ve envisioned crafting these charming waterless snow globes, and I’m thrilled to finally share this incredibly easy and versatile DIY project with you. The beauty of these creations lies in their simplicity and the boundless possibilities for customization, making them perfect for crafters of all ages and skill levels. Whether you’re looking for a festive holiday activity or a unique gift idea, these homemade snow globes are sure to bring a smile.
Imagine transforming your crafting session into a memorable party! You could serve a delicious spread of festive snowman cookies, elegant marble Christmas cupcakes, and a comforting mug of Red Velvet Hot Chocolate to fuel your creativity. And what’s a holiday craft session without a joyful soundtrack? Immerse yourselves in the festive spirit by playing your favorite Christmas tunes as you bring your unique snow globe visions to life!
Table of Contents
How To Make Waterless Snow Globes
Creating waterless snow globes is not only an enjoyable activity but also incredibly straightforward, making it an ideal craft for anyone, including young children. These delightful decorations are robust, mess-free, and bring all the charm of a traditional snow globe without the worry of spills or breakage. They offer a fantastic opportunity for imaginative play and a memorable bonding experience for families during the festive season.
First, Gather Your Supplies
This post may contain affiliate links. Please read my disclosure policy here.
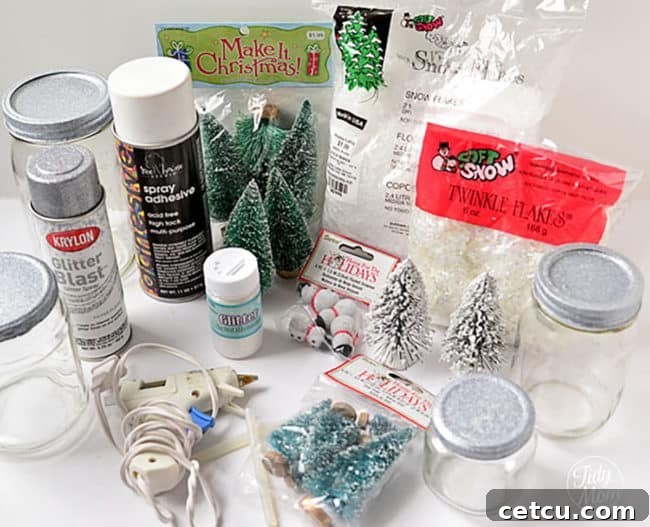
To begin your journey into crafting these charming DIY snow globes, gathering all your materials beforehand will ensure a smooth and enjoyable experience. Most of these items can be readily found at your local craft store, such as Michaels or Hobby Lobby, or conveniently purchased online. Clicking on the links provided below will take you directly to recommended products on Amazon, making your shopping list even easier to complete.
- Glass Jars: An assortment of glass jars in various sizes and shapes will create a more dynamic and interesting collection. Think Mason jars, old jam jars, or even repurposed spice jars for miniature globes. Ensure they are clean and dry before use.
- Artificial Snow: This is key to achieving that magical winter wonderland effect. I highly recommend a combination of Snow Flakes for fluffy coverage and Twinkle Flakes to add an extra layer of shimmering sparkle.
- Hot Glue Gun and Glue Sticks: An essential tool for securely attaching your figures to the jar lids. A good quality hot glue gun will make this step quick and easy.
- Assorted Mini Christmas Trees and Figures: The stars of your snow globe! Choose a variety of mini Christmas trees in different heights and styles, and charming mini snowmen or other winter-themed figurines like deer, tiny houses, or even miniature lamp posts.
- Spray Adhesive (optional): For an extra layer of glitter, spray adhesive provides a tacky surface for glitter to adhere to.
- Glitter (optional): A fine, iridescent glitter can add a dazzling touch to your trees and figures, enhancing their festive appeal.
- Krylon Glitter Blast (or White Spray Paint): This will be used to paint your jar lids, providing a clean, festive base. Krylon Glitter Blast offers a sparkly finish, but a simple white spray paint works beautifully for a classic look.
Now, Let’s Make Your Waterless Snow Globe
(For a complete, printable version of these directions, please refer to the end of this post.)
The assembly process for these easy homemade snow globes is incredibly rewarding. Begin by preparing your jar lids: carefully remove them from your chosen glass jars. Lay them out on a protected surface in a well-ventilated area, and then generously apply your chosen spray paint. I opted for the elegant silver finish of Krylon Glitter Blast, which provides a lovely sparkle. However, a crisp white spray paint will also deliver a timeless and beautiful result, offering a blank canvas for your winter scene.
Next, for an extra touch of enchantment, consider this completely optional step (which isn’t explicitly pictured but highly recommended for added dazzle): take your mini trees and snowmen, lightly spray them with adhesive, and then sprinkle them with a generous amount of fine glitter. This simple addition will make your tiny figures shimmer and catch the light, enhancing the magical effect of your snow globe.
Once your painted lids are dry and any glittered figures are set, you’re ready for the crucial step of assembly. Using your hot glue gun, carefully attach your mini trees and snowmen to the inner surface of the jar lids. If you’re using canning jars with two-piece lids, it’s a good idea to glue the flat lid disc to the outer ring for added stability. Take a moment to arrange your figures, creating a miniature scene that is visually appealing and balanced.
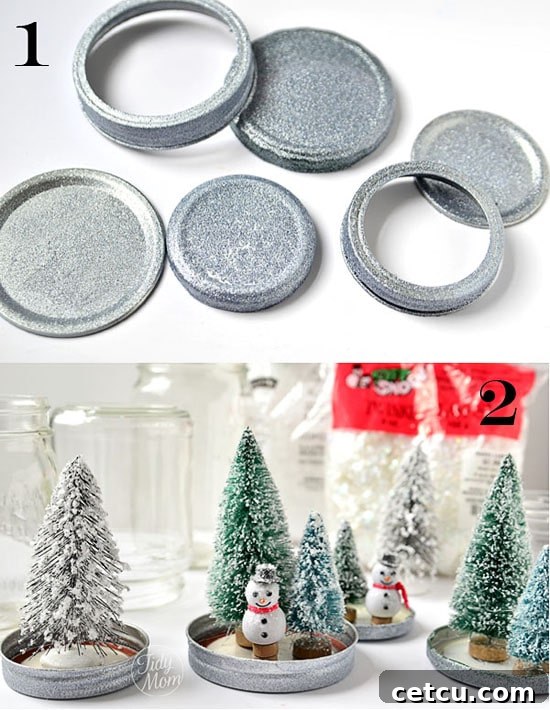
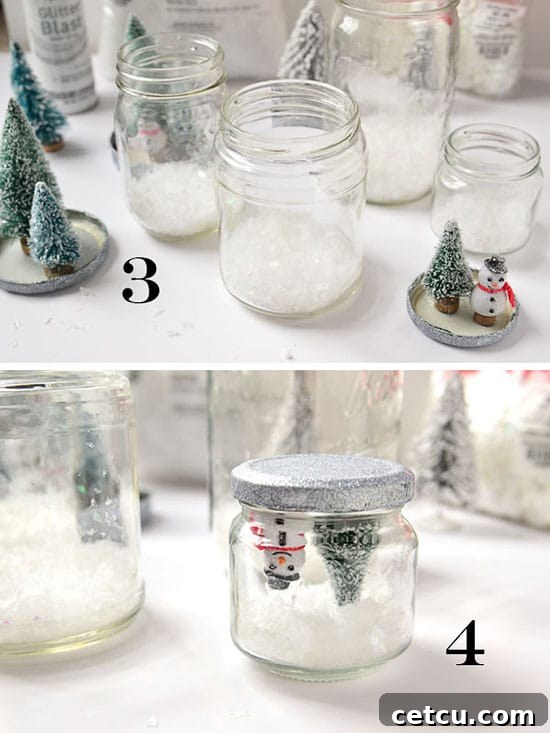
Now comes the most exciting part – adding the “snow”! Carefully pour a small amount of artificial snow into each jar. Remember, you don’t need to fill the jar completely; the goal is to create a delicate layer that covers the bottom, allowing your miniature scene to remain visible and not be buried by too much snow. A thin, even layer is usually sufficient to achieve a picturesque winter ground.
With your figures firmly glued to the lids and the snow nestled in the jars, it’s time to bring everything together. Simply pick up each lid, with its attached festive scene, and carefully screw it back onto its corresponding jar. Make sure the lid is tightened securely to ensure your creation stays intact and ready for display.
Finally, turn your jars over, and just like that, you’re done! Your enchanting waterless snow globes are complete and ready to bring a touch of winter magic into your home.
LET IT SNOW, LET IT SNOW……LET IT SNOW! Enjoy watching the “snow” drift around your miniature winter scenes.
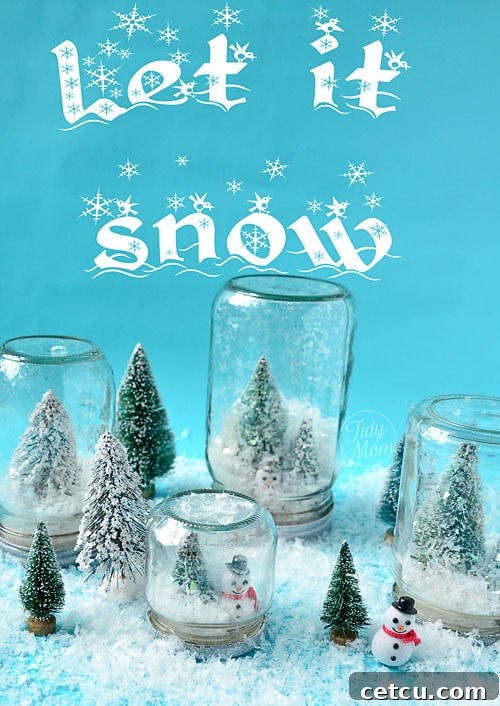
These versatile creations are perfect for a variety of decorative purposes. Arrange them as a festive centerpiece on your dining table, line them up along a cozy mantelpiece, place them on a sunlit window sill to catch the light, or simply hand them to little ones who will adore shaking them and watching the artificial snow swirl. The durable nature of these DIY waterless snow globes means they can withstand enthusiastic play without the risk of spills or breaking, making them a safe and engaging toy for kids.
Go ahead and shake them up! Witness the wonder and magic ignite in the eyes of children and adults alike as the faux snow dances around the charming figures within. These delightful snow globes are truly too much fun and incredibly simple to create. After accounting for the drying time of the painted lids, I was able to assemble four of these captivating globes in under half an hour. It’s an ideal holiday craft that fosters creativity and provides a wonderful opportunity for family bonding. Have fun making memories and beautiful decor!
Why Choose Waterless Snow Globes?
While traditional snow globes hold a special charm, waterless versions offer several distinct advantages, especially for families and those seeking a low-maintenance craft. Firstly, there’s absolutely no risk of water leakage, which means no messy cleanups or potential damage to surfaces. This makes them significantly safer and more durable, particularly around curious children or playful pets.
Secondly, the absence of water also eliminates concerns about evaporation, discoloration, or the growth of algae over time, ensuring your homemade snow globes retain their pristine beauty for years to come. They are also lighter and less fragile than their liquid-filled counterparts, making them easier to handle, transport, and store. Furthermore, crafting no-water snow globes means you can get creative with materials that wouldn’t typically survive immersion in water, such as certain types of paper, fabric, or unsealed wooden figures, opening up a wider world of decorative possibilities.
Creative Ideas for Your Waterless Snow Globes
The versatility of waterless snow globes extends far beyond classic Christmas scenes. Here are some inspiring ideas to spark your imagination and help you customize your creations for any season or occasion:
- Personalized Memories: Insert tiny laminated photos of family members, pets, or cherished vacation spots for a truly unique and sentimental gift.
- Seasonal Themes:
- **Autumn:** Use miniature pumpkins, fall leaves, tiny scarecrows, or woodland creatures like squirrels and foxes.
- **Spring:** Incorporate tiny flowers, butterflies, baby birds, or even small Easter bunnies.
- **Summer:** Think miniature beach scenes with tiny seashells, sand (or fine craft glitter), and small beach umbrellas.
- Themed Collections: Create a series of globes with a unified theme, such as a set of miniature forest animals, a tiny village scene, or different characters from a favorite storybook.
- LED Lighting: For an extra magical glow, consider attaching small, battery-operated LED fairy lights to the inside of the lid or around the base of the scene.
- Terrarium Style: Incorporate natural elements like small pebbles, preserved moss, or tiny dried flowers for a charming mini terrarium effect.
- Monogrammed Globes: Add a small initial or monogram to the scene for a personalized touch, perfect for gifts or place settings.
- Interactive Elements: While waterless, you can still add small beads or tiny bells to the artificial snow for a subtle sound when shaken.
Remember, the only limit is your imagination! Experiment with different jar shapes, sizes, and the array of miniature figures available at craft stores to design a homemade snow globe that truly reflects your unique style and creativity.
More Fun Waterless Snow Globe Crafts and Winter Decor
If you’ve enjoyed making waterless snow globes, you’ll love exploring other simple yet captivating winter and holiday craft ideas. These projects are designed to add a personal touch to your festive decor or to create heartfelt gifts for loved ones.
Consider crafting easy DIY photo snow globe ornaments. This quick and enjoyable project results in a truly personalized gift or a charming addition to any Christmas tree. You can even tie one onto a wrapped present for an extra special and unique gift embellishment, sure to delight the recipient.
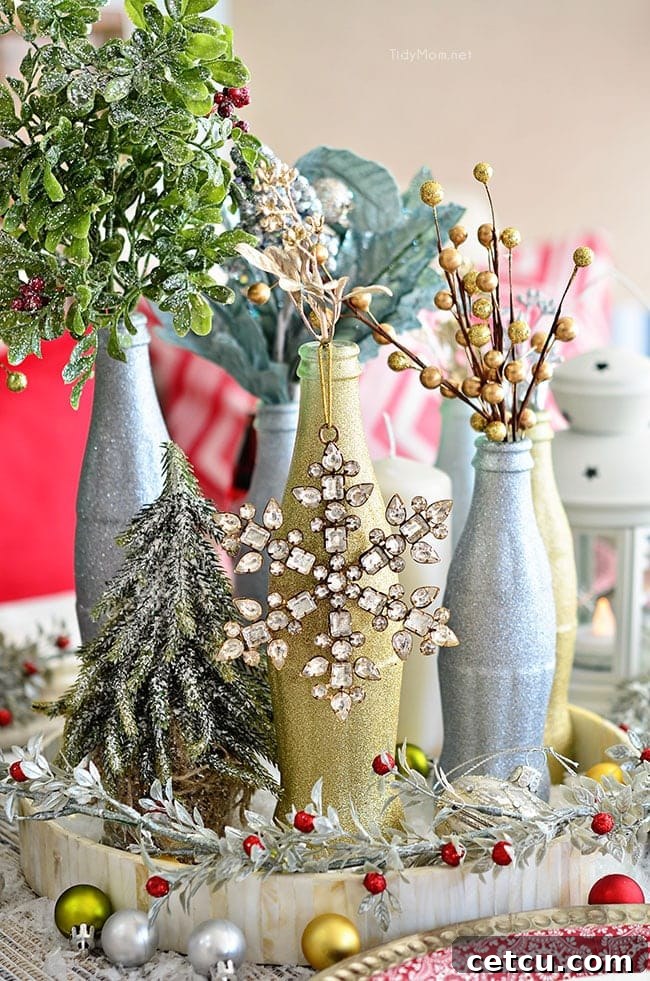
For those who appreciate a more sophisticated and elegant touch, yet still desire that holiday sparkle, try transforming empty Coca-Cola bottles into a stunning holiday table centerpiece. Simply paint the bottles with glitter spray paint, arrange them with some festive florals, and display them on a decorative tray. This project is not only easy to execute but also incredibly budget-friendly, costing next to nothing to create a high-impact piece.
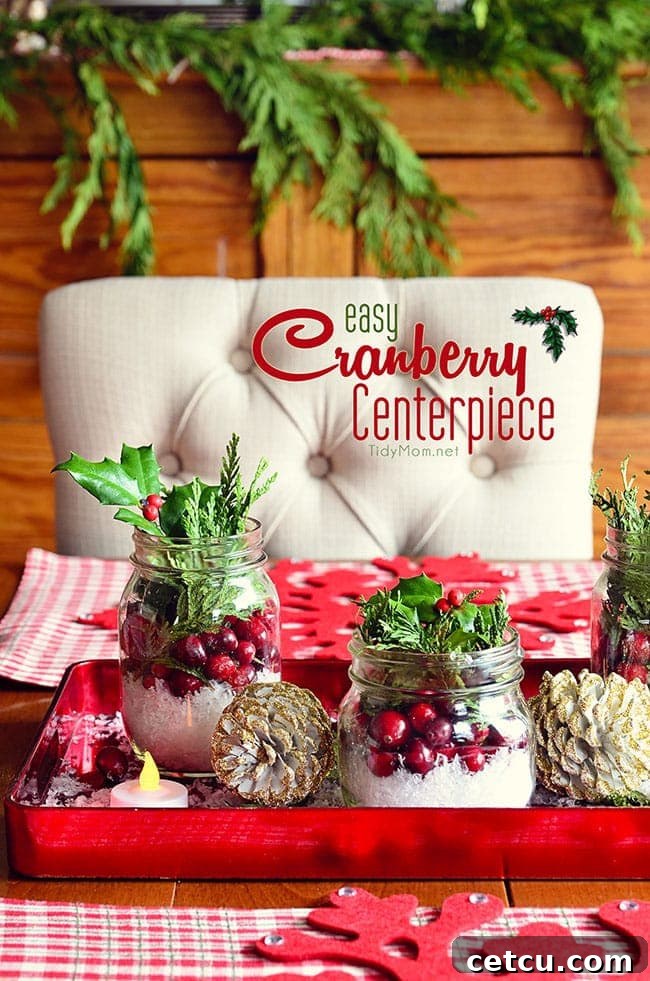
Alternatively, embrace the beauty of simplicity with an Easy Cranberry Centerpiece. There’s an undeniable magic in bringing elements from nature indoors, and this design captures that essence perfectly. It’s a quick, effortless way to add a pop of vibrant color and a fresh, natural feel to your holiday decor, proving that sometimes, less truly is more when it comes to festive arrangements.
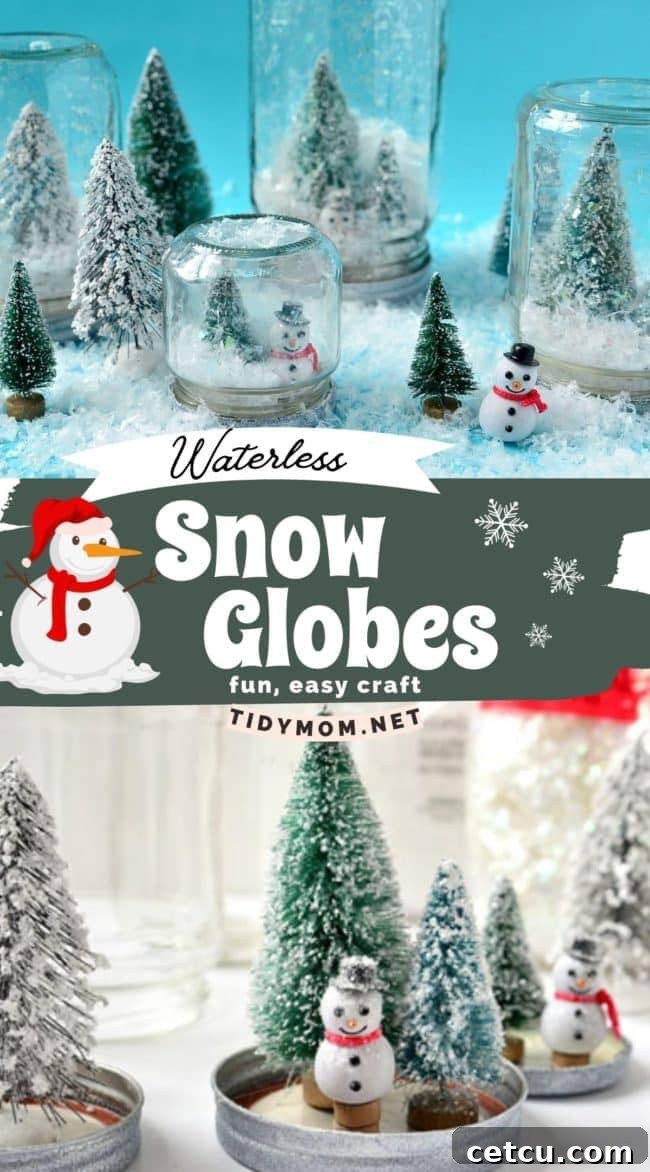
Like This Easy Waterless Snow Globe Craft? Pin It!
If you loved this tutorial on making easy waterless snow globes, be sure to save it for later inspiration or share it with fellow craft enthusiasts! Pin this idea to your favorite holiday or DIY craft boards on Pinterest so you can easily find it when you’re ready to create your own winter wonderland. Your friends and followers will appreciate the festive inspiration!
Waterless Snow Globes: The Full Tutorial
30 minutes
30 minutes
1 hour
Easy
Print This Tutorial
Add a charming twist to your winter decor with these delightful waterless snow globes. They’re fun, easy to make, and perfect for all ages!
Materials
- Glass jars (various sizes for a diverse collection)
- Artificial Snow (e.g., Snow Flakes and Twinkle Flakes for extra sparkle)
- Assorted mini Christmas trees and miniature snowmen or other winter figures
- Spray Adhesive (optional, for glitter)
- Fine glitter (optional, for added shimmer)
- Krylon Glitter Blast (or any white/silver spray paint)
Tools
- Hot glue gun and glue sticks
Instructions
- Prepare Lids: Begin by removing the lids from your glass jars. In a well-ventilated area, spray paint the lids with your chosen color. I used Krylon Glitter Blast in silver for a sparkly effect, but white spray paint works equally well for a classic look. Allow them to dry completely according to paint instructions.
- Optional Glitter Application: (This step is not pictured but adds a lovely touch.) For extra sparkle, lightly spray your mini trees and snowmen with spray adhesive, then immediately sprinkle them with fine glitter. Let them dry thoroughly.
- Attach Figures: Using your hot glue gun, carefully glue your mini trees and snowmen (or other chosen figures) to the inside of the jar lids. If you are using canning jars, ensure the flat lid disc is securely glued to the metal ring for stability. Arrange your scene as desired.
- Add Snow: Pour a small amount of artificial snow into each glass jar. You only need enough to cover the bottom of the jar and create a light snowy ground; avoid overfilling so your figures remain visible.
- Assemble Globe: Once the glue holding your figures is dry, carefully pick up each lid (with the attached scene) and screw it back onto its respective jar. Ensure the lid is tight to secure the contents.
- Display: Turn your assembled waterless snow globes over, and they are complete! Shake gently to distribute the snow and admire your festive creation.
Notes and Tips
Step-by-step photos are available in the main blog post for visual guidance.
For artificial snow, I found that a combination of Snow Flakes and Twinkle Flakes creates a beautiful, shimmering effect.
Feel free to customize your snow globes with any small seasonal figures you like. Consider adding miniature lamp posts, tiny deer, Santa figures, or even small houses to create a charming winter village scene. Use larger jars for more elaborate arrangements or bigger objects.
When working with a hot glue gun, always supervise children and ensure proper safety measures are in place.
Recommended Products
As an Amazon Associate and member of other affiliate programs, I earn from qualifying purchases.
- Mini Assorted Winter Decor
- 24 PCS Mini Christmas Trees 6 Sizes
- 12 Pcs Deer Figurines Cake Toppers
- Twinkles Snow
- FloraCraft Foam Snow
- STANLEY Glue Gun, Dual Melt, High/Low Temperature
- Krylon Glitter Blast Glitter Spray Paint
- Martha Stewart Crafts Fine Glitter, White Gold
- Elmer’s Spray Adhesive
Did you make this project?
We’d love to see your beautiful homemade waterless snow globes! Please leave a comment on the blog or share a photo of your finished craft on Instagram. Don’t forget to tag us and use relevant hashtags like #waterlesssnowglobes and #DIYcrafts!