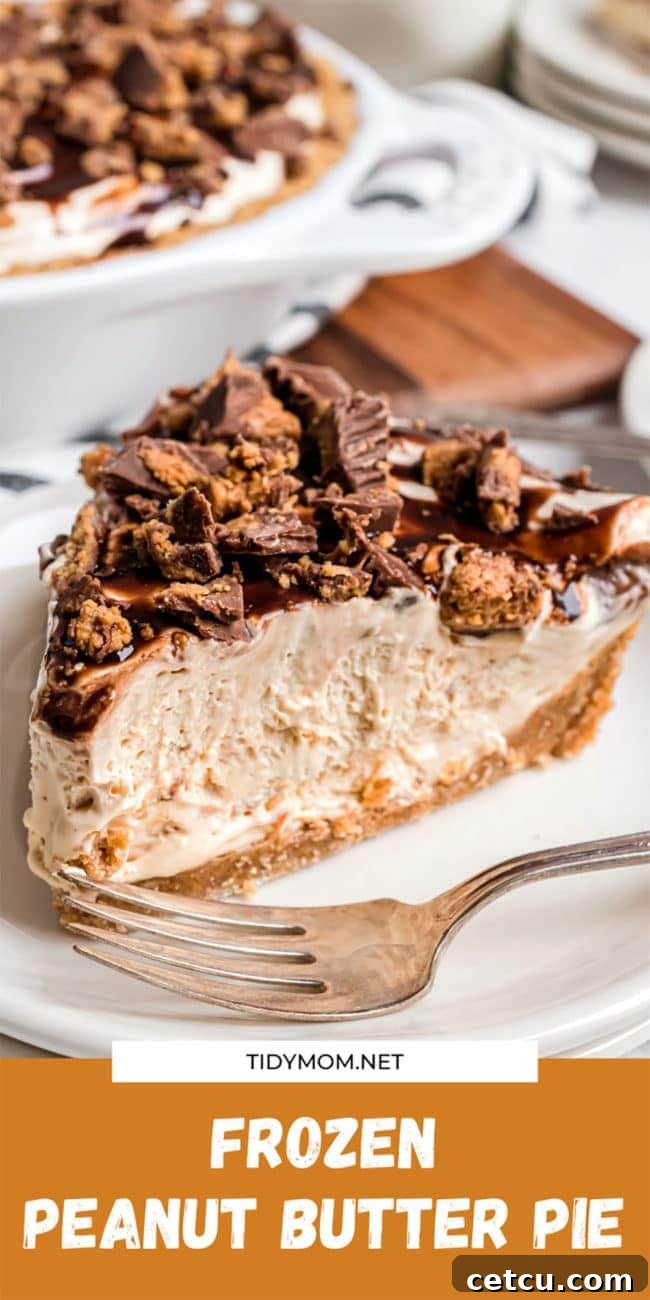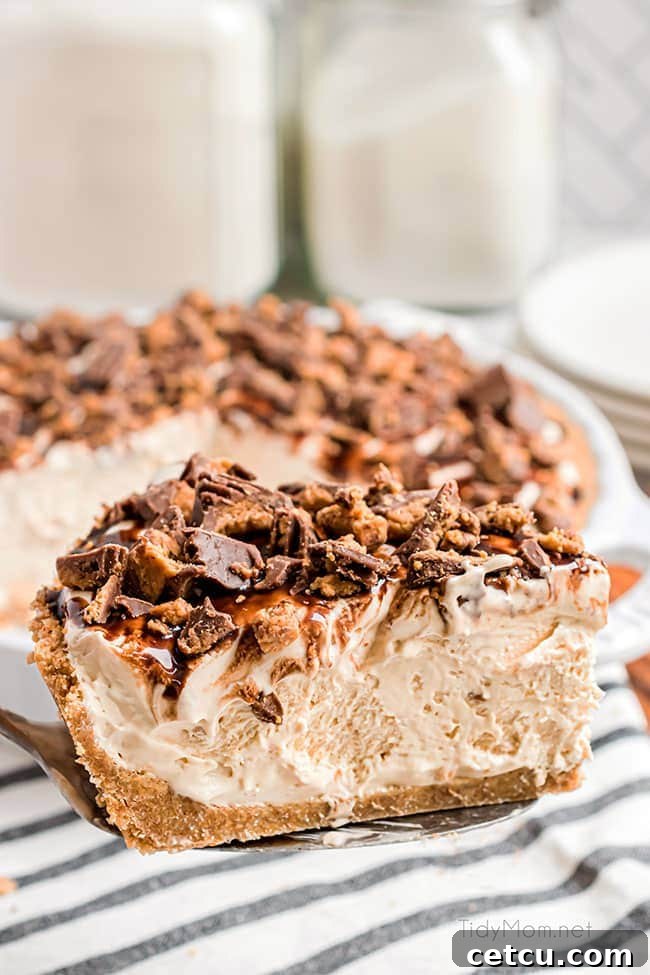
Frozen Peanut Butter Pie is an absolute triumph of no-bake desserts, epitomizing the perfect balance of creamy and crunchy, sweet and salty. This delightful retro treat, featuring a buttery graham cracker crust generously filled with a rich, fluffy blend of peanut butter and cream cheese, has been a beloved staple in countless homes for generations. It’s more than just a dessert; it’s a cherished memory maker, a testament to simple ingredients coming together to create something truly extraordinary. Whether served chilled or frozen, its irresistible charm makes it an ideal choice for warm weather gatherings or any time you crave a taste of pure bliss. Once you try this recipe, you’ll understand why it’s been a family favorite for decades—it’s simply *that* good!
If you’re a devout peanut butter enthusiast, you understand that the obsession extends far beyond just this incredible pie. The versatility of peanut butter makes it a star in a myriad of sweet creations. For those who adore our Frozen Peanut Butter Pie, we highly recommend exploring other delightful peanut butter recipes that promise to satisfy your cravings. Dive into the decadent Chocolate Peanut Butter Pie, indulge in the chewy goodness of Peanut Butter Blowout Cookies, or savor the smooth richness of Chocolate Peanut Butter Fudge. And for a truly exquisite experience, my personal favorite, Peanut Butter Cheesecake Minis, offers a bite-sized burst of peanut butter heaven. Each of these recipes showcases the comforting and rich flavor of peanut butter in its own unique and delectable way.
Table of Contents
Why We Love Frozen Peanut Butter Pie
In our household, the love for peanut butter isn’t just a preference; it’s a full-blown addiction! From cookies and brownies to pies and, of course, classic sandwiches, we’re constantly finding innovative ways to incorporate that creamy, nutty goodness into every meal and snack. This Frozen Peanut Butter Pie is no exception, embodying everything we adore about peanut butter desserts and then some.
What makes this pie a perpetual favorite for generations? Its sheer simplicity and incredible flavor. Imagine sinking your teeth into a dessert that feels luxurious yet requires minimal effort. The graham cracker crust, which can be easily made from scratch or quickly assembled with a store-bought version, provides a perfect, crumbly base. The star of the show, the no-bake filling, is whipped up in minutes and then left to set in the refrigerator or freezer, transforming into a light, airy, and intensely peanut buttery dream.
This dessert truly shines in warm weather, offering a refreshing and satisfying treat that cools you down from the inside out. (Though, let’s be honest, we happily enjoy it year-round!). Its smooth texture, rich taste, and delightful chill make it an irresistible indulgence. Serve it frozen for a firmer, ice cream-like experience, or slightly chilled for a softer, melt-in-your-mouth consistency. For an extra touch of decadence, a drizzle of chocolate syrup or a sprinkle of chopped Reese’s peanut butter cups transforms it into an elegant, show-stopping dessert that’s sure to garner rave reviews.
Beyond its deliciousness, this peanut butter pie is a dream for busy hosts. It requires only about 10-15 minutes of active prep time, making it an incredibly efficient recipe. While it does need a minimum of 4-6 hours to freeze for that perfect firm texture, the beauty of this pie is its versatility; if impatience strikes, you can absolutely serve it chilled after just a couple of hours for a softer, equally delightful version. This makes it the ultimate make-ahead dessert, allowing you to prepare it well in advance and simply pull it out when you’re ready to impress your guests. It’s truly a hassle-free dessert that delivers maximum flavor and convenience.
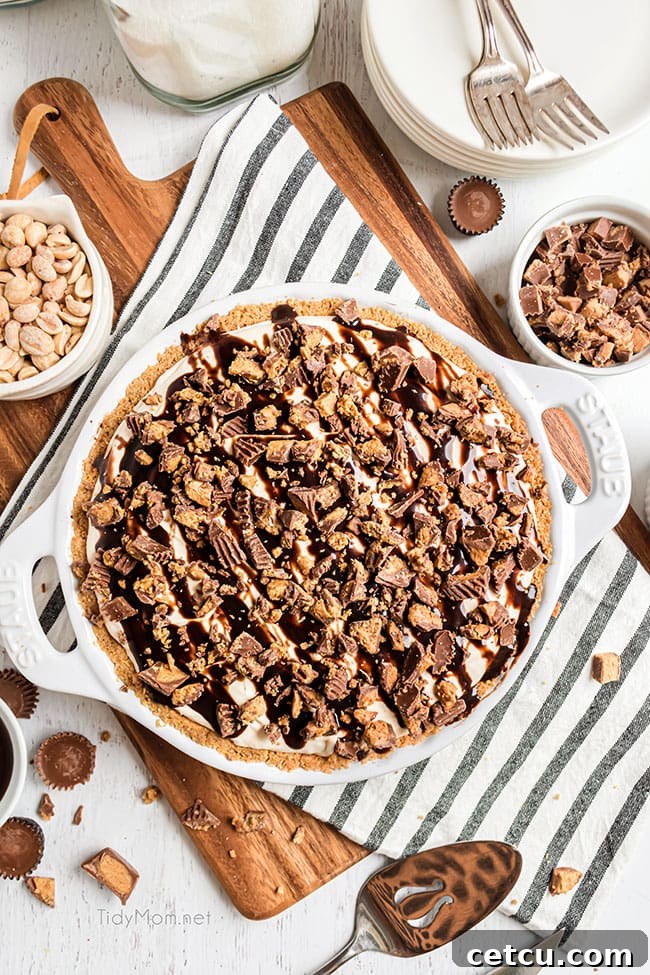
Ingredients For Frozen Peanut Butter Pie
Prepare to be amazed by how few ingredients are needed to create this show-stopping dessert! This no-bake marvel truly simplifies dessert making without sacrificing an ounce of flavor. Gather these key components, and you’ll be on your way to peanut butter bliss:
- Graham Cracker Pie Crust: This forms the essential base of our pie. You have the flexibility to either whip up your own homemade graham cracker crust, which is surprisingly simple and adds a personal touch, or opt for the convenience of a ready-made crust from your local grocery store. Both options yield a delicious foundation for the creamy filling.
- Peanut Butter: The undisputed star of the show! A peanut butter pie simply wouldn’t be complete without it. Our family has a strong preference for chunky peanut butter; the tiny peanut pieces add a delightful textural contrast and an extra burst of nutty flavor that we absolutely adore. However, if you prefer a perfectly smooth consistency, creamy peanut butter works just as wonderfully. Feel free to use your favorite brand!
- Cream Cheese: This ingredient is crucial for creating that irresistibly light, fluffy, and slightly tangy filling. For the best results and a perfectly smooth mixture, ensure your cream cheese is softened to room temperature before you begin mixing. This prevents lumps and ensures it blends seamlessly with the other ingredients, creating a velvety texture.
- Powdered Sugar: Also known as confectioners’ sugar, this finely milled sugar is key to achieving a silky-smooth pie filling. Since this is a no-bake recipe, the sugar won’t have a chance to dissolve through heat. Using powdered sugar ensures that your pie remains smooth and luxurious, avoiding any gritty texture that granulated sugar might impart.
- Milk: A splash of milk helps to loosen the filling mixture, ensuring it’s creamy and spreadable. Any type of milk you have on hand will typically work well. I often use 2% or whole milk, but feel free to use what you prefer or have available in your refrigerator.
- Cool Whip: This whipped topping is a vital component for achieving the light, airy, and stable texture of our frozen pie filling. It adds volume and a delicate sweetness without the fuss of whipping fresh cream. Remember to take it out of the freezer in advance to allow it to thaw properly in the refrigerator (check the tips below for best practices). While homemade whipped cream can be a substitute, Cool Whip is specifically recommended for its stability when frozen, ensuring your pie holds its shape beautifully.
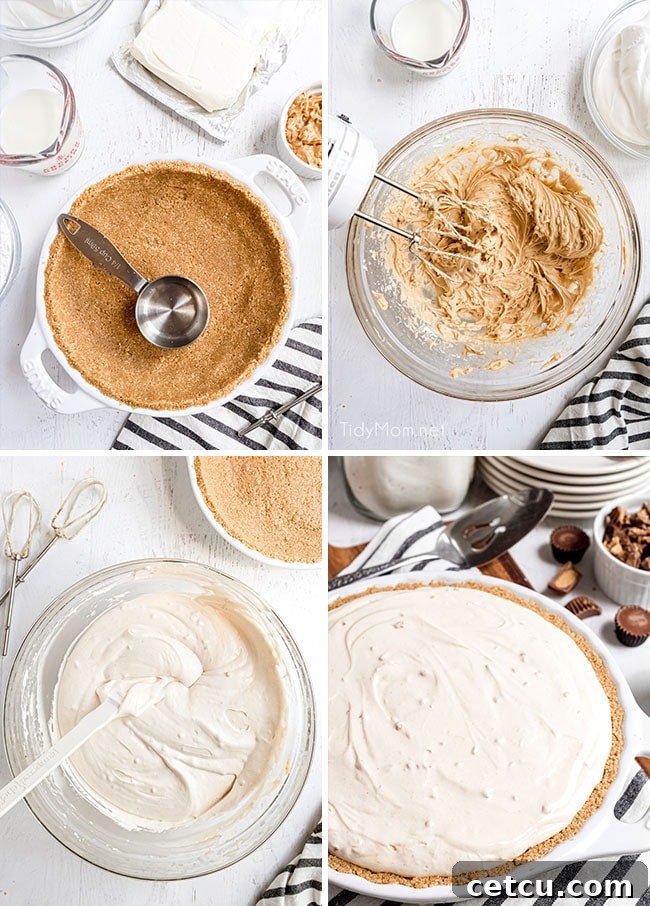
Make No-Bake Peanut Butter Pie From Scratch
Creating this sensational no-bake peanut butter pie is a surprisingly simple and straightforward process, perfect for novice bakers and seasoned dessert makers alike. With just a few minutes of active preparation, you’ll have a delightful dessert ready to chill or freeze. Follow these easy steps to whip up your perfect pie:
(For the full printable recipe with precise measurements, please refer to the recipe card at the end of this post.)
Step One: Prepare the Creamy Base
Begin by taking your softened cream cheese and placing it in a large mixing bowl. Using an electric mixer, whip the cream cheese on medium speed until it becomes light, airy, and beautifully fluffy. This initial step is key to achieving a smooth and lump-free filling. Next, add the peanut butter and powdered sugar to the whipped cream cheese. Continue to beat the mixture with your electric mixer until all the ingredients are thoroughly combined and the mixture is wonderfully smooth and creamy. Scrape down the sides of the bowl as needed to ensure everything is incorporated.
Step Two: Achieve the Perfect Consistency
With the mixer still running on low speed, slowly and gradually add the milk to the peanut butter and cream cheese mixture. Continue to blend thoroughly until the milk is fully incorporated and the filling achieves a luscious, even consistency. This step helps to thin out the mixture just enough to make it perfectly spoonable and ensures a velvety texture when set.
Step Three: Fold in the Cool Whip
Gently fold in the thawed Cool Whip topping into your peanut butter mixture. Use a spatula to carefully incorporate the Cool Whip, ensuring you maintain its airy volume. Mix until no streaks of Cool Whip remain and the filling is uniformly light and fluffy. Once combined, spoon this delectable mixture evenly into your prepared graham cracker crust, spreading it to the edges for a beautiful finish.
Step Four: Chill to Perfection
Place your assembled pie into the freezer for several hours. We recommend a minimum of 4-6 hours, or preferably overnight, to allow it to set completely and achieve that delightful frozen consistency. If you find yourself in a hurry and can’t wait for a fully frozen pie, simply chill it in the refrigerator for a few hours. It will still be soft, creamy, and utterly delicious! Serve and savor every sweet, nutty bite.
Optional Decadent Garnish: To elevate this already rich dessert to new heights, I highly recommend adding a few finishing touches just before serving. Drizzle generously with chocolate syrup or a warm hot fudge sauce. For an extra layer of peanut butter goodness and delightful crunch, sprinkle a handful of chopped peanut butter cups over the top. These garnishes not only add visual appeal but also enhance the indulgent flavors, making each slice an even more irresistible experience!
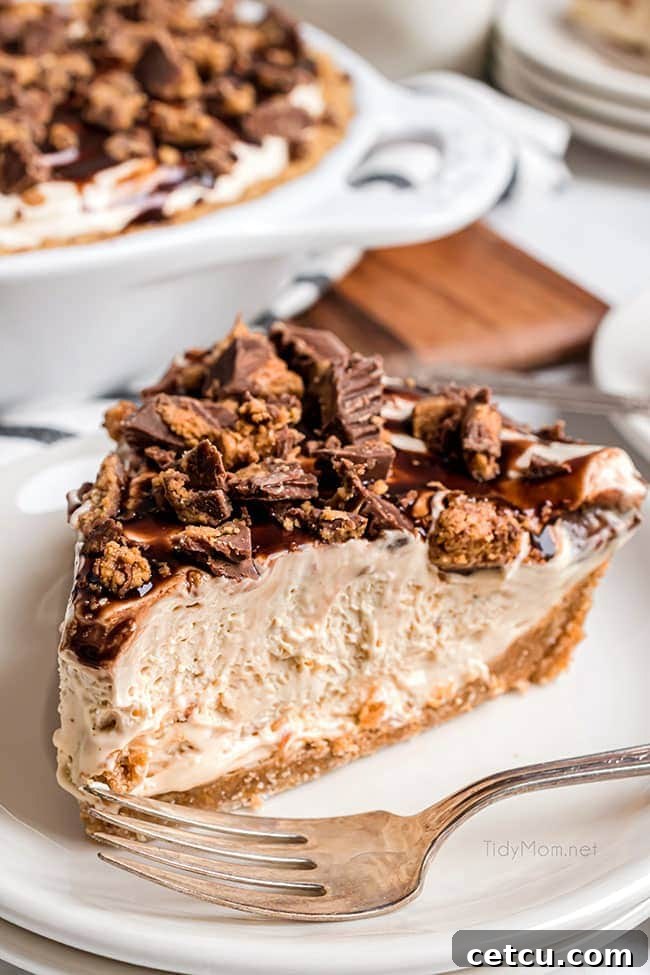
Tips & Variations For Making The Best Peanut Butter Pie
While our classic Frozen Peanut Butter Pie recipe is perfect as is, there are numerous ways to customize and enhance it to suit your taste or occasion. Here are some expert tips and creative variations to help you make the best peanut butter pie ever:
Serving Suggestions: Frozen vs. Chilled
- Frozen Perfection: This pie is utterly fantastic when served straight from the freezer. For a firm, almost ice-cream-like texture that holds its shape beautifully, ensure it has frozen solid for at least 6-8 hours, or ideally, overnight.
- Optimal Thawing Time: If your pie is frozen solid, I recommend removing it from the freezer about 15-20 minutes before you plan to slice and serve. This brief thawing period allows the pie to soften just enough, making it easier to cut into clean, elegant slices and ensuring a more pleasant texture when bitten into.
- Chilled Delight: Don’t underestimate the pie’s deliciousness when simply chilled in the refrigerator for a few hours. It yields a softer, mousse-like consistency that melts in your mouth and is equally satisfying, especially if you’re short on freezing time.
Crust Creations: Beyond Graham Crackers
While a classic graham cracker crust is always a winner, experimenting with different bases can add an exciting twist to your peanut butter pie:
- Ready-Made Convenience: To save precious time, don’t hesitate to use a store-bought graham cracker crust or even a pre-made chocolate cookie crust. They’re excellent shortcuts that don’t compromise on flavor.
- Homemade is Best: If you have the time and desire, a homemade crust (graham cracker or otherwise) offers a superior texture and fresh flavor. It’s a simple process that adds a touch of gourmet to your dessert.
- Chocolate Cookie Crust: For chocolate and peanut butter lovers, a crust made from crushed chocolate sandwich cookies (like Oreos, with cream removed) is a match made in heaven. The deep cocoa flavor perfectly complements the rich peanut butter.
- Nutty Cookie Crusts: Consider using crushed Nutter Butter cookies for an extra layer of peanut butter flavor, or Biscoff (speculoos) cookies for a spiced, caramel-like undertone that pairs surprisingly well with peanut butter.
Flavor Enhancements & Layering
- The Secret Chocolate Layer: Elevate your pie by adding a thin layer of chocolate between the crust and the filling. Simply melt about ½ cup of chocolate chips (semi-sweet or milk chocolate work well) and spread it evenly over the bottom of your prepared crust. Pop the pan into the freezer for 5-10 minutes, just until the chocolate is set. Then, spread your peanut butter filling directly on top of this hardened chocolate layer for a delightful two-toned surprise.
- Nutella or Cookie Butter Swaps: For an exciting variation, replace some or all of the peanut butter with Nutella (hazelnut spread) or a cookie butter spread (like Biscoff). These alternatives offer a rich, unique flavor profile that transforms the pie into a completely new dessert experience.
Creative Garnishes
Presentation is key! While the pie is delicious on its own, a thoughtful garnish can make it truly spectacular:
- Classic Chocolate & Peanut Butter: Our go-to garnish is a generous drizzle of chocolate syrup or hot fudge sauce, topped with a sprinkle of chopped Reese’s peanut butter cups. This combination is a crowd-pleaser every time.
- Whipped Cream & Shavings: A dollop of extra Cool Whip or freshly made whipped cream, adorned with elegant chocolate shavings, adds a touch of sophistication.
- Nutty Crunch: For more texture, sprinkle finely chopped roasted peanuts or candied pecans over the top.
- Simple & Elegant: Sometimes, simplicity is best. A light dusting of cocoa powder or powdered sugar can be just as charming and effective.
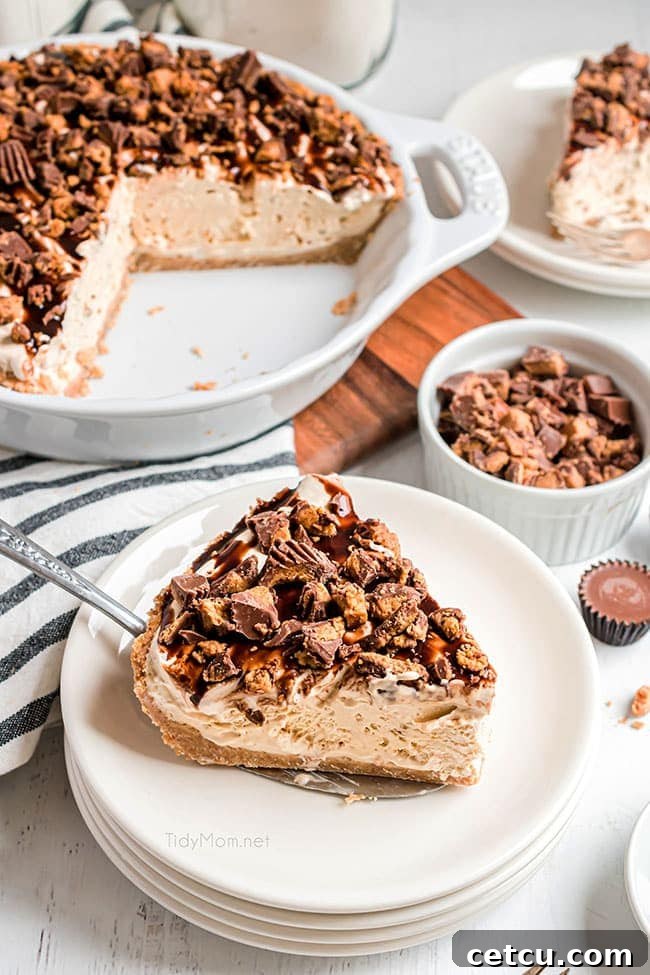
Storing Peanut Butter Pie
One of the many advantages of this amazing no-bake Frozen Peanut Butter Pie is how well it stores, making it an ideal make-ahead dessert for any occasion. Proper storage ensures you can enjoy its creamy goodness for days or even months!
- In the Refrigerator: For short-term storage, tightly cover the pie dish with plastic wrap, ensuring it’s sealed completely to prevent any air from reaching the pie. Stored this way, your peanut butter pie will remain wonderfully fresh and delicious in the refrigerator for 3-4 days. (Though, in our experience, it rarely lasts that long—it’s just too tempting!) Keep in mind that a refrigerated pie will have a softer, mousse-like consistency compared to its frozen counterpart.
- In the Freezer: For longer storage, this pie is exceptionally freezer-friendly. Once the pie is fully set, cover it tightly with multiple layers of plastic wrap, and then add a layer of aluminum foil for extra protection against freezer burn. When properly sealed, a no-bake peanut butter pie can be stored in the freezer for up to 3 months. This is perfect for preparing dessert far in advance or for having a delicious treat ready whenever a craving strikes! When ready to serve from frozen, refer to our thawing tips in the “Tips & Variations” section for the best texture.
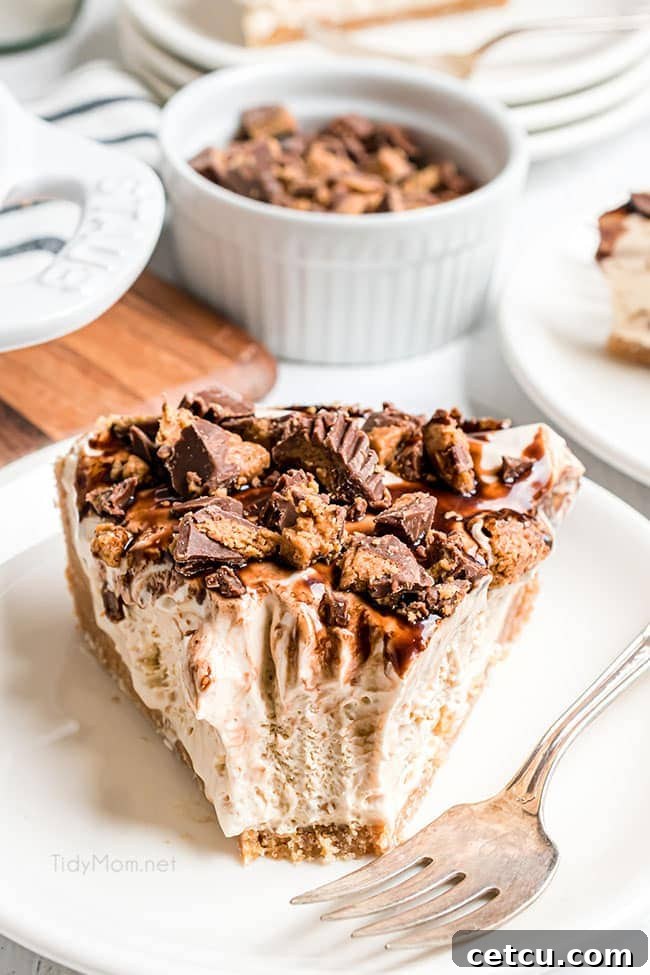
Peanut Butter Pie FAQs
Here are some frequently asked questions about making and enjoying this delicious Frozen Peanut Butter Pie:
What is the best crust for peanut butter pie?
While personal preference plays a role, a classic graham cracker crust is overwhelmingly the most popular and traditional choice for peanut butter pie. Its buttery, slightly sweet, and crumbly texture provides a perfect contrast to the creamy, rich filling. However, for those who adore the chocolate-peanut butter combination, a chocolate graham cracker crust or a crushed chocolate cookie crust (such as Oreos without the cream) are fantastic alternatives that enhance the dessert’s decadent profile. Any of these options will create a truly memorable pie!
How long does it take to freeze a no-bake pie?
For a truly firm, sliceable, and frozen consistency, a no-bake peanut butter pie typically requires at least 6-8 hours in the freezer. For the best results, ensuring it’s completely set and easy to cut, I recommend freezing it overnight. This extended freezing time guarantees the filling is solid and maintains its shape beautifully when served.
How do you thaw Cool Whip?
Cool Whip, an imitation whipped cream widely available in the freezer section of US grocery stores, is a phenomenal ingredient for many recipes, especially frozen desserts, due to its impressive stability and ability to hold its shape. Most recipes, including this pie, call for it to be thawed before mixing into the filling or using as a topping.
The refrigerator is by far the best and safest method for thawing Cool Whip. Simply transfer the unopened tub from the freezer to your refrigerator. Allow it to thaw for approximately 4-5 hours. You can even place it in the refrigerator a day or two in advance if you plan ahead. This slow, gentle thawing process helps to maintain Cool Whip’s ideal light and airy texture, preventing it from becoming watery or separating.
Thawing Cool Whip on the counter or in the microwave is generally not recommended. While it might be tempting to speed up the process, these methods can negatively impact its texture and potentially compromise food safety. If you absolutely must, you can leave it on the counter for no more than an hour, but be aware that its consistency might be slightly altered. For safety and the best results, stick to refrigerator thawing.
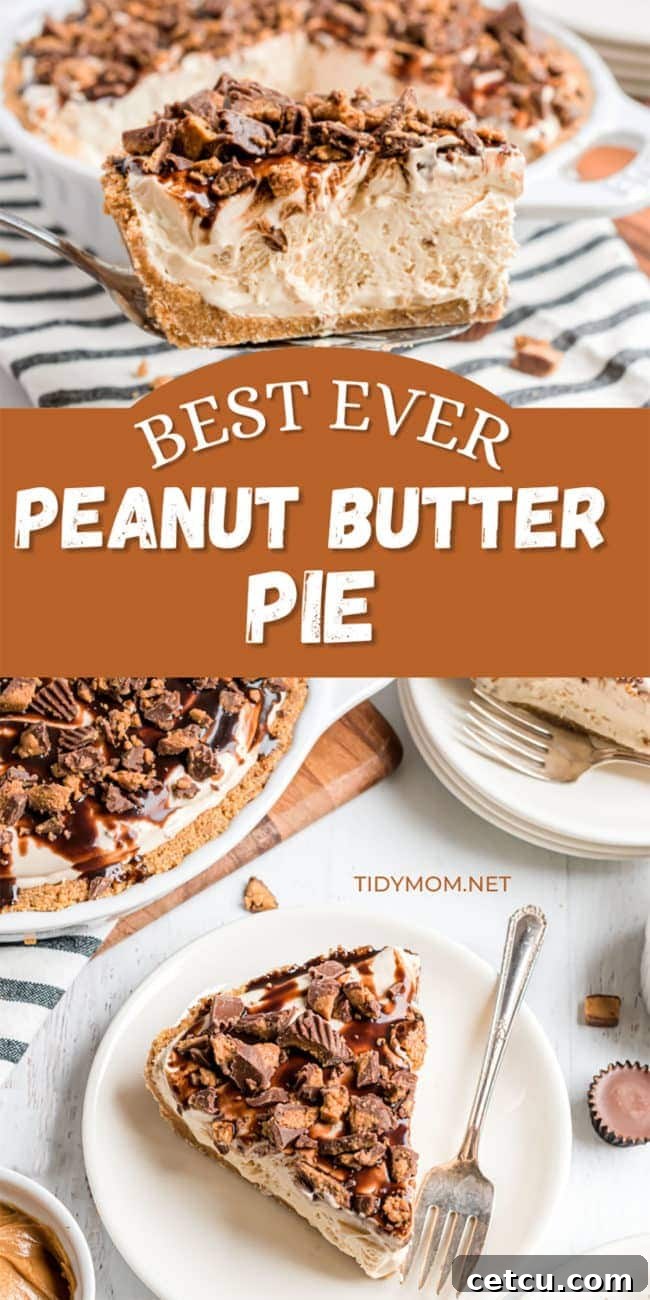
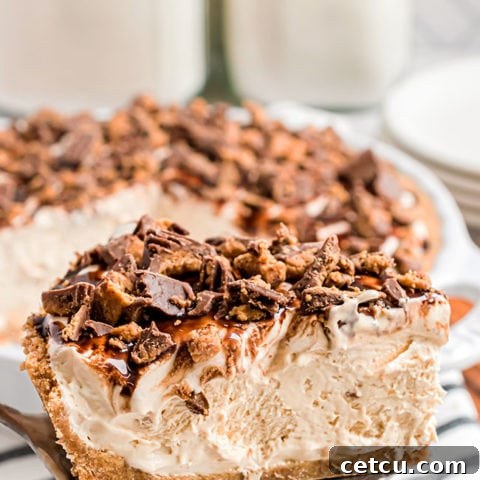
Frozen Peanut Butter Pie
10 servings
15 minutes
6 hours
6 hours 15 minutes
Peanut butter lovers will rejoice over this retro Frozen Peanut Butter Pie with its irresistible cream cheese and peanut butter filling and classic graham cracker crust. Perfect for any occasion, this rich, decadent no-bake pie can be served beautifully chilled or frozen for a truly refreshing treat.
Ingredients
for graham cracker crust
- 1½ cups graham cracker crumbs (or about 10 graham cracker sheets pulverized with food processor)
- ⅓ cup sugar
- ½ cup (1 stick) of butter, melted
For Peanut Butter Pie Filling
- 1/2 cup chunky peanut butter (chunky is best, but smooth will work too)
- 8 oz cream cheese, softened
- 1 cup powdered sugar
- 1/2 cup milk
- 8 ounces Cool Whip Topping, thawed
Instructions
For Graham Cracker Crust *(see notes for chocolate cookie crust)
- Combine the graham cracker crumbs, sugar, and melted butter in a mixing bowl, and stir until well combined. Press the mixture firmly into the bottom and up the sides of a 9-inch pie dish. Use the flat bottom of a glass or measuring cup to press the crust firmly to make it tight and compressed.
- Place the crust in the refrigerator for about 2 hours to set and ensure a tight crust. (Alternatively, you can bake the crust for 10 minutes in a 300°F (150°C) oven and cool completely before filling.)
For The Peanut Butter Pie
- In a medium bowl, using an electric mixer, whip the softened cream cheese until it is light and fluffy. Add the peanut butter and powdered sugar, and beat until thoroughly combined and smooth.
- Slowly add the milk, and blend thoroughly until the mixture is uniform and creamy.
- Gently fold in the thawed Cool Whip until no streaks remain and the mixture is light and airy.
- Spoon the creamy peanut butter pie filling into the chilled graham cracker crust, spreading it evenly.
- Freeze for several hours before serving to achieve a firm, frozen consistency. (If you’re in a hurry, simply chill for 1-2 hours in the refrigerator for a softer, chilled pie.)
- Optional: For an extra touch of indulgence, garnish with whipped cream, chocolate syrup, and/or chopped peanut butter cups before serving.
Notes
For a Chocolate Cookie Crust
To make a delicious chocolate cookie crust, use a food processor or blender to pulverize about 25 chocolate sandwich cookies (like Oreos, ensuring you don’t use the double-stuffed variety) into fine crumbs. Transfer the crumbs to your pie pan. Pour 4 tablespoons of melted butter over the crumbs and stir with a fork until well combined. Press this mixture firmly into the pie pan as described for the graham cracker crust and refrigerate for 30-60 minutes before filling.
Serving:
If your pie is frozen solid, it’s best to let it sit out at room temperature for about 10-20 minutes before serving. This slight thaw will make it much easier to slice and enjoy. Remember, this pie is equally delicious served cold (not frozen) from the refrigerator, offering a softer, mousse-like texture.
Variations:
- Chocolate Layer: For a delightful chocolate-peanut butter experience, melt ½ cup of chocolate chips and spread a thin layer over the bottom of your crust. Chill until set before adding the peanut butter filling.
- Alternative Crusts: Beyond graham cracker, try using a chocolate cookie crust, Nutter Butter cookie crust, or even a Biscoff (cookie butter) crust for unique flavor combinations.
- Nutella/Cookie Butter Swap: Experiment by replacing some or all of the peanut butter with Nutella or cookie butter for a different, equally delicious flavor profile.
Recommended Products
As an Amazon Associate and member of other affiliate programs, I earn from qualifying purchases.
- KitchenAid Hand Mixer
- Glass Mixing Bowls – 10-Piece Nesting Set
- STAUB Pie Pan Dish, 9-inch, White
- Deep Pie Plate, 9.5″
- OXO SteeL Cake or Pie Server
Nutrition Information (Estimated):
Yield: 10
Serving Size: 1 slice
Amount Per Serving:
Calories: 361
Total Fat: 22g
Saturated Fat: 11g
Trans Fat: 0g
Unsaturated Fat: 9g
Cholesterol: 25mg
Sodium: 209mg
Carbohydrates: 37g
Fiber: 1g
Sugar: 28g
Protein: 6g
Nutrition information is estimated based on the ingredients and cooking instructions as described in each recipe and is intended to be used for informational purposes only. Please note that nutrition details may vary based on methods of preparation, origin, and freshness of ingredients used.
Did you make this recipe?
Please leave a comment on the blog or share a photo on Instagram!
Originally posted in August 2011. UPDATED June 2021. This post has been enhanced with more comprehensive information and improved visuals! The original recipe remains unchanged.