
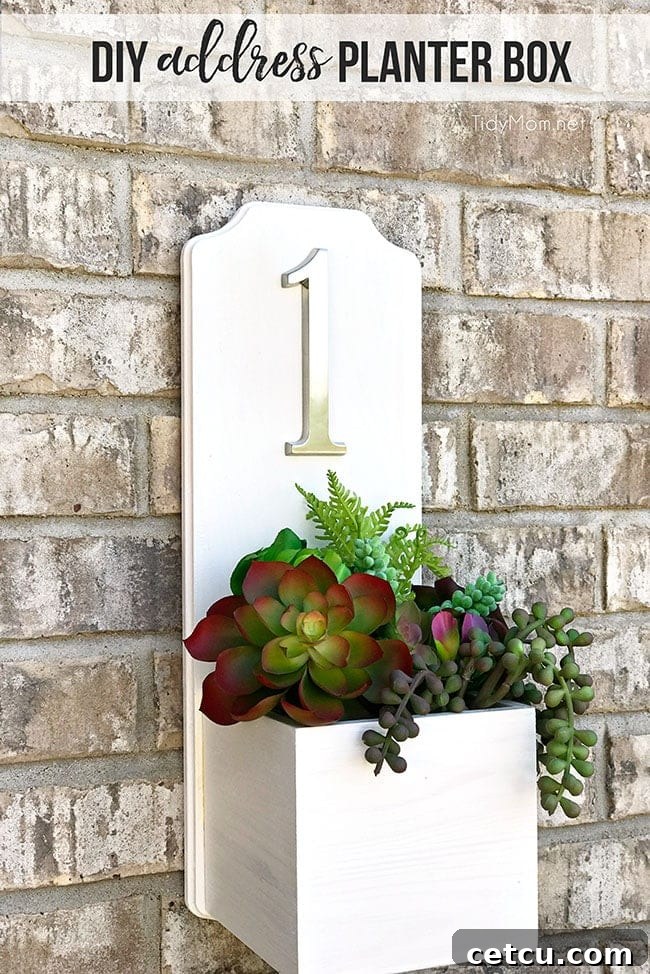
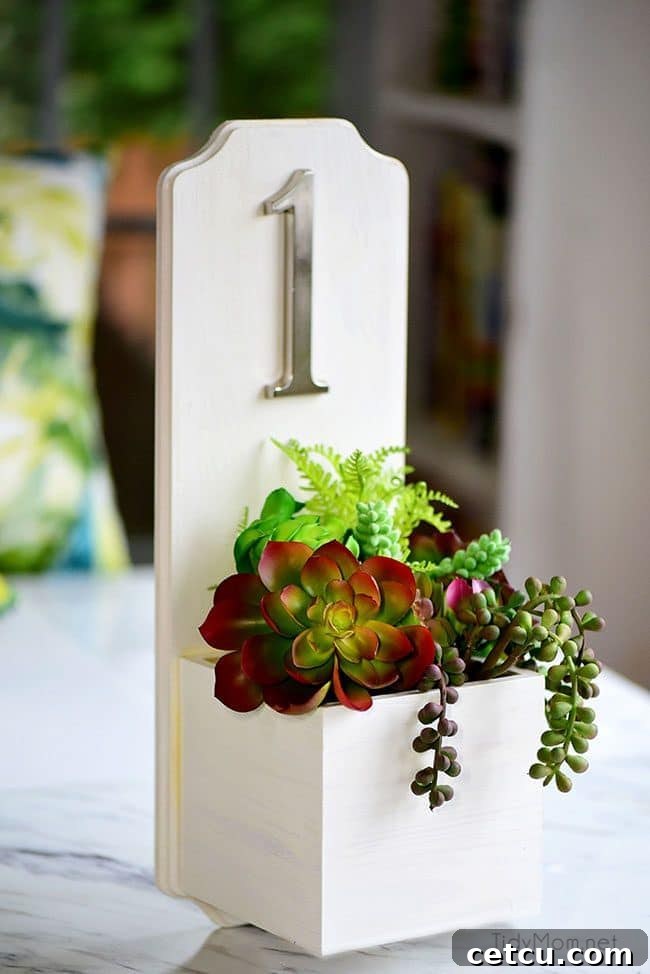
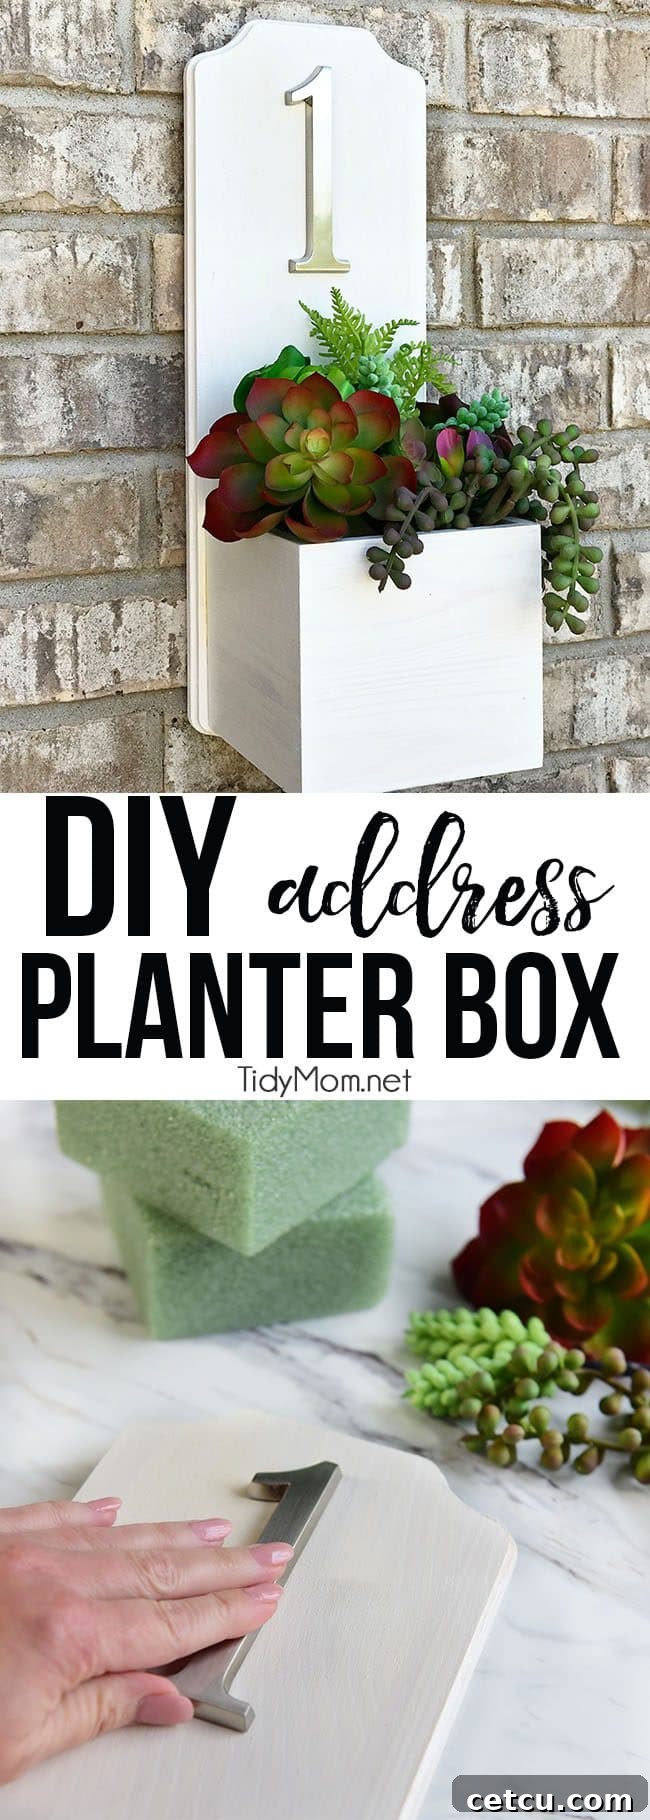
Transform your home’s exterior with a stylish and modern DIY Address Planter Box featuring vibrant succulents. This ingenious house number display is not only incredibly simple to construct, requiring less than 30 minutes of hands-on time, but it also necessitates absolutely NO specialized tools! It’s the perfect weekend project to boost your curb appeal and add a personalized touch that guests and delivery services alike will appreciate.
Don’t miss out on more inspiring DIY projects, home decor ideas, and delicious recipes! Be sure to sign up for our email newsletter to get fresh content delivered straight to your inbox!
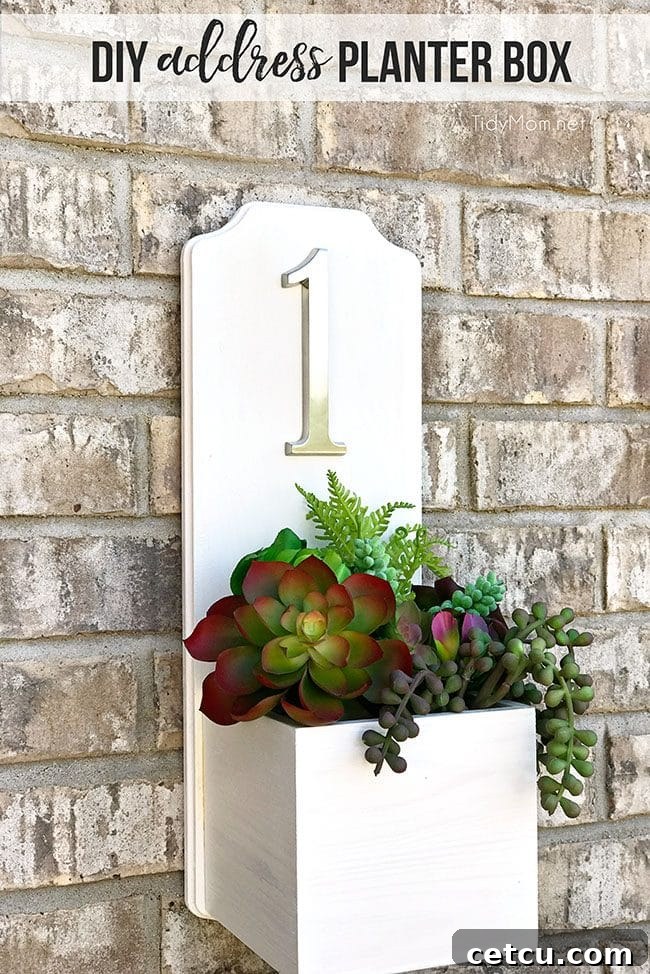
Elevate Your Curb Appeal: Why a DIY Address Planter is a Must-Have
There’s a unique satisfaction that comes from stepping into a clean, well-maintained home. This feeling isn’t limited to the interior; it extends to the exterior as well. A home with inviting curb appeal not only makes a great first impression but also contributes to your overall sense of pride and comfort. From a meticulously mowed lawn to vibrant potted plants, every detail plays a role in creating a welcoming facade. One often overlooked, yet crucial, element is the house number display.
Many homes feature small, faded, or awkwardly placed house numbers that are difficult for guests, emergency services, or delivery drivers to spot. This can lead to unnecessary frustration and delays. A custom-made address planter box solves this problem beautifully, transforming a functional necessity into an attractive piece of outdoor decor. It’s a simple upgrade that offers significant visual impact, making your home’s address clear and stylish.
Just as I learned the value of an organized home from my mother, I’ve come to appreciate how small, efficient efforts can lead to significant improvements in our living spaces, both inside and out. Creating a beautiful and functional address planter box is exactly the kind of quick and rewarding project that fits this philosophy. It’s a testament to the idea that a little creativity and a short burst of effort can result in a lasting enhancement to your home.
The Inspiration Behind This Easy DIY House Number Project
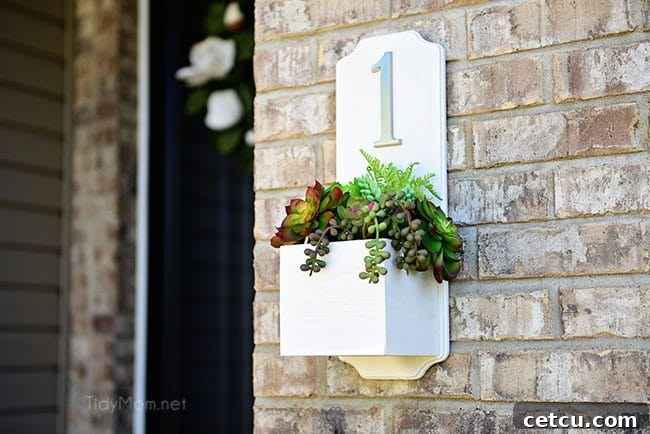
Recently, I found myself with some cherished free time – a rare commodity in today’s busy world! I wanted to channel this energy into a creative project, specifically one that would benefit my daughter’s home. Her house number, a simple ‘ONE’, was mounted in a way that didn’t truly stand out, making it challenging for visitors to locate her house quickly. This is a common issue many homeowners face, and I knew there had to be a more aesthetically pleasing and functional solution.
Months prior, I had spotted an adorable house number planter box adorned with realistic faux succulents. The moment I saw it, I immediately thought, “I could absolutely make something like that for Heather’s house!” The idea of combining a clear address display with the charm of a succulent garden, even a maintenance-free faux one, was incredibly appealing. I envisioned a modern address sign that would not only serve its practical purpose but also add a touch of personality and warmth to her home’s entrance.
What makes this project even more enticing is its incredible simplicity. The actual hands-on time required to assemble this beautiful piece of outdoor decor was surprisingly short, perhaps only 20 minutes, not including drying time for paint and glue. And the best part? Absolutely no power tools or complex carpentry skills are needed, making it accessible for even the most novice DIY enthusiast. The result was truly stunning – a modern house number planter that undeniably looks far superior to a plain metal number and vastly improves visibility for anyone searching for her address.
Beyond personal use, an address planter box like this makes an exceptionally thoughtful hostess or housewarming gift. It’s practical, personalized, and adds immediate charm to any new home or renovated space. It truly turned out beautifully, proving that a little creativity can go a long way in enhancing both form and function.
This straightforward craft project, designed to enhance your home, is proudly sponsored by our friends at Clorox®!
Step-by-Step Guide: Crafting Your Own Address Planter Box
Ready to create your own eye-catching address planter? This project is incredibly straightforward, perfect for a beginner, and yields impressive results. Let’s gather our supplies and get started!
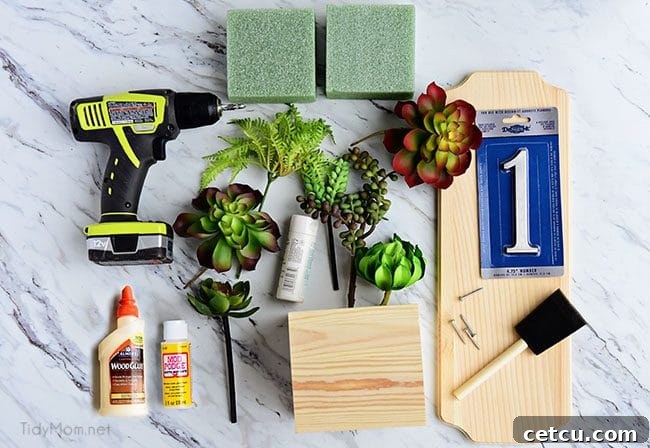
Supplies You’ll Need:
- Unfinished wood plaque and coordinating wooden box (ensure the size accommodates your house number digits)
- House number(s) (self-adhesive or screw-in options available)
- Faux succulents (for a maintenance-free display) or real succulents (if desired, with drainage considerations)
- Floral foam (for securing faux succulents)
- Craft paint (choose a color that complements your home’s exterior)
- Brush (a foam brush works wonderfully for smooth application)
- Sealer (e.g., Mod Podge, or Outdoor Mod Podge for increased weather resistance)
- Wood glue (strong adhesive for securing the box)
- Optional: Drill and screws (if opting for real succulents or extra secure mounting)
- Exterior mounting tape (not pictured, but highly recommended for easy installation)
Most of these craft supplies are readily available at stores like Michaels, while self-adhesive house numbers can typically be found at your local hardware store. Choosing the right size for your wood plaque and box is key – make sure there’s enough space for all your house numbers, plus the planter box itself.
Construction Steps:
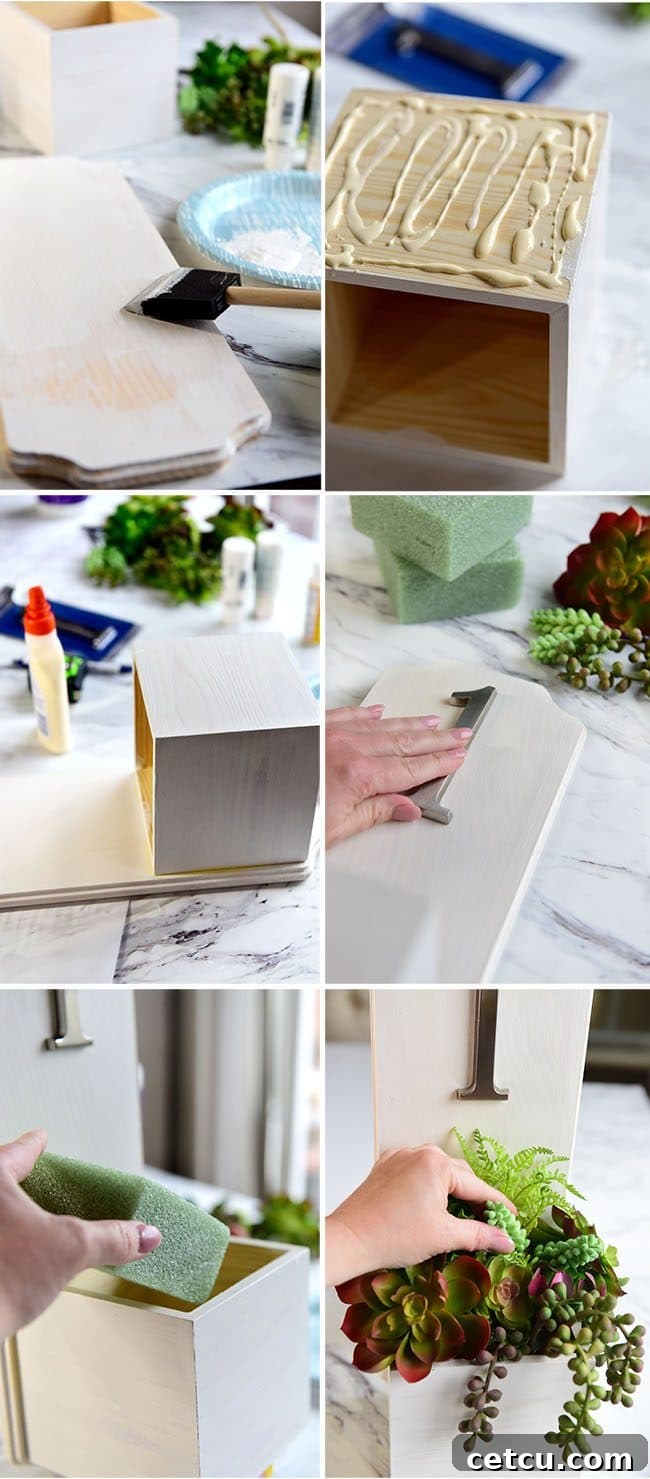
Step 1: Paint and Seal Your Wooden Components. Begin by painting the unfinished wood plaque and the wooden box. Using your foam brush, apply a thin, even coat of your chosen craft paint. Allow the first coat to dry completely – usually about 20-30 minutes, depending on your paint. Once dry, apply a second coat for full, even coverage. After the paint has thoroughly dried, it’s time to seal. Apply a layer of decoupage medium, such as Mod Podge, to protect the paint and wood. If your address planter box will be exposed to significant weather elements like rain or direct sun, consider using an outdoor-specific sealer like Outdoor Mod Podge for enhanced durability and longevity.
Step 2: Secure the Planter Box to the Plaque. Flip the wooden box over and apply a generous amount of wood glue to its entire backside. Carefully position the box onto the painted wood plaque, ensuring it’s centered and straight. Press down firmly to create good adhesion. Allow the glue to cure for at least one hour, or ideally, according to the manufacturer’s instructions for maximum strength. While I initially considered using screws for additional security, I found that a good quality wood glue provided ample strength and stability, simplifying the process and maintaining the “no tools required” aspect.
Step 3: Attach Your Address Number(s). This is where your house number comes to life! Carefully plan the placement of your house numbers on the painted plaque. If you have self-adhesive numbers, simply peel off the backing and firmly press them into place. Ensure they are straight and evenly spaced. If your numbers require screws, use a small drill bit to create pilot holes before attaching them, making sure not to drill all the way through the plaque if possible.
Step 4: Arrange Your Succulent Garden. Now for the fun part – bringing life to your planter! You can find incredibly realistic faux succulents these days, offering a beautiful, maintenance-free option. Insert pieces of floral foam into the wooden box until it’s snugly filled. Then, artfully arrange your faux succulents by pushing their stems into the foam, creating a charming and lush display. If you prefer to plant real succulents, remember to drill a few small drainage holes in the bottom of your wooden box before adding soil and plants to prevent root rot. Once your planter is complete, mount it securely near your entryway using strong exterior mounting tape, or for a more permanent fixture, screws can be used to attach it to a wall or post.
The Perfect Personalized Gift Idea
Beyond being a fantastic addition to your own home, imagine the delight of receiving a custom-made address planter box as a gift! It’s truly a thoughtful and unique present that shows you put effort and care into selecting something special. Whether it’s for a housewarming party, a hostess gift, a wedding present, or even a gift for new neighbors, this DIY address planter is sure to be cherished.
It’s a practical item that every home needs, combined with decorative flair that elevates any entryway. The ability to personalize it with their specific house number makes it even more special, transforming a simple utility into a bespoke piece of home decor. You could even tailor the paint colors or succulent choices to match the recipient’s personal style or home exterior. This quick and easy project results in a high-impact gift that will be enjoyed for years to come.
Beyond the Planter: The Art of Efficient Home Keeping
As someone who champions efficiency in daily tasks, I understand the desire to maximize time for enjoyable activities like crafting or simply relaxing. My philosophy revolves around quick meals and consistent, manageable cleaning routines, ensuring I rarely have to dedicate large chunks of time to chores. For instance, just 5 minutes a day is all it takes to keep my bathroom sparkling clean. While cooking and cleaning aren’t always the most exciting activities (I’d much rather be baking!), they are undeniable necessities. The key is to execute them quickly and efficiently, freeing up precious time for family, personal hobbies, or simply “me” time.
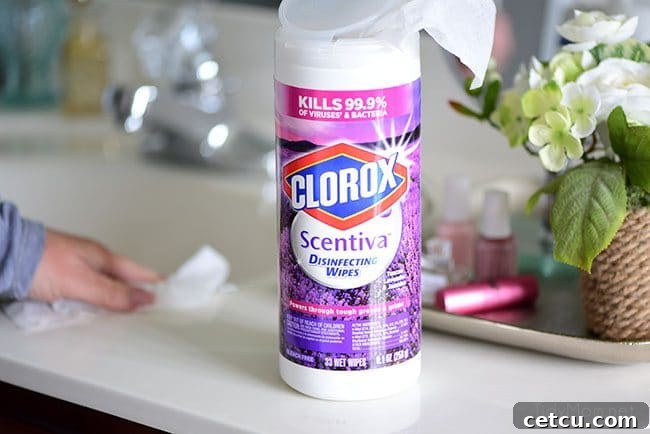
This is precisely why I appreciate products that help streamline my routine and accomplish multiple tasks simultaneously. I’ve been a loyal user of Clorox products in my home for years, trusting their effectiveness in maintaining a clean and healthy environment. So, when Clorox offered to help simplify my ever-growing to-do list, I was genuinely thrilled. Their innovative Clorox® Scentiva™ Disinfecting Wipes and Clorox® Scentiva™ Multi-Surface Cleaner are game-changers. They clean, disinfect, and deodorize all in one simple step, saving invaluable time that can be redirected to other priorities, like tackling that next creative DIY project or simply unwinding after a long day.
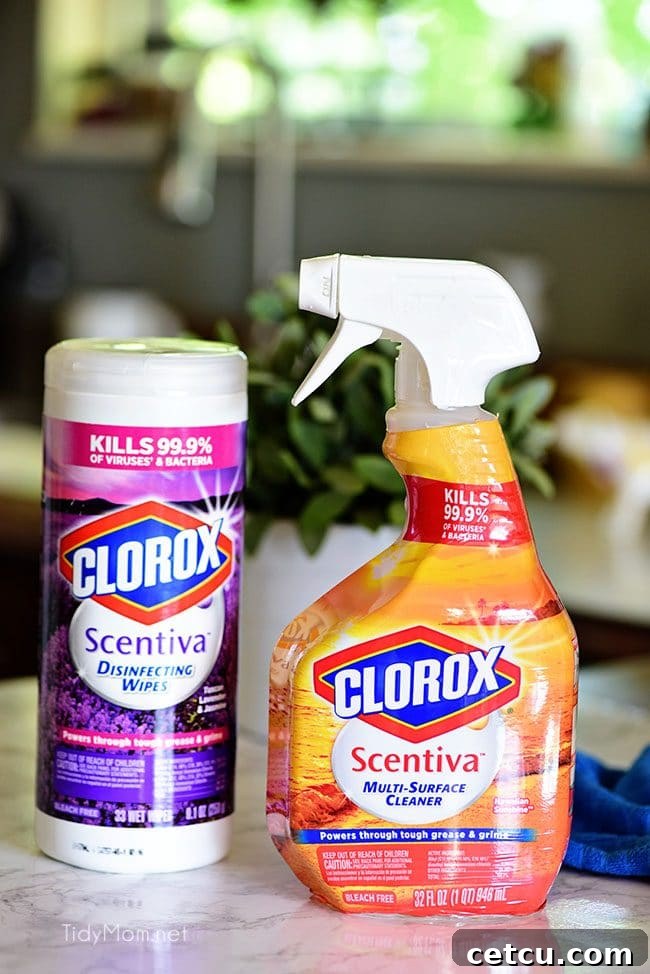
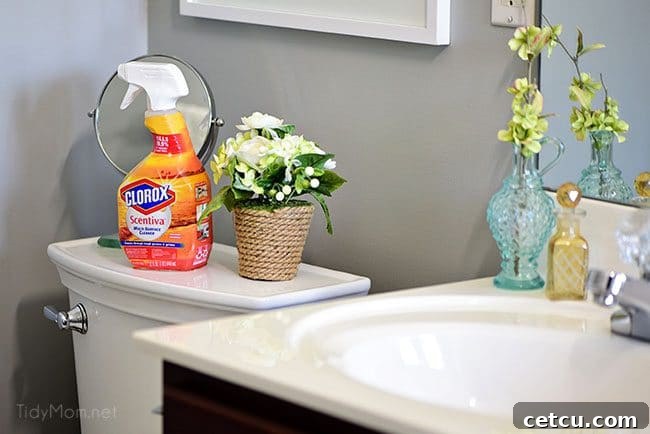
With Clorox Scentiva products, you no longer have to compromise between powerful effectiveness and delightful fragrances. They deliver the trusted cleaning and disinfecting power synonymous with Clorox, combined with amazing, destination-inspired scents like Hawaiian Sunshine and Tuscan Lavender & Jasmine. These invigorating aromas elevate the entire cleaning experience, transporting your senses to an exotic escape while you tackle everyday messes. Not only do they kill an impressive 99.9% of viruses and bacteria, but they also leave your home smelling absolutely wonderful. Anyone who has visited my home knows how important a pleasant aroma is to me, and now I can have peace of mind knowing that I’m effectively eliminating germs while infusing our living spaces with delightful, lingering freshness.
Share Your Creativity!
You’ve seen how quick and easy it is to create this stunning DIY address planter box, and how simple steps can make a big difference in both your home’s appearance and your daily routines. Now it’s your turn to unleash your creativity!
We encourage you to try this project and experience the satisfaction of a beautiful, personalized home exterior. Whether you choose real or faux succulents, bold or subtle paint colors, this project is highly customizable to fit your unique style. What are you waiting for? Get crafting and give your home the stylish welcome it deserves!
Love this DIY Address Planter Box? Pin it for Future Inspiration!

Disclaimer: This post was created in partnership with Clorox®. All opinions, images, and ideas are my own. Thank you for supporting the amazing brands who make TidyMom possible!