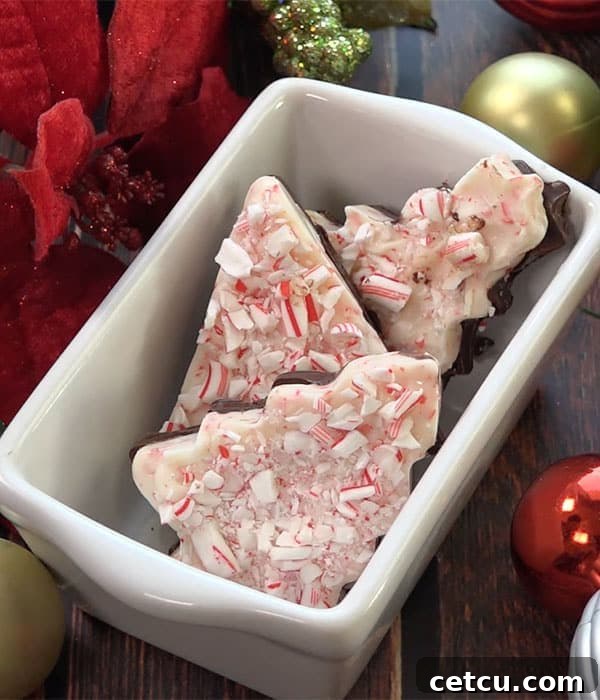
Easy Christmas Tree Peppermint Bark: Your Go-To Homemade Holiday Gift
The holiday season is synonymous with warmth, joy, and, of course, delicious treats! As the festive spirit fills the air, many of us turn to our kitchens to whip up delightful goodies to share with loved ones. While there are countless holiday recipes to explore, few offer the irresistible charm and simplicity of peppermint bark. This classic confection, with its vibrant layers of chocolate and refreshing peppermint crunch, is a beloved staple during Christmas. And what could be more festive than transforming this already fantastic treat into charming little Christmas trees?
In this comprehensive guide, we’ll dive into crafting exquisite Christmas Tree Peppermint Bark. This isn’t just any peppermint bark; by using cookie cutters, we elevate a simple treat into a visually stunning, gourmet-looking delight that’s perfect for gifting. It’s an incredibly easy recipe that yields luxurious results, making it ideal for both seasoned bakers and beginners looking for a fun, impressive holiday project.
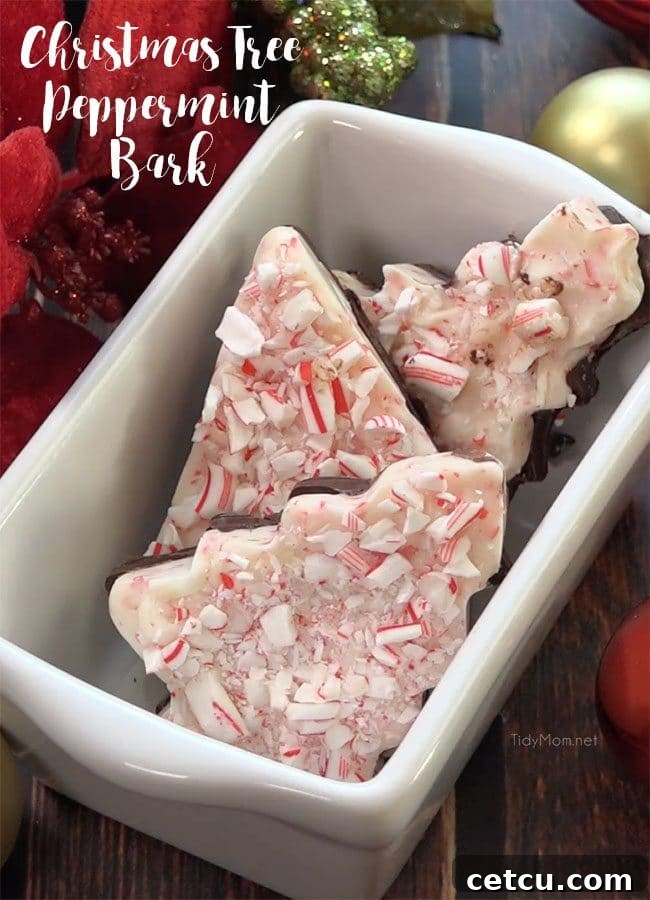
Why Choose Christmas Tree Peppermint Bark for Your Holiday Gifting?
Peppermint bark has long been a favorite, and for good reason. It combines the rich indulgence of chocolate with the cool, invigorating flavor of peppermint, creating a harmonious balance that truly captures the essence of winter holidays. But why specifically opt for the “Christmas Tree” version?
- Festive Appeal: The Christmas tree shape instantly makes these treats more festive and appealing. They stand out on a dessert platter or nestled in a gift box.
- Personal Touch: Using cookie cutters allows for a creative, homemade touch that goes beyond simple broken bark pieces. It shows extra care and effort, making your gifts even more special.
- Easy to Make: Despite their sophisticated appearance, these peppermint bark trees are surprisingly simple to create. The process is straightforward, requiring minimal active time and basic kitchen tools.
- Perfect for Gifting: Handcrafted treats make some of the most cherished gifts. These peppermint bark trees are ideal for teachers, neighbors, co-workers, or as party favors.
- Customizable: While we focus on Christmas trees, the technique can be adapted for other holiday shapes like stars, snowflakes, or gingerbread men, offering endless possibilities.
Gathering Your Essential Ingredients & Tools for Peppermint Bark
Before you embark on this delightful baking adventure, it’s crucial to gather all your ingredients and tools. Quality matters when it comes to chocolate, so choose wisely. Here’s a detailed list of what you’ll need to create your stunning Christmas Tree Peppermint Bark:
What You’ll Need:
- Cookie Cutters:
Any cookie cutters will work beautifully for this project. We recommend opting for smaller, sturdy metal cookie cutters, especially those shaped like Christmas trees, snowflakes, stars, or gingerbread men. Metal cutters are easier to clean and transfer, and they can even be gifted along with the bark itself for an extra special touch.
- Decorator Bags (Piping Bags):
You’ll need at least two 12-inch disposable decorator bags. These are incredibly convenient for melting chocolate directly in the microwave and then piping it precisely into the cookie cutters, ensuring every nook and cranny is filled without mess.
- High-Quality Chocolate:
The type of chocolate you choose significantly impacts the flavor of your bark. For the best results, invest in good quality chocolate. For this particular recipe, we used Wilton Candy Cane Melts (for the peppermint layer) and Ghirardelli Chocolate Baking Bars (for the base layer). The Wilton melts are pre-flavored with peppermint, saving you the step of adding peppermint extract. Feel free to use your favorite brands of dark, milk, or white chocolate, ensuring they are suitable for melting and setting.
- Crushed Candy Canes:
No peppermint bark is complete without that satisfying crunch! You can either purchase a bag of candy canes and crush them yourself (a fun, therapeutic activity!) or look for pre-crushed candy cane pieces in the baking aisle of your local grocery store for convenience.
- Parchment or Waxed Paper Lined Baking Sheet:
A sturdy baking sheet lined with parchment paper or waxed paper is essential. This prevents the chocolate from sticking and makes for easy removal and cleanup.
- Gifting Supplies:
To transform your homemade treats into perfect holiday gifts, have some clear cellophane treat bags, festive ribbon, and cute gift tags on hand. These small touches make a big difference in presentation.
Step-by-Step Guide to Crafting Perfect Christmas Tree Peppermint Bark
Creating these delightful Christmas Tree Peppermint Bark pieces is simpler than you might imagine. Follow these detailed instructions to ensure a smooth and successful holiday baking experience.
- Prepare Your Cookie Cutters: Begin by placing your chosen cookie cutters into the refrigerator. Chilling them helps the chocolate set faster and prevents sticking.
- Line Your Baking Sheet: While the cookie cutters are chilling, line a flat baking sheet with either parchment paper or waxed paper. This will be the surface where your bark pieces will form.
- Melt the First Layer of Chocolate (Dark/Milk Chocolate): Place your Ghirardelli Chocolate (or preferred base chocolate) pieces into one of the decorator bags, filling it about halfway. Twist the top of the bag to seal it. Microwave the bag on 50% power for 30-second intervals. After each interval, remove the bag and “knead” the chocolate to distribute the heat evenly and encourage melting. Continue this process until the chocolate is completely smooth and melted, with no lumps.
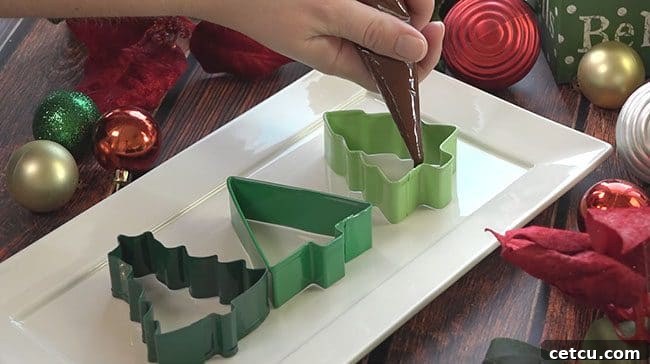
- Position Cookie Cutters: Carefully remove the chilled cookie cutters from the refrigerator and arrange them on your lined baking sheet. Ensure they are stable and not rocking.
- Snip the Decorator Bag: Using scissors, snip a small tip off the end of the chocolate-filled decorator bag. Start with a very small opening; you can always make it larger if needed.
- Pipe the First Chocolate Layer: Hold the cookie cutter firmly with one hand (if necessary) and use the chocolate-filled bag to pipe the melted chocolate into the cookie cutters. Take your time to fill all the corners and edges thoroughly, creating an even layer.
- Chill the First Layer: Once all cookie cutters are filled with the first chocolate layer, place the entire baking sheet into the freezer for approximately 10 minutes. This allows the chocolate to “set” and harden before you add the next layer.
- Melt the Second Layer of Chocolate (Peppermint-Flavored): While the first layer chills, place your Wilton Candy Cane Burst Melts (or white chocolate with peppermint extract) into the second decorator bag. Repeat the same melting process as you did for the first chocolate layer: microwave on 50% power for 30-second intervals, kneading between each, until fully melted and smooth.
- Apply the Second Chocolate Layer: Remove the baking sheet from the freezer. Snip the tip off the second decorator bag (again, starting small) and carefully pipe the melted Candy Cane Burst Melts directly on top of the hardened Ghirardelli chocolate layer in each cookie cutter. Aim for an even second layer.
- Sprinkle with Crushed Candy Canes: Immediately after applying the second layer, generously sprinkle the crushed candy cane pieces over the wet peppermint chocolate. Press them lightly into the chocolate to ensure they adhere well.
- Final Chill: Return the baking sheet to the freezer for another 10-15 minutes, or until both chocolate layers are completely firm and hardened.
- Remove from Cookie Cutters: Once the bark is fully set, gently remove each piece from its cookie cutter by pressing firmly with your thumbs from the back. Be careful not to break the delicate edges.
Pro Tips for Perfect Peppermint Bark and Gifting
Expert Tips for Bark Making:
- Chocolate Quality: Always use good quality chocolate for melting. It tastes better and melts more smoothly, resulting in a superior finished product. Compound chocolates (like candy melts) are easier to work with as they don’t require tempering, but good quality real chocolate is worth the effort if you’re comfortable with it.
- Avoid Water: Ensure all your equipment is completely dry when working with chocolate. Even a tiny drop of water can cause chocolate to “seize” and become lumpy.
- Gentle Melting: Melting chocolate slowly and at a lower power setting in the microwave (or using a double boiler) prevents it from burning and maintains its smooth texture.
- Even Layers: Strive for even layers of chocolate. This ensures a balanced flavor in every bite and a visually appealing treat.
- Peppermint Extract (If Not Using Flavored Melts): If you’re using plain white chocolate instead of peppermint-flavored melts, add peppermint extract sparingly to taste. Remember, a little goes a long way! Start with 1/4 teaspoon per cup of melted white chocolate and add more if desired.
Creative Gifting & Storage Solutions:
- Individual Gift Bags: For charming individual gifts, wrap a few pieces of your Christmas Tree Peppermint Bark in clear cellophane bags. Tie them with festive ribbon and attach a cute homemade tag. For an extra touch, you can even attach a clean, small cookie cutter for the recipient to use!
- Decorative Boxes or Tins: If using a decorative box or tin, line the bottom with a piece of waxed paper, allowing it to extend up the sides. Once the container is filled with bark, fold the wax paper over the top before closing. This protects the bark and keeps it fresh.
- Plates or Dishes: For a beautiful presentation on a plate or a cute dish (like those found at craft stores such as Michaels), artfully arrange the bark pieces and cover them tightly with plastic wrap to maintain freshness.
- Storage: Christmas Tree Peppermint Bark keeps exceptionally well! Store your bark in an airtight container in the refrigerator for up to 5-6 weeks. This makes it an ideal make-ahead holiday gift.
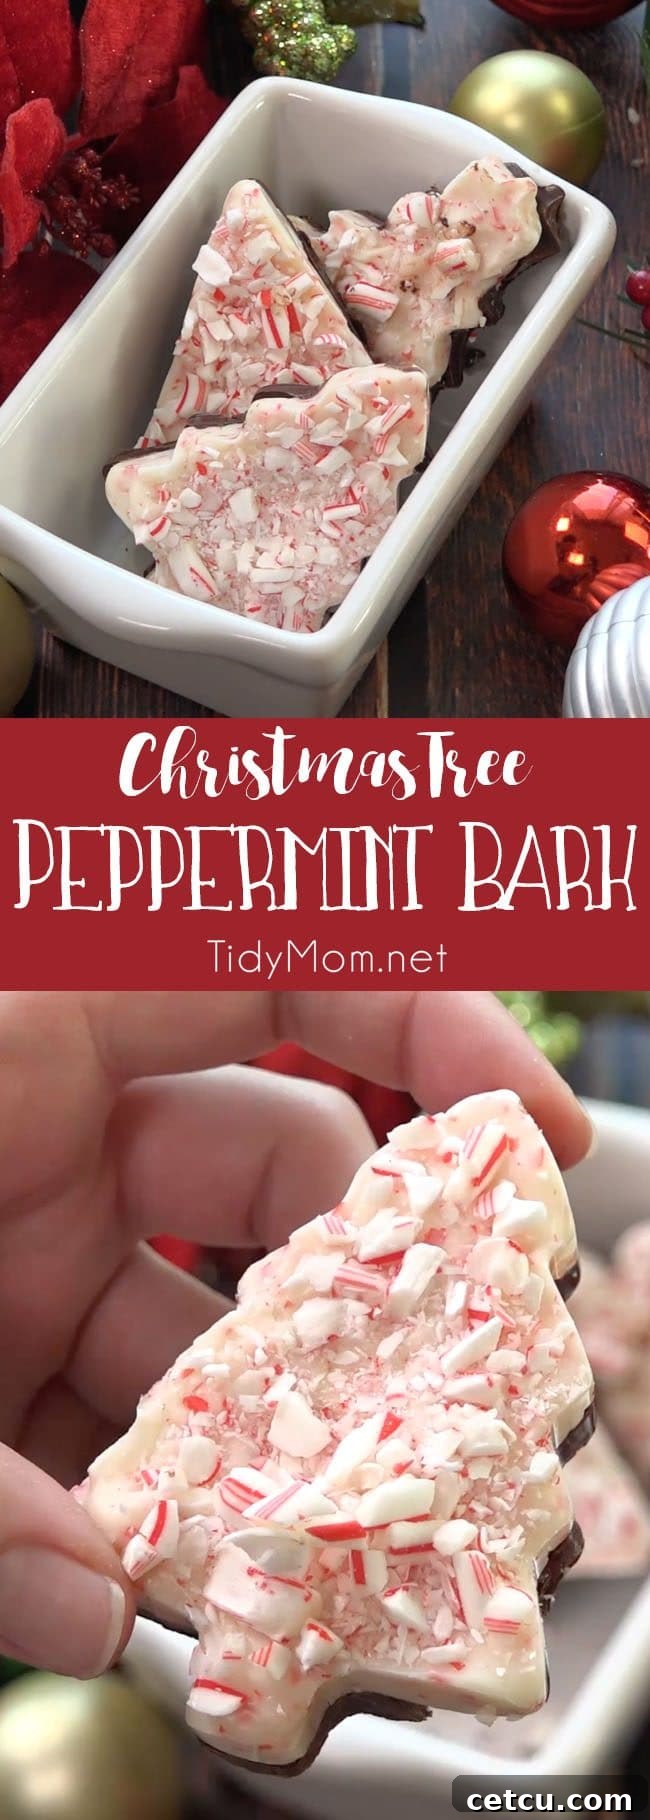

Bringing Holiday Joy, One Bark at a Time
Creating Christmas Tree Peppermint Bark is a wonderful way to immerse yourself in the holiday spirit. It’s a simple project that delivers impressive results, making it a fantastic addition to your festive treat repertoire. Whether you’re planning a holiday party, looking for thoughtful homemade gifts, or simply want to indulge in a delicious seasonal treat, this recipe is sure to bring smiles.
So, gather your ingredients, enlist some eager helpers, and enjoy the process of making these delightful Christmas tree-shaped treats. They are not only a feast for the taste buds but also a beautiful representation of the joy and generosity that define the holiday season. Happy baking, and happy holidays!
As an Amazon Associate and member of other affiliate programs, I earn from qualifying purchases.
Recommended Products for Your Holiday Baking:
- Wilton 3 Piece Tree Cookie Cutter Set
- Nordic Ware Aluminum Half Sheet Pan (2 pack)
- Disposable Decorating Bags, 12-inch
- Wilton Limited Edition Candy Cane Flavor Candy Melts
- Ghirardelli Chocolate Bittersweet Baking Chips, 20 oz.
- Wilton 710-2093 Sprinkles Peppermint Crunch
Please feel free to leave a comment on our blog or share a photo of your beautiful creations on Instagram!