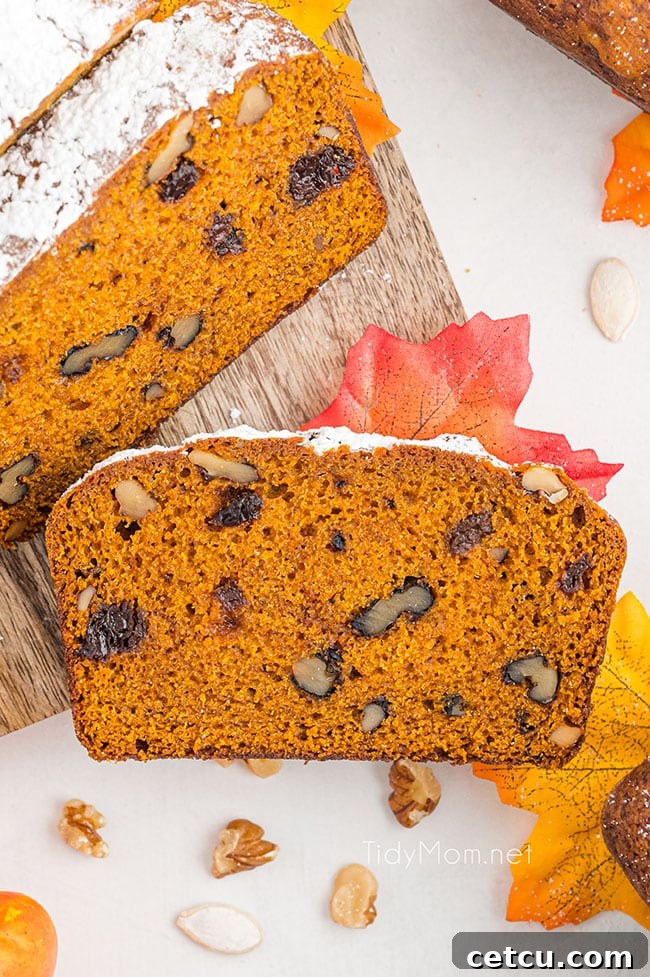
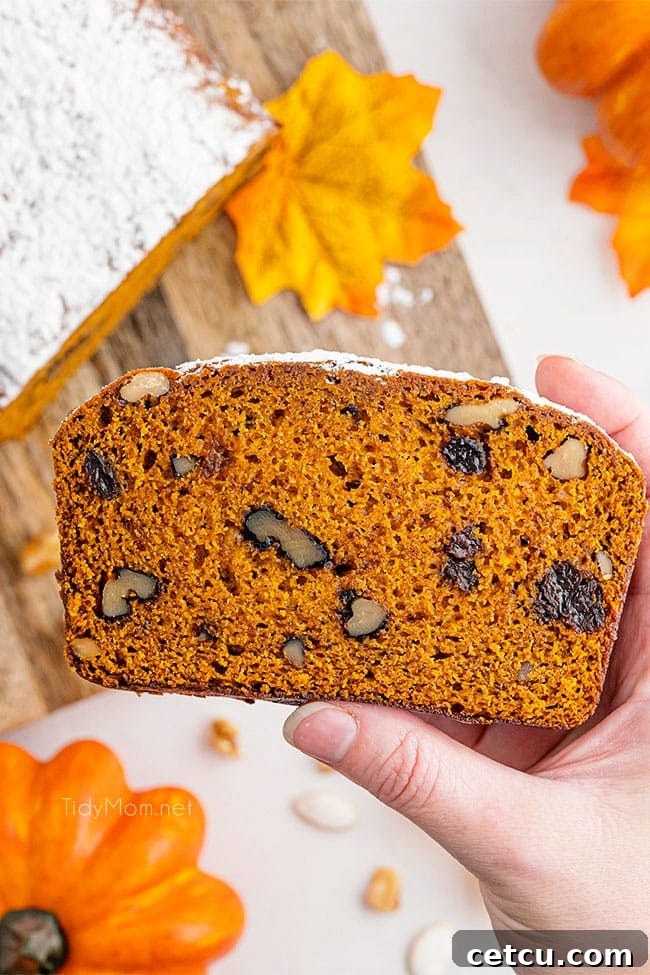
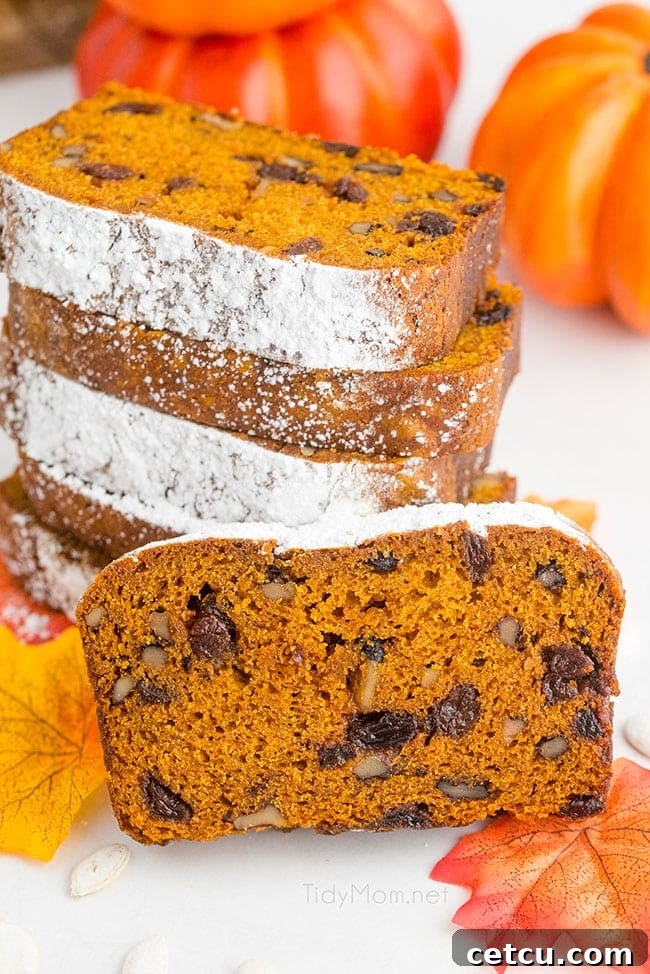
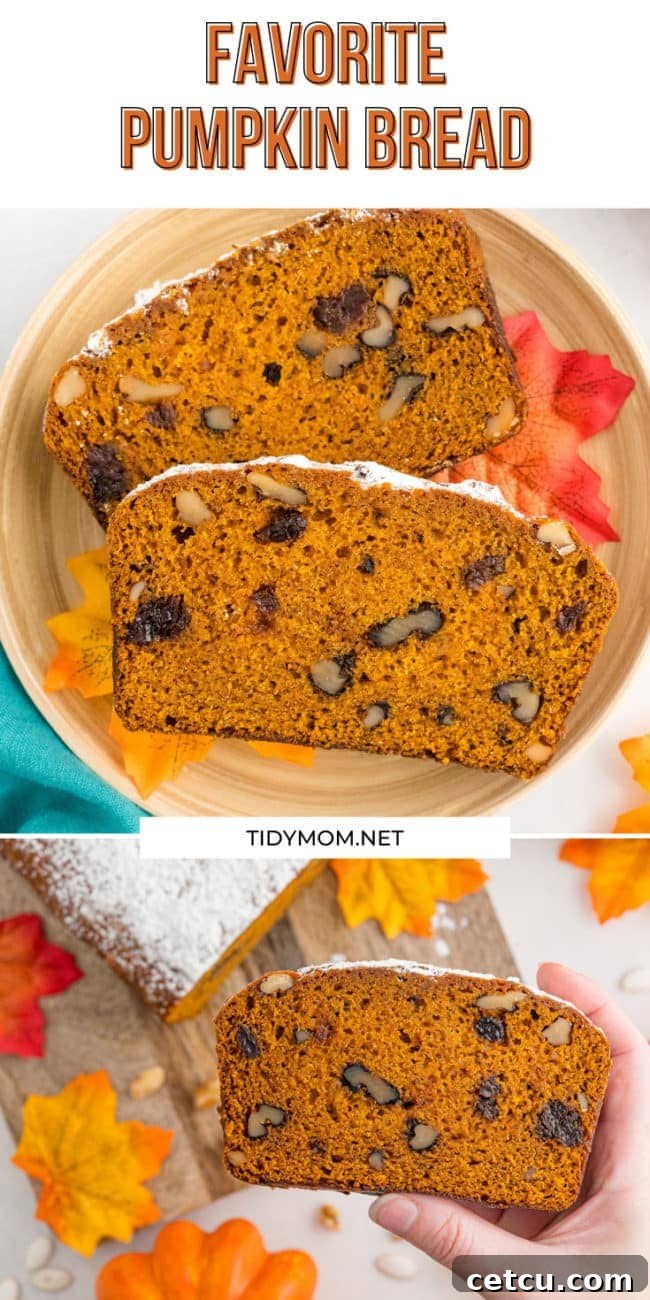
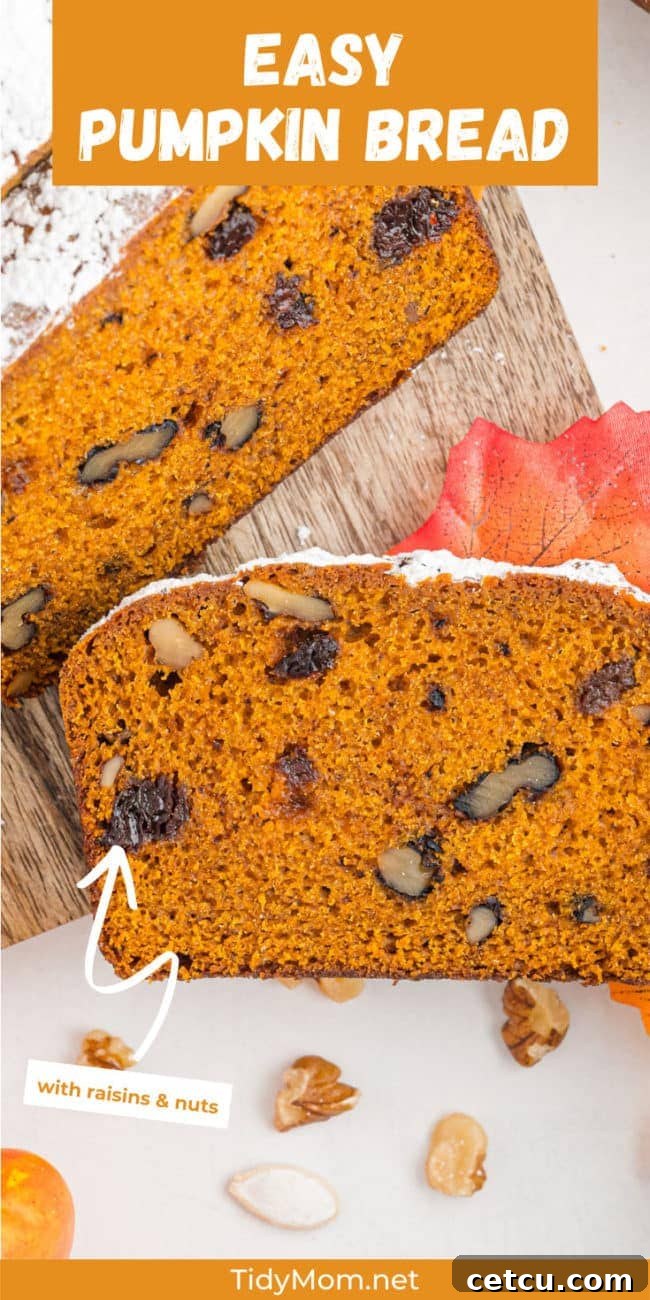
Our delightful Pumpkin Bread recipe offers a truly moist and aromatic experience, generously infused with comforting warm spices, crunchy chopped nuts, and plump, juicy raisins. This quintessential fall indulgence bakes beautifully, making it an ideal treat for family gatherings, cozy evenings, or thoughtful holiday gifting!
For those who, like us, cherish all things pumpkin, be sure to explore more of our beloved recipes: our Crustless Mini Pumpkin Pies, the rich and flavorful Apple Butter Pumpkin Pie with Streusel Topping, and the ever-popular Vanilla Pumpkin Cupcakes with Cinnamon Buttercream.
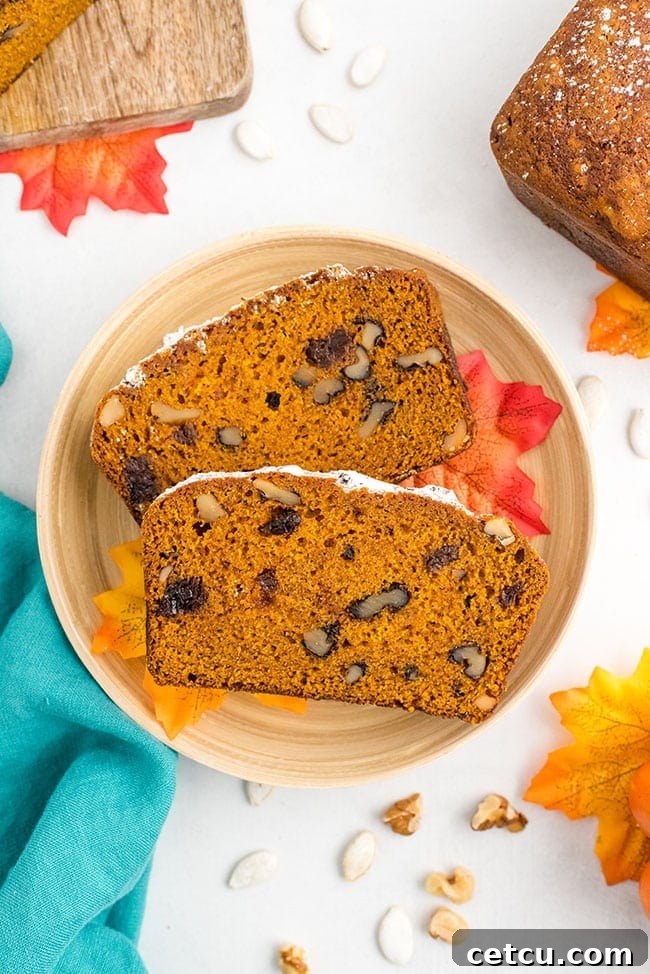
Table of Contents
Why We Love Pumpkin Bread
As the vibrant hues of autumn emerge, bringing with them crisp breezes and the beloved pumpkin season, our kitchens naturally gravitate towards comforting, spiced treats. Few things capture the essence of fall quite like the aroma of freshly baked pumpkin bread filling the home. It’s more than just a recipe; it’s a cherished tradition, a symbol of warmth and coziness that perfectly complements a morning cup of coffee or an afternoon tea.
Among the many delightful pumpkin recipes we eagerly anticipate each year, this classic pumpkin bread holds a special place in our hearts. The moment its warm, sweet fragrance begins to waft from the oven, our entire house transforms into an inviting sanctuary. This particular recipe has been a family favorite for generations, passed down and perfected since my teenage years, and it continues to be a staple in our autumnal celebrations.
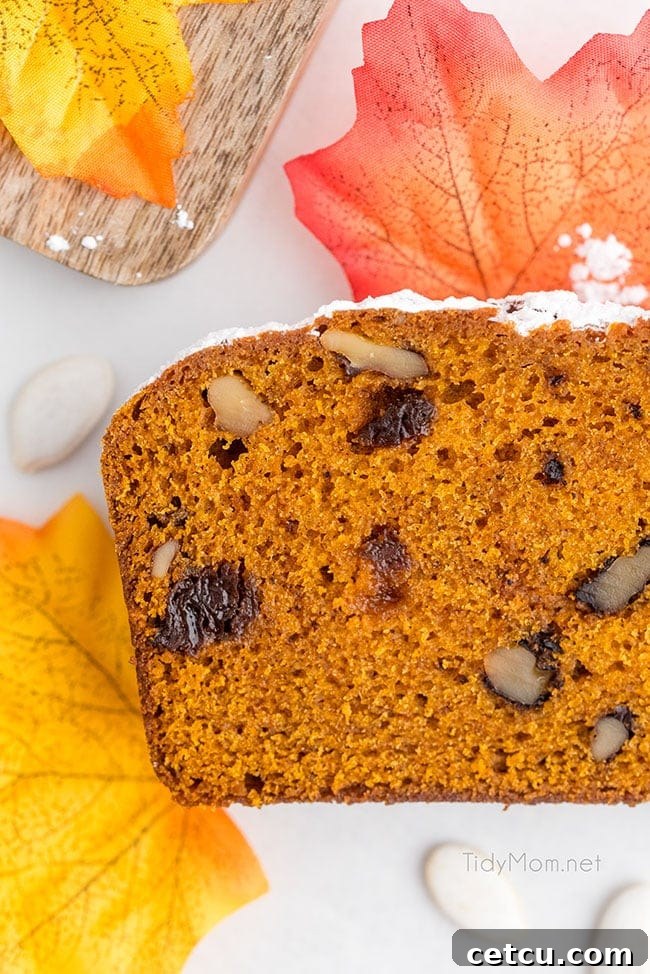
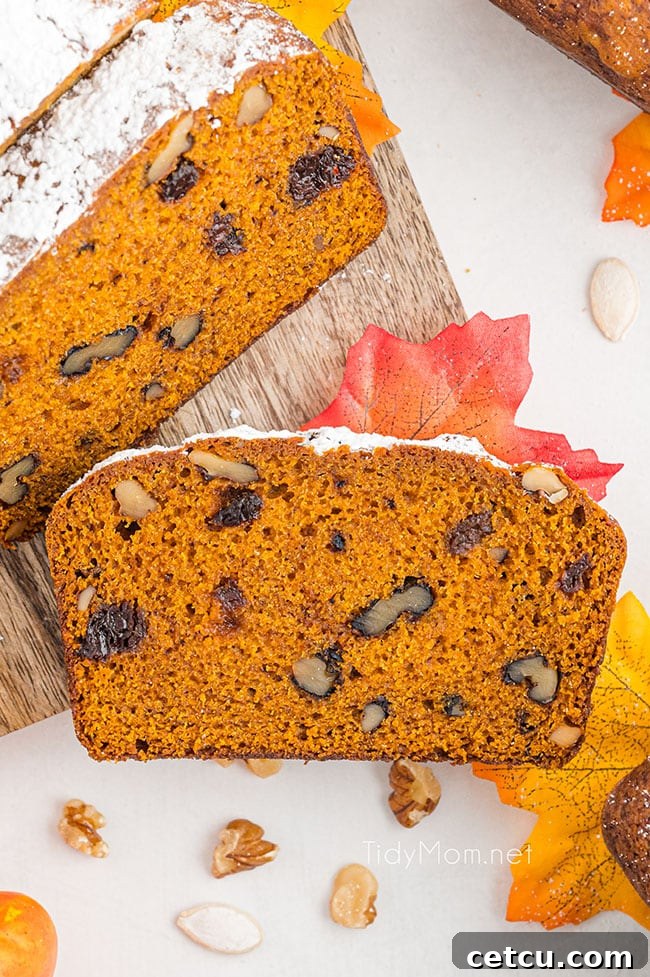
What makes this pumpkin bread recipe truly exceptional? Perhaps it’s the perfect balance of savory walnuts and tender, sweet raisins that punctuate each slice, adding delightful texture and bursts of flavor. Or maybe it’s the timeless appeal of a recipe that has consistently delivered joy and deliciousness through decades of family gatherings. Whatever the secret, this quick bread is undeniably special. It’s a testament to simple, wholesome ingredients creating something extraordinary. This recipe is so robust and beloved, it deserves a permanent spot in your recipe collection!
- Overflowing with rich pumpkin puree and an exquisite blend of warm, inviting spices.
- Crafted from everyday ingredients easily found in any pantry or grocery store.
- Results in a quick bread that is wonderfully moist, incredibly soft, and boasts a tender, delicate crumb.
- This versatile recipe yields two generous loaves, or approximately 48 delicious muffins. Alternatively, you can make one loaf and 24 muffins to enjoy both options!
What is Pumpkin Bread?
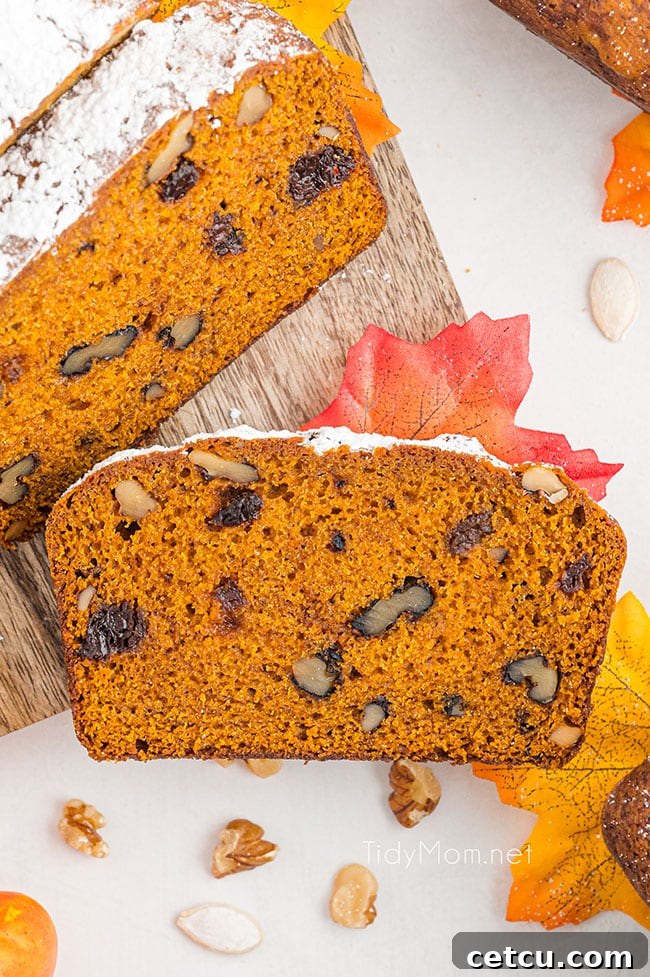
Pumpkin bread falls into a delightful category of baked goods known as “quick breads.” The defining characteristic of quick breads is their speed and ease of preparation: unlike traditional yeast breads, they do not require yeast, nor do they demand laborious kneading or lengthy rising times. This means you can mix the dough and bake it almost immediately, making them perfect for busy schedules or spontaneous baking urges.
The magic behind quick breads like our pumpkin bread lies in their leavening agents, typically baking soda or baking powder. In this recipe, baking soda acts as the primary leavener, reacting with acidic ingredients to produce carbon dioxide bubbles that cause the bread to rise beautifully without any waiting period. This innovative approach to baking wasn’t widely developed until the 18th century. Before then, achieving a light and airy texture in bread relied heavily on incorporating air through extensive beating of eggs or through the slow, patient process of yeast fermentation. Quick breads revolutionized home baking, democratizing the art of bread making and enabling even a novice baker to create a wonderfully warm, soft, and delicious loaf with minimal effort. Our pumpkin bread is a shining example of this accessible and satisfying baking tradition.
Easy Pumpkin Bread Ingredients
One of the many reasons to adore this pumpkin bread recipe is its simplicity and reliance on basic ingredients, most of which you likely already have stocked in your pantry. No need for special trips to specialty stores—just wholesome, accessible items that come together to create something truly magical!
- Pumpkin – The star of our show! For this recipe, we use canned pure pumpkin puree, readily available in the canned goods aisle of your local grocery store. It’s crucial to ensure you’re selecting pure pumpkin and not canned pumpkin pie filling, which is already sweetened and spiced. If you’re feeling ambitious and have baking pumpkins on hand, you can absolutely make your own homemade pumpkin puree for an even fresher flavor.
- Granulated sugar – Also commonly known as white sugar, this provides the essential sweetness and contributes significantly to the bread’s moist texture and golden-brown crust.
- Flour – All-purpose flour forms the structural foundation of our quick bread. Accurate measurement is key for the perfect texture. To measure correctly, gently spoon the flour into your dry measuring cup until it’s overflowing, then level it off with the flat edge of a knife. Avoid scooping directly with the measuring cup, as this compacts the flour and can result in using too much, leading to a dry or dense loaf.
- Baking soda – This is our crucial leavening agent, responsible for the wonderful rise and light texture of our quick bread. Baking soda reacts with acidic ingredients in the batter to create gas bubbles, making the bread light and fluffy without any waiting time. For optimal results, always ensure your baking soda is fresh. You can test its freshness by mixing a small amount with a bit of vinegar or lemon juice; if it fizzes vigorously, it’s good to go!
- Ground cloves and cinnamon – These warm, aromatic spices are the perfect companions to pumpkin, creating that signature cozy fall flavor profile that fills your home with an intoxicating sweet aroma as the bread bakes. Always check your spices for freshness; if their scent or flavor is weak or almost unnoticeable, it’s time to replace them for the best results.
- Eggs – Eggs act as a binder, adding moisture, richness, and helping with the bread’s structure. Fresh eggs are best. If you’re ever unsure about the age of your eggs, a simple trick is to place them in a bowl of water: fresh eggs will sink to the bottom, while older eggs will float.
- Vegetable Oil – This ingredient is key to achieving an incredibly moist crumb. Be sure to use a neutral-flavored vegetable oil, such as canola oil, to avoid any overpowering taste. If you prefer, melted butter can be used as a substitute for a richer flavor, though it might alter the texture slightly.
- Raisins – These delightful little morsels are completely optional, but they add a lovely sweetness and chewiness to the bread. If raisins aren’t to your liking, feel free to omit them entirely or substitute with dried cranberries for a tart counterpoint.
- Walnuts – Walnuts contribute a fantastic crunch and nutty flavor, providing a pleasing textural contrast to the soft bread. Like raisins, they are optional. You can easily swap them out for pecans or hazelnuts if those are your preferred nuts, or simply leave them out for a nut-free version.
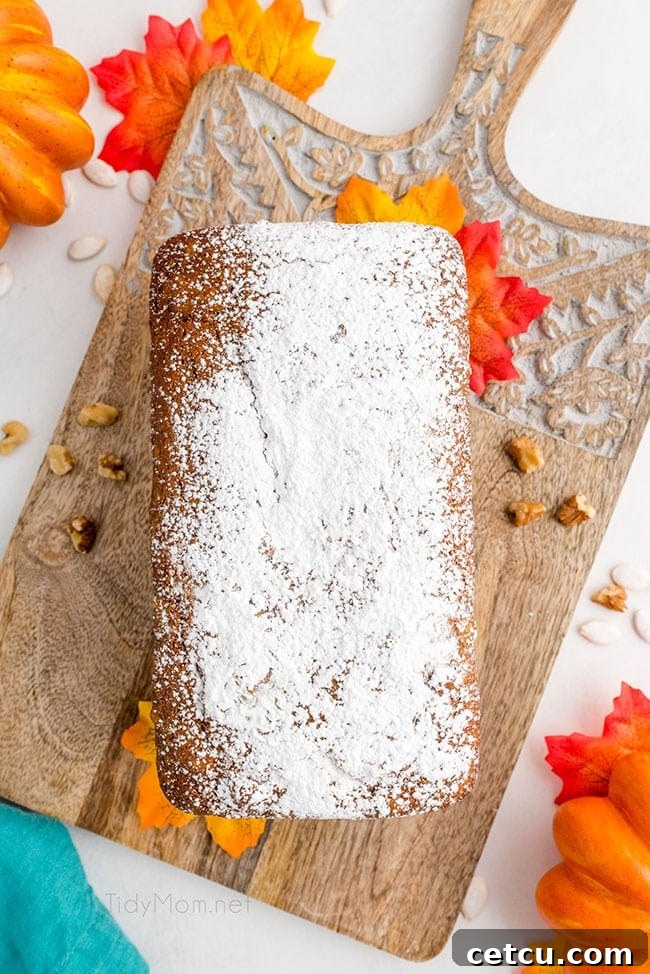
- Powdered Sugar – An optional but highly recommended finishing touch! A light dusting of powdered sugar over the cooled loaf adds an elegant presentation and a delicate hint of extra sweetness.
How to Make Our Favorite Pumpkin Bread
(For the full printable recipe, please refer to the end of this post)
This isn’t just any quick bread; it’s a testament to how simple ingredients, combined with a straightforward process, can yield something truly extraordinary. Prepare yourself for a pumpkin bread that is exceptionally moist, wonderfully fluffy, and delightfully sweet. These loaves disappear quickly, and you’ll adore how effortlessly they come together!
- Preheat and Prep Your Pans: Begin by preheating your oven to 350°F (175°C). Next, prepare two standard 9×5-inch loaf pans by generously greasing them with butter or coating them with baking spray to prevent sticking. Proper preparation ensures your beautiful loaves release easily after baking.
- Blend Wet Ingredients: In a large mixing bowl, combine the granulated sugar, pure pumpkin puree, eggs, and vegetable oil. Using an electric mixer, beat these ingredients together until they are fully incorporated and the mixture is smooth and well-blended. This step creates the moist foundation of your bread.
- Mix Dry Ingredients Separately: In a separate, medium-sized bowl, whisk together the all-purpose flour, baking soda, ground cinnamon, ground cloves, and salt. Sifting these dry ingredients beforehand can help ensure an even distribution and prevent lumps, though a good whisking will also suffice.
- Combine Wet and Dry Ingredients: Gradually add the dry ingredient mixture to the wet ingredients. Stir gently until just combined. The key here is to avoid overmixing. Overmixing can develop the gluten in the flour too much, leading to a tough and dense bread rather than the desired tender crumb. Stop stirring as soon as no dry flour streaks remain.
- Fold in Remaining Ingredients: Gently fold in your chosen additions: chopped walnuts and raisins. Ensure they are evenly distributed throughout the batter. If you prefer a nut-free or raisin-free bread, you can skip this step entirely.
- Pour and Bake: Divide the batter evenly between your two prepared loaf pans. Place the pans on the middle rack of your preheated oven. Bake for approximately 55-65 minutes. Baking times can vary slightly depending on your oven and the material of your loaf pans (darker pans tend to bake faster than lighter ones).
- Cool Properly: Once baked, remove the loaves from the oven. Allow them to cool in their pans for about 10 minutes. This crucial resting period helps the bread firm up before you attempt to remove it. After 10 minutes, carefully invert the loaves onto wire racks to cool completely. Cooling on a wire rack allows air to circulate around all sides, preventing the bottom from becoming soggy.
- Add a Touch of Sweetness (Optional): Once the loaves are fully cooled, for an extra touch of elegance and sweetness, dust them lightly with powdered sugar using a fine-mesh sieve. Slice, serve, and savor every delightful bite!
Pumpkin Bread FAQs
This post may contain affiliate links. Please read my disclosure policy here.
What’s the critical difference between canned pure pumpkin and canned pumpkin pie mix?
This is a common question, and understanding the difference is vital for baking success! Our recipe specifically calls for pure pumpkin puree. This product consists solely of cooked and pureed pumpkin, with no other additives. It provides the natural pumpkin flavor and moisture needed for this bread. On the other hand, pumpkin pie mix is a pre-seasoned and pre-sweetened product. It already contains sugars, spices (like cinnamon, nutmeg, cloves, and ginger), and sometimes even milk or thickeners. While convenient for making pumpkin pie, using it in this pumpkin bread recipe would result in an overly sweet and intensely spiced loaf, as the recipe accounts for adding those elements separately. Always double-check the label when purchasing to ensure you select pure pumpkin puree.
What kind of loaf pan should I use for optimal results?
For baking quick breads like this pumpkin bread, we highly recommend using metal loaf pans, specifically those with a lighter color if possible, though any metal will do. Metal conducts heat more efficiently and consistently than glass or ceramic, which helps the bread bake more evenly and achieve a better rise. It also contributes to those deliciously crisp, golden-brown edges that add so much appeal to a homemade loaf. While glass pans can be used, they heat up slower and retain heat longer, which can sometimes lead to different baking times and textures.
How can I tell when my pumpkin bread is perfectly done?
A common characteristic of homemade quick breads is a large crack that often forms down the center of the loaf during baking; this is entirely normal and a sign of a good rise! To determine doneness, focus on the center of this crack (or the center of the loaf if no crack appears). The most reliable method is the toothpick test: insert a clean wooden toothpick halfway down into the center of the bread. If the toothpick comes out completely clean, your bread is fully baked. However, if you, like my family, enjoy a slightly gooier, more moist center, you can remove the bread when there are still a few moist crumbs clinging to the toothpick. If the toothpick comes out wet with raw batter, it needs more time in the oven. Continue baking and test again in 10-15 minute intervals until it reaches your desired doneness.
What are some delicious ways to enjoy pumpkin bread?
A warm slice of pumpkin bread, fresh from the oven, is an absolute delight on its own, especially when paired with a steaming cup of coffee or tea. But if you’re looking to elevate the experience and add a little something “extra,” the possibilities are endless! Try spreading a generous dollop of homemade Cinnamon Honey Butter for a sweet, spiced creaminess. Our rich Whipped Pumpkin Spice Butter will double down on the autumn flavors. For a decadent twist, Nutella offers a delightful chocolate-hazelnut complement. And of course, slathering it with more Pumpkin Butter or classic Apple Butter will amplify those beloved fall fruit notes. No matter how you serve it, this pumpkin bread is sure to be a hit!
Can I transform this pumpkin bread recipe into muffins instead of loaves?
Absolutely, yes! This versatile batter is perfect for making muffins, mini loaves, or even mini muffins. The key is simply to adjust the baking times according to the size of your chosen pan. This recipe is incredibly adaptable, allowing you to create various treats from a single batch.
Here’s a guide for adjusting bake times based on different pan sizes:
- For a standard 9×5-inch loaf pan, bake for 55-65 minutes.
- For an 8×4-inch loaf pan, bake for 45-55 minutes.
- For mini loaf pans, bake for 20-45 minutes (the exact time will depend on the specific size of your mini loaf pans).
- For regular-sized muffins, fill liners about two-thirds full and bake for 20-25 minutes.
- For mini muffins, fill liners about two-thirds full and bake for 10-15 minutes.
Always perform the toothpick test to ensure they are baked through!
What are the best methods for storing homemade pumpkin bread to keep it fresh?
- Room temperature: For the most immediate enjoyment and optimal flavor, storing at room temperature is generally preferred. Once the loaf has cooled completely, simply cover it tightly with aluminum foil or plastic wrap. It will remain wonderfully fresh and moist on your kitchen counter for up to 5 days.
- Refrigerated: If you desire a slightly firmer texture, or if you live in a particularly warm climate, storing your pumpkin bread in the refrigerator is an excellent option. The cooler temperature will help firm up the bread, making it even easier to slice and spread with butter or other toppings. To store, wrap the cooled loaf securely in foil or plastic wrap, or place it in an airtight container, and keep it in the fridge for up to a week.
- Frozen: For long-term storage, freezing is your best bet! Ensure the bread has cooled completely before freezing. Wrap the entire loaf tightly first in plastic wrap, then in a layer of aluminum foil. This double wrapping helps prevent freezer burn. Stored this way, your pumpkin bread will stay fresh and delicious for up to 4 months. To thaw, simply unwrap the frozen loaf and let it sit at room temperature overnight.
Gifting Pumpkin Bread
Homemade pumpkin bread makes for an incredibly thoughtful and appreciated gift, especially during the fall and holiday seasons. There’s something truly special about receiving a freshly baked treat from a loved one. To make your quick bread gifts extra festive and convenient, I have a few favorite tips.
I often bake these loaves directly in pretty holiday-themed disposable loaf pans, which eliminates the need for the recipient to return a pan. Alternatively, baking in an 8-well mini loaf pan allows you to create several smaller, individually portioned gifts, perfect for sharing with multiple friends or neighbors. Once the mini pumpkin bread loaves have cooled completely, carefully place them into clear cellophane treat bags. Tie the bags with a festive ribbon – perhaps in autumn colors or holiday hues – and add a charming handwritten gift tag. The cellophane not only protects the bread and keeps it fresh, but also beautifully showcases your delicious creation, while the ribbons and tags add that personal, artisanal touch.
This generous recipe yields two standard 9″x 5″ loaves of pumpkin bread, or it can produce a substantial batch of 48 pumpkin muffins. I frequently like to vary my output: sometimes I’ll bake one large loaf of pumpkin bread and 24 delicious pumpkin muffins from a single batch. For gifting purposes, I often opt to make 6-8 mini loaves, utilizing various mini loaf pan sizes that are available. While I don’t personally own 8″x 4″ loaf pans, this recipe is quite flexible and should yield approximately 4 loaves if you choose to use that particular size. The adaptability of this recipe makes it perfect for any occasion, whether it’s for your own family or for spreading joy through homemade gifts.
Pumpkin bread is, without a doubt, my absolute favorite quick bread – ever! Its comforting flavor and delightful texture are truly irresistible. And honestly, I see no reason why you can’t enjoy this delectable treat all year long, transcending the boundaries of just the fall season. I sincerely hope you cherish it as much as we do!
Originally posted in October 2014. UPDATED September 2021. We spiffed up this post with more info and better pictures! No changes to the original recipe.
Favorite Pumpkin Bread
two 9″ x 5″ loaves
15 minutes
1 hour
1 hour 15 minutes
Our easy PUMPKIN BREAD recipe is moist and fragrant with warm spices, chopped nuts, and raisins. This favorite fall treat bakes up wonderfully and is perfect for holiday gifting!
Ingredients
- 4 cups granulated sugar
- 3⅓ cups (29 ounce can) canned pumpkin
- 3 eggs
- 1 cup canola oil
- 4 cups all-purpose flour
- 1 tablespoon baking soda
- 2 teaspoons cinnamon
- 1½ teaspoon ground cloves
- 1 teaspoon salt
- 2 cups raisins
- 2 cups walnuts, chopped
- powdered sugar for dusting (optional)
Instructions
- Preheat oven to 350°F and grease or butter two 9″x 5″ loaf pans (see notes for other sizes). Yield: two 9″x5″ loaves
- Using a large mixing bowl, combine sugar, pumpkin, and eggs and beat with an electric mixer until blended. Add oil and continue beating until well incorporated.
- In another mixing bowl stir together flour, baking soda, cinnamon, ground cloves, and salt.
- Add the dry ingredients to the wet ingredients and stir until just combined and there is no more dry flour in the batter. Do not overmix!
- Stir in walnuts and raisins.
- Pour the batter into the loaf pans. Bake on middle rack in oven for 55-65 minutes (depending on your oven and the color of your loaf pan—dark pans cook the contents more quickly than light pans), or until a toothpick inserted in the center of the loaves comes out clean. Cool for 10 minutes before removing from pans to wire racks.
- Dust with powdered sugar, if desired.
- The loaf will keep at room temperature, covered, for about three days.
- To freeze, wrap the fully cooled pumpkin bread in plastic wrap and then foil. Freeze for 2-3 months. Thaw overnight at room temperature still wrapped.
Notes
NOTES: This recipe makes 2 9″x 5″ loaves of pumpkin bread or 48 pumpkin muffins. Often I will make 1 loaf of pumpkin bread and 24 pumpkin muffins, or I will make 6-8 mini loaves (for gifting)- mini loaf pans come in a variety of sizes. I don’t own 8″x 4″ loaf pans, but this recipe should yield 4 loaves if you are using that size.
* 9×5 loaf, bake 55-65 minutes
* 8×4 loaf, bake 45-55
* mini loaf, bake 20-45 mins (depending on size)
* regular size muffins, bake 20-25 minutes
* mini muffins, bake 10-15 minutes
Nuts and raisins are optional. Feel free to leave them out if you prefer.
Recommended Products
As an Amazon Associate and member of other affiliate programs, I earn from qualifying purchases.
- Aluminized Steel Loaf Pan
- Aluminized Steel Mini Loaf Pan, 8-Well
- Disposable Aluminum Holiday 1 lb. Mini Loaf Pans with Clear Snap on Lid
- Glass Bowl Set
- KitchenAid Hand Mixer
- Non-Stick Mini Loaf Pan, 4-Cavity
- Cooling Racks
Nutrition Information:
Yield: 20
Serving Size: 1 slice
Amount Per Serving:
Calories: 510Total Fat: 20gSaturated Fat: 2gTrans Fat: 0gUnsaturated Fat: 17gCholesterol: 28mgSodium: 309mgCarbohydrates: 81gFiber: 3gSugar: 56gProtein: 6g
Nutrition information is estimated based on the ingredients and cooking instructions as described in each recipe and is intended to be used for informational purposes only. Please note that nutrition details may vary based on methods of preparation, origin, and freshness of ingredients used.
Did you make this recipe?
Please leave a comment on the blog or share a photo on Instagram