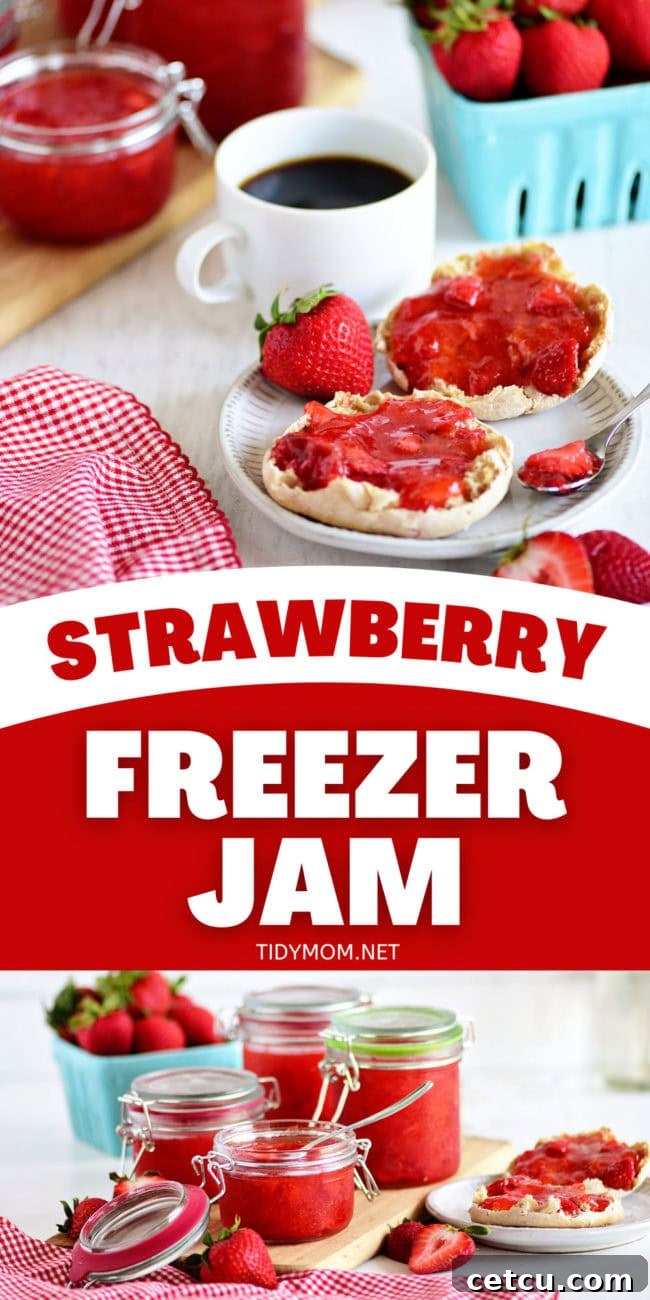
Easy No-Cook Strawberry Freezer Jam: Your Guide to Preserving Summer’s Sweetness
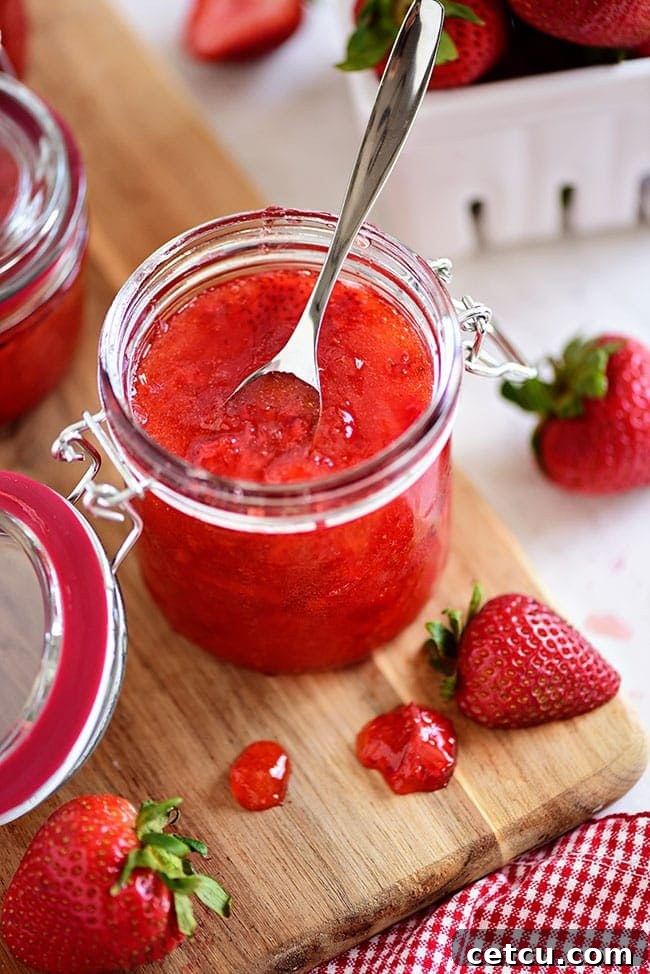
Imagine biting into the vibrant taste of fresh summer strawberries, even in the middle of winter. With this incredibly simple no-cook strawberry freezer jam recipe, that dream becomes a delicious reality! Forget complicated water bath canning methods; this delectable jam is preserved in your freezer, keeping its intense flavor and bright color for up to two years. It’s so easy, anyone can make it – no prior canning skills required!
Homemade strawberry freezer jam isn’t just a treat; it’s a versatile culinary staple. Spread it generously on your morning Sheet Pan Pancakes, swirl it into creamy Vanilla Bean Ice Cream, or elevate a simple piece of Homemade Cheese Danish. For a classic comfort food that truly blows minds, pair it with peanut butter on slices of warm, Artisan Bread – your taste buds will thank you!
Why You’ll Fall in Love with This Strawberry Freezer Jam Recipe
Capturing the essence of peak-season strawberries has never been easier or more rewarding. While traditional canning has its place, freezer jam offers an unparalleled convenience and a superior fresh-fruit flavor that truly shines. This method is infinitely more approachable than water bath canning, setting beautifully with the right pectin and holding onto that glorious summer taste for months on end. Here’s why this recipe will become your go-to:
- Minimal Ingredients: You only need four simple components to create this fantastic jam, making it incredibly straightforward to prepare.
- Absolutely No Cooking Required: This is a true no-cook recipe, eliminating the need for boiling pots and precise temperature monitoring, which means less time in the kitchen and more time enjoying!
- Vibrant Color Retention: Because the berries aren’t cooked, the jam retains the stunning, natural bright red color of the fresh strawberries, making it visually appealing as well as delicious.
- Customizable Sweetness: Using MCP (Modified Citrus Pectin) gives you more control over the sugar content, allowing you to tailor the sweetness to your preference without compromising the set.
- Naturally Vegan: Free from gelatin, this strawberry freezer jam is a delicious vegan treat that everyone can enjoy.
- Generous Yield: Each batch makes enough jam to share with lucky friends and family – or to stock your own freezer for a year of pure strawberry bliss.
- Exceptional Longevity: Stored properly in the freezer, your homemade strawberry jam will maintain its peak quality for 1 to 2 years, letting you savor summer’s bounty long after the season ends.
What’s the Difference Between Regular Jam and Freezer Jam?
The core distinction is simple: regular jam is cooked, while freezer jam is not. This fundamental difference impacts everything from preparation to preservation and, ultimately, the final taste and texture.
Traditional jams involve cooking fruit with sugar and pectin, then sealing them in jars via a hot water bath or pressure canning. This process creates a shelf-stable product that can be stored at room temperature for extended periods. However, the cooking process can sometimes dull the vibrant color and fresh flavor of the fruit, resulting in a more caramelized or “cooked” taste.
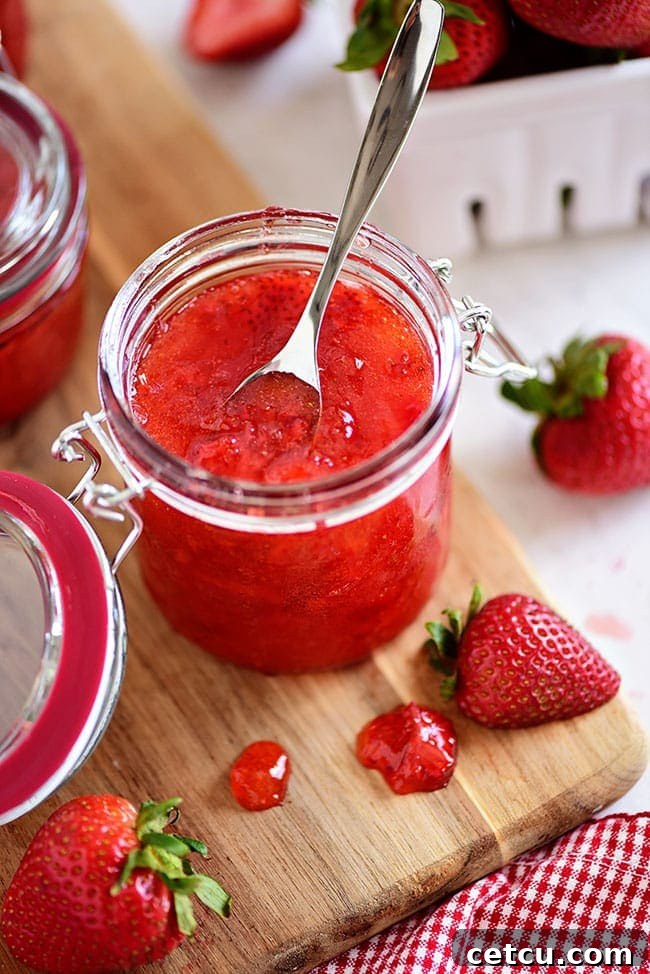
Freezer jam, on the other hand, relies on a unique no-cook method. Fresh fruit is combined with sugar and a special type of pectin (like MCP or Sure-Jell) that sets without heat. The mixture is then poured into containers and stored directly in the freezer. This method preserves the bright, unadulterated flavor and vivid color of the fresh berries almost perfectly, offering a taste that’s remarkably closer to eating raw fruit. It’s also significantly less labor-intensive, eliminating the need for specialized canning equipment and the inherent risks of improper sealing.
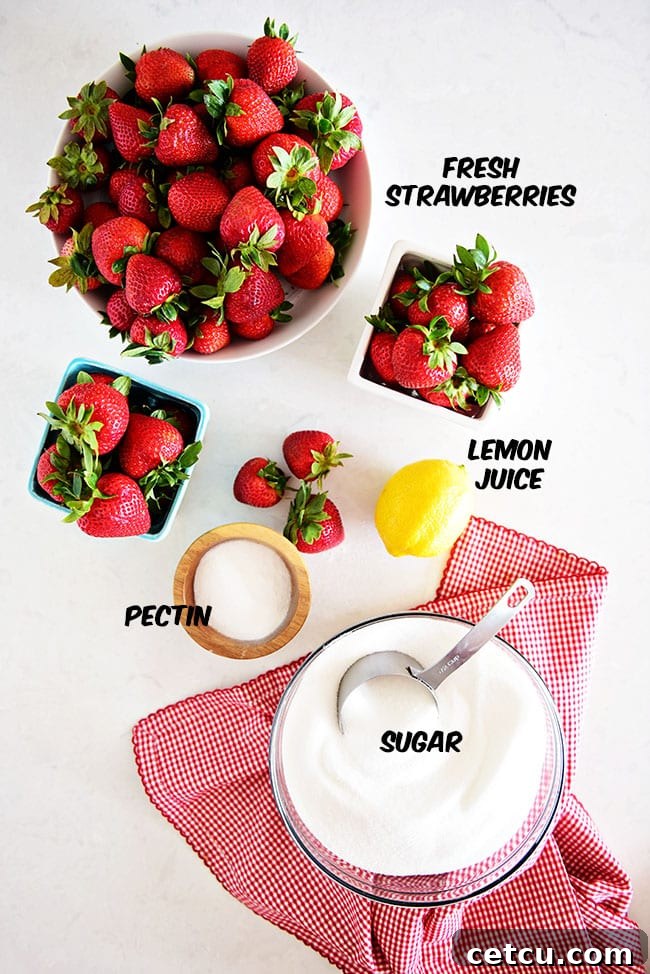
Essential Ingredients for Your Strawberry Freezer Jam
Making outstanding strawberry freezer jam requires just a few key ingredients, each playing a crucial role in achieving that perfect taste and consistency:
- Fresh Strawberries: The star of the show! Select fully ripened, sweet red strawberries for the best flavor. Avoid under-ripe or over-ripe berries. After selecting, gently remove the green calyx (hulls), wash them thoroughly under cold water, and drain them well in a colander. This step ensures clean, flavorful fruit.
- Lemon Juice: Here’s a little secret – bottled lemon juice is actually preferred over fresh for jam making! While fresh lemons are wonderful for many culinary uses, their acidity can vary significantly based on growing conditions and storage. Bottled lemon juice, especially varieties regulated by the USDA, provides a consistent and uniform acidity level, which is absolutely critical for the pectin to gel properly and for food safety.
- MCP Pectin (Modified Citrus Pectin): This is the gelling agent that transforms your crushed berries into luscious jam. MCP pectin is specifically formulated for freezer jams and fruits with high natural pectin levels. It ensures a reliable set without the need for extensive cooking. If MCP pectin is hard to find, Sure-Jell pectin is an excellent and widely available alternative that also works beautifully for freezer jam recipes.
- Granulated Sugar: Beyond just sweetening, sugar is a vital component in freezer jam. It acts as a “magnet,” interacting with the fruit’s natural water and the added pectin to form the gel structure. Use a standard granulated cane or beet sugar for consistent results.
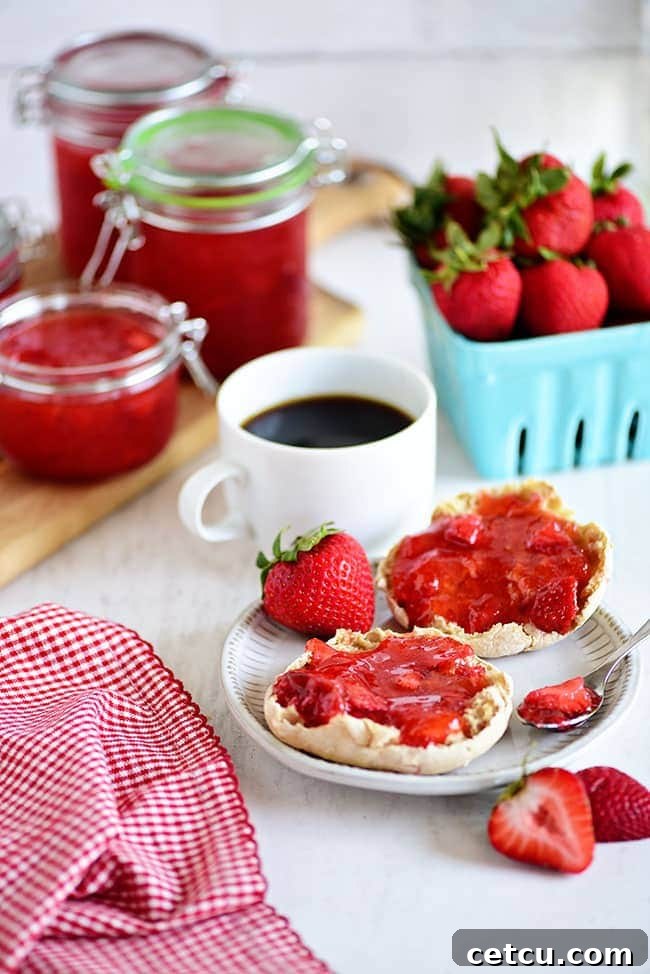
Understanding Pectin: MCP vs. Standard Pectin
Pectin is a naturally occurring soluble fiber found in the cell walls of fruits, particularly apples and citrus. It’s what gives jams and jellies their characteristic gelled texture. However, not all pectins are created equal, and understanding the difference is key to successful jam making.
Standard Pectin: This type of pectin typically requires a high sugar content and often a specific pH level (acidity) to activate its gelling properties, usually achieved through cooking. Fruits naturally high in pectin (like apples and some berries) combined with sufficient sugar will set when cooked. This is what’s commonly used in traditional cooked jams.
MCP (Modified Citrus Pectin): MCP is a specially processed form of pectin where its long chains are broken into smaller pieces. This modification allows it to reliably set freezer jams and even low-sugar jam recipes without the need for extensive boiling. It’s designed to activate and create a stable gel with lower temperatures and specific ingredient ratios, making it perfect for preserving the fresh flavor of fruit. If you can’t find MCP pectin, commonly available brands like Sure-Jell also offer varieties specifically designed for freezer jam or low-sugar recipes, which are suitable substitutes.
Using the correct type of pectin is crucial for your jam to set properly. Trying to substitute standard pectin for MCP (or vice versa) in a recipe not designed for it can lead to a runny or overly stiff jam.
This post may contain affiliate links. Please read my disclosure policy here.
How to Make Strawberry Freezer Jam: A Simple Guide
Ready to transform those gorgeous berries into irresistible jam? Before you begin, make sure you’ve prepped your fruit and, most importantly, cleared some space in your freezer! You’ll be amazed at how quickly this comes together.
Essential Notes for Making Freezer Jam
Gathering your equipment beforehand will make the process incredibly smooth. You’ll need:
- Fruit Wash: While optional, a good fruit wash helps ensure your berries are extra clean.
- Colander: For washing and draining your strawberries thoroughly.
- Large Mixing Bowls: You’ll need at least two – one for mashing and another for combining ingredients.
- Measuring Cups: Accurate measurements are key for jam success.
- Potato Masher: The perfect tool for achieving that desired chunky yet crush consistency.
- Rubber Spatula: Ideal for stirring and scraping down the sides of bowls.
- Canning/Jar Funnel: Makes pouring the jam into jars much cleaner and easier.
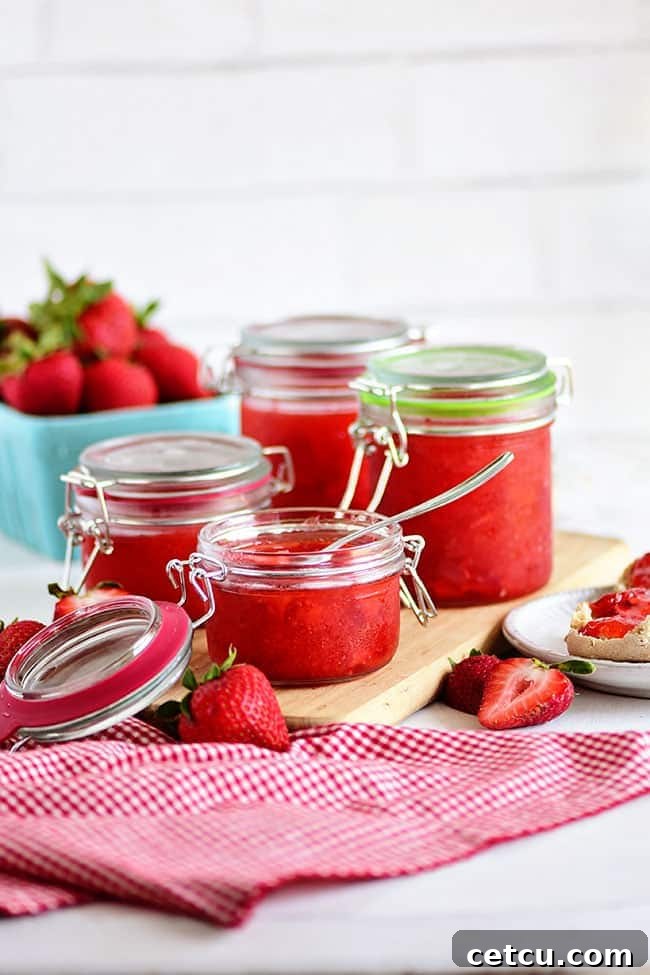
- Jars or Freezer-Safe Containers: Meticulously wash and dry your chosen containers and their lids. I highly recommend using 1-cup (8oz) or 2-cup (16oz) freezer-safe jars or plastic containers with tight-sealing lids. Mason jars are a popular choice not only for their cute aesthetic, which makes them perfect for gifting (especially a cute mason jar!), but also for their durability in the freezer.
This recipe typically yields about seven half-pint (8oz) jars, or roughly 3.5 pint (16oz) jars. Always ensure your containers are clean and dry to prevent any contamination.
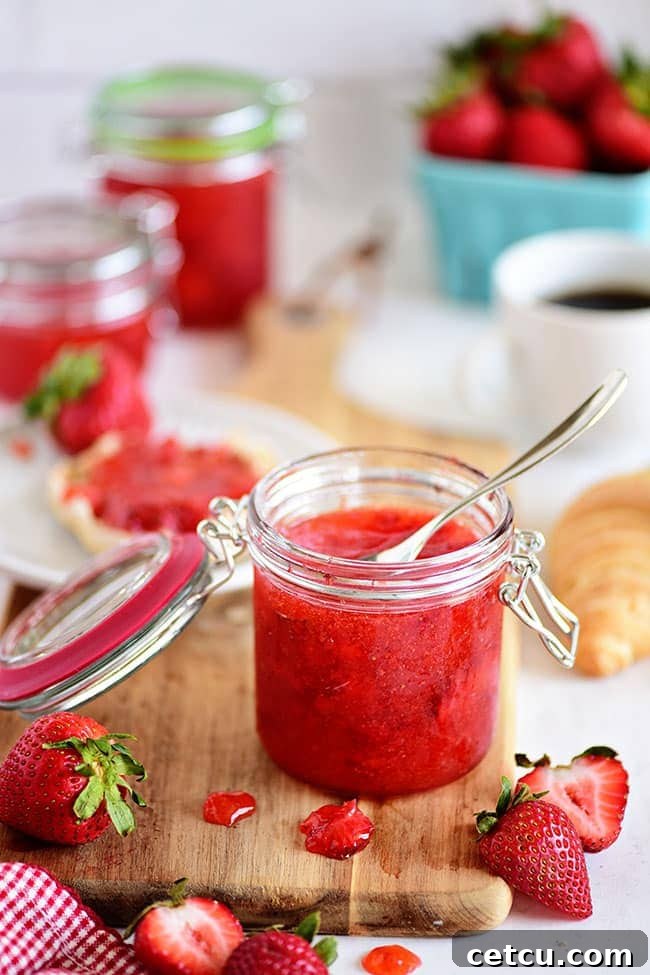
Simple Step-by-Step Directions for Perfect Strawberry Jam
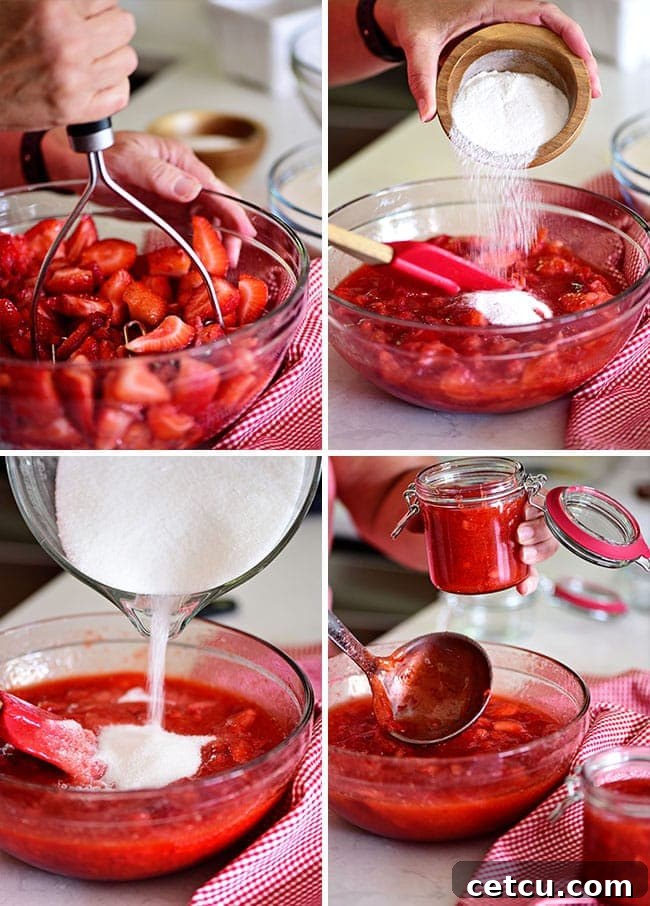
- Prepare the Fruit: Start by cutting your clean, hulled strawberries in half. Place them into a large mixing bowl. Using a potato masher, gently crush the berries until they are well-mashed but still contain plenty of delightful chunky pieces. Avoid pureeing them completely; that rustic texture is part of the charm! Measure exactly 3 ¼ cups of your crushed berries into another large bowl. Add the lemon juice and stir thoroughly to combine.
- Dissolve the Pectin: Gradually sprinkle the MCP pectin over the fruit and lemon juice mixture, mixing thoroughly as you add it. It’s crucial to ensure there are no dry pockets of pectin. Let this mixture sit for 30 minutes, stirring every five minutes to help the pectin dissolve completely and evenly. This resting period is vital for the pectin to begin its work.
- Incorporate the Sugar: With a rubber spatula, gradually stir in the granulated sugar. Continue stirring consistently for about five minutes, or until the sugar is completely dissolved. Take a small taste to check for any remaining sugar crystals; if you feel grittiness, continue stirring for another 1-3 minutes until smooth. The sugar must be fully dissolved for the jam to set properly.
- Fill the Jars: Carefully pour the strawberry freezer jam mixture into your prepared jars or freezer-safe containers. Make sure to leave a ½-inch headspace at the top of each container. This crucial space allows for expansion as the jam freezes, preventing your jars from cracking. Wipe the rims of the containers with a clean, lint-free cloth to ensure a tight seal, then secure the lids firmly.
- Allow to Set: Let the filled containers stand at room temperature for approximately 24 hours. During this time, the pectin will fully activate and the jam will set into its desired consistency.
Congratulations! Your homemade strawberry freezer jam is now ready. Place the containers in your refrigerator for immediate enjoyment (it will last for 3-4 weeks) or transfer them to the freezer for long-term storage.
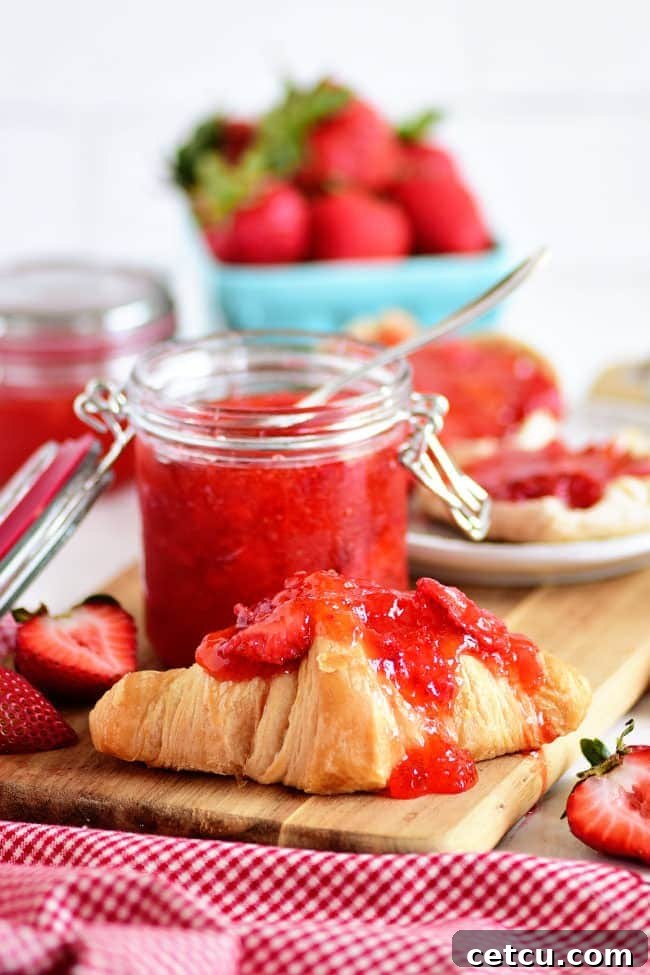
Storing and Using Your Homemade Strawberry Freezer Jam
One of the greatest advantages of freezer jam is its impressive shelf life. When stored continuously in the freezer at 0°F (-18°C) or colder, your homemade strawberry freezer jam will maintain its optimal quality for 1 to 2 years. Once you’re ready to enjoy it, transfer a jar to the refrigerator to thaw. After thawing, the jam remains fresh and delicious in the fridge for 3-4 weeks once opened.
Important Notes for Thawing and Refrigerating Freezer Jam
- Thawing for Best Consistency: For the ideal texture, allow your strawberry jam to thaw slowly in the refrigerator for up to four hours, or even overnight. This gradual process helps maintain its smooth consistency.
- Always Refrigerate Thawed Jam: Once thawed, freezer jam must always be kept refrigerated, just like any other perishable food item.
- Peak Quality in the Fridge: Thawed freezer jam typically retains its peak quality for about four weeks in the refrigerator. While some cooks claim success with refreezing their freezer jams, the quality might slightly diminish, and “weeping” (syneresis) can become more pronounced. However, it will still taste wonderful!
- Addressing “Weeping” (Syneresis): You might notice that once defrosted, freezer jam can sometimes “weep,” meaning the gel separates from the liquids. This phenomenon, known as syneresis, is perfectly normal and a common characteristic of gelled products. Don’t worry – it doesn’t affect the safety or flavor of your jam! Simply give it a good stir, and it will be as delicious as ever, far superior to any store-bought alternative.
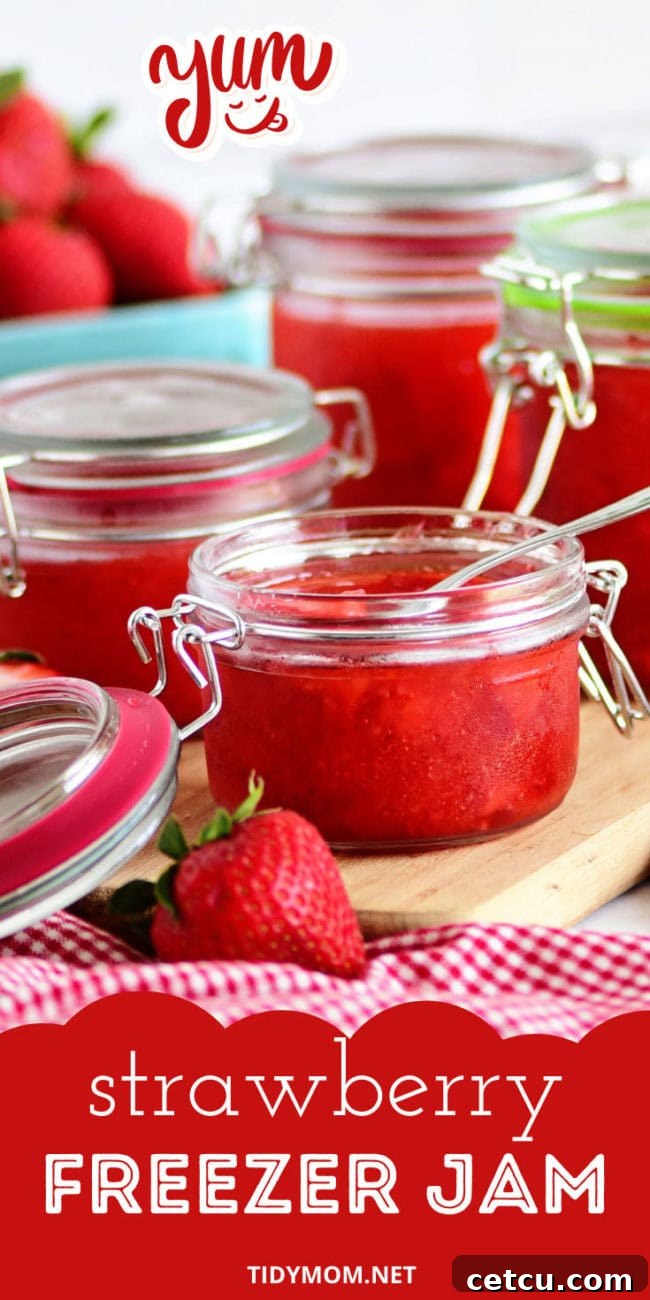
Beyond Toast: Creative Ways to Enjoy Your Freezer Jam
While a classic peanut butter and jam sandwich is always a winner, your homemade strawberry freezer jam is incredibly versatile. Here are some inspiring ideas to make the most of your delicious creation:
- Breakfast Bliss: Swirl into Greek yogurt or oatmeal, spread on croissants, bagels, or muffins. It’s also fantastic spooned over waffles or pancakes for an extra burst of fruity flavor.
- Dessert Delight: Use it as a topping for cheesecake, a filling for tarts, thumbprint cookies, or even layer it in parfaits with granola and whipped cream. Mix it into a milkshake or drizzle over a simple pound cake.
- Savory Pairings: Don’t limit jam to sweet dishes! Strawberry jam can be a surprising addition to a cheese board, complementing creamy brie or sharp cheddar. It can also be warmed slightly and used as a glaze for pork or chicken, adding a sweet and tangy element.
- Beverages: Stir a spoonful into sparkling water or iced tea for a refreshing fruit-infused drink.
- Gourmet Gifting: Beautifully packaged jars of your homemade freezer jam make thoughtful and personalized gifts for any occasion.
Frequently Asked Questions About Strawberry Freezer Jam
Can I use frozen strawberries for freezer jam?
While this recipe focuses on fresh strawberries for optimal flavor and texture, you *can* use frozen strawberries. Thaw them completely, drain any excess liquid (this is crucial, as frozen berries release more water), and then proceed with mashing and measuring as directed. Be aware that the texture might be slightly softer due to the freezing and thawing process.
Can I reduce the amount of sugar in this recipe?
This recipe calls for a specific amount of sugar, which is essential not only for sweetness but also for proper gelling with MCP pectin and for preservation. While some “no-sugar-added” pectins exist, they require different ratios and instructions. For this particular recipe, reducing the sugar significantly is not recommended as it may prevent the jam from setting correctly and shorten its shelf life.
What if my jam doesn’t set?
If your jam doesn’t set after the initial 24-hour resting period, don’t panic! This can sometimes happen due to slight inaccuracies in measurement, insufficient stirring to dissolve sugar/pectin, or variations in fruit ripeness/acidity. Often, simply giving it more time in the refrigerator (another 12-24 hours) can help. If it remains too thin, it’s still delicious as a sauce for ice cream or yogurt!
How long does it really last in the freezer?
When stored correctly in freezer-safe containers at a consistent temperature of 0°F (-18°C) or below, strawberry freezer jam can last for 1 to 2 years, maintaining excellent quality. Beyond this, it may start to lose some color and flavor, but it generally remains safe to eat.
Can I use other fruits with this freezer jam method?
Yes, the freezer jam method works wonderfully with many other high-pectin fruits! Berries like raspberries, blackberries, and blueberries are excellent choices. Just be sure to find a specific freezer jam recipe for your chosen fruit, as pectin-to-fruit-to-sugar ratios can vary slightly.
The Sweet Simplicity of Homemade Jam
Making your own strawberry freezer jam is an incredibly rewarding experience. It’s a simple, enjoyable process that yields a product far superior to anything you’ll find on a store shelf. The vibrant taste of fresh strawberries, preserved with minimal effort and no cooking, allows you to capture the very best of summer and enjoy it throughout the year. So, grab some ripe strawberries, gather your few ingredients, and prepare to create a batch of truly unforgettable homemade jam!
Like This Recipe?
We’d love to hear what you think! Leave a review below and let us know how you enjoyed this delightful recipe!
Strawberry Freezer Jam Recipe Card
Here’s a quick summary of the recipe for your convenience:
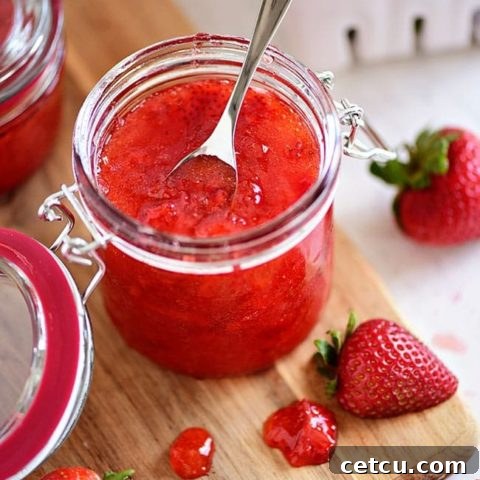
Strawberry Freezer Jam
This easy no-cook recipe lets you enjoy the vibrant taste of fresh strawberries all year long. Perfect for beginners!
- Yield: 7 half-pint jars
- Prep Time: 30 minutes
- Additional Time: 1 day (for setting)
- Total Time: 1 day 30 minutes
Ingredients
- 2 quarts of fresh strawberries, stems removed, washed and drained in colander
- ¼ cup bottled lemon juice
- 1 box of MCP pectin (or Sure-Jell for freezer jam)
- 4 ½ cups granulated sugar
Instructions
- Cut strawberries in half and place in a large bowl. Using a potato masher, crush berries until slightly chunky (NOT pureed). Measure exactly 3¼ cups of crushed strawberries into a large bowl and add the lemon juice; stir to combine.
- Gradually add pectin to the fruit mixture. Mix thoroughly and let sit for 30 minutes, stirring every 5 minutes to dissolve pectin completely.
- Using a rubber spatula, stir in sugar gradually until completely dissolved (roughly 5 minutes). Taste a little sample to see if sugar is dissolved. If not, continue stirring for 1-3 more minutes.
- Pour into prepared containers leaving 1/2” headspace for expansion during freezing. Wipe rims of containers; seal tightly. Let stand at room temperature for about 24 hours or until set.
- Refrigerate for up to 3 months, or store in the freezer for 1 to 2 years.
Notes
If you can’t find MCP pectin, you can successfully use Sure-Jell pectin, specifically designed for freezer jams.
Recommended Products
- 8 oz (1/2 pint) Ball Regular Mason Jar
- 1 pint Ball Mason Jar with Lid
- Strainer Colander Set
Nutrition Information (Estimated Per 1 Tablespoon Serving):
- Calories: 37
- Total Fat: 0g
- Saturated Fat: 0g
- Trans Fat: 0g
- Unsaturated Fat: 0g
- Cholesterol: 0mg
- Sodium: 1mg
- Carbohydrates: 9g
- Fiber: 0g
- Sugar: 9g
- Protein: 0g
Nutrition information is estimated based on the ingredients and cooking instructions as described in each recipe and is intended to be used for informational purposes only. Please note that nutrition details may vary based on methods of preparation, origin, and freshness of ingredients used and are just estimates. We encourage, especially if these numbers are important to you, to calculate these on your own for most accurate results.
Did you make this recipe?
Please leave a comment on the blog or share a photo on Instagram!