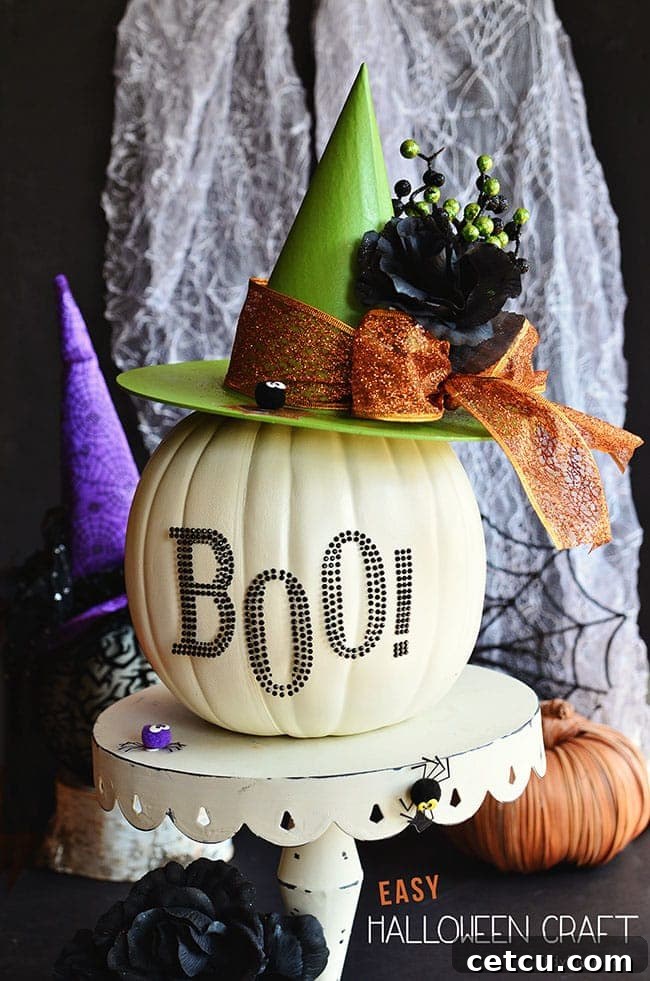
DIY Witch Hat Pumpkin Craft: Spooky & Simple Halloween Decor
Halloween is a season of enchanting decorations, delightful treats, and creative crafting. If you’re searching for an easy yet impactful project to add a touch of magic to your home, look no further! This super simple Halloween craft featuring a decorated witch hat and a faux pumpkin can be whipped up in no time, making it the perfect addition to your Halloween home decor or as a captivating witch hat centerpiece. Whether gracing your entryway, mantel, or a party table, this charming piece is sure to cast a spell on all who see it.
Why Choose Faux Pumpkins for Your Halloween Crafts?
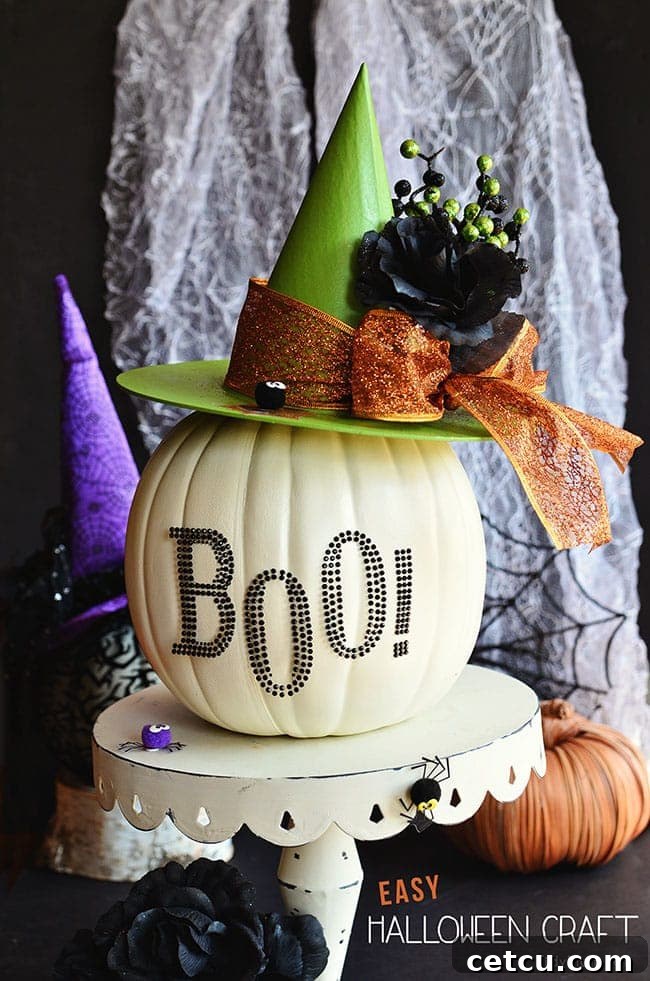
Have you started decorating for Halloween yet? Today, we’re diving into a fun and incredibly easy idea for embellishing a craft foam pumpkin! The genius who invented these faux pumpkins deserves a round of applause. Not only do they open up a world of creative possibilities, but their longevity is a game-changer. Imagine keeping your beautifully crafted decorations for years to come, rather than discarding them annually. This reusability makes foam pumpkins an eco-friendly and economical choice for passionate crafters and seasonal decorators alike.
While a real pumpkin could certainly be used for this Halloween craft, the real magic here is in the witch hat itself. However, the durability and versatility of a foam pumpkin mean your creation will withstand the test of time, ensuring your spooky display looks fresh year after year. Plus, working with foam eliminates the mess associated with carving and the eventual decay of real pumpkins, making the crafting process cleaner and more enjoyable.
Your Spooky Crafting Adventure Starts Here!
I’m a firm believer in making things easy, and this Halloween craft genuinely couldn’t be simpler. In fact, most of the work can be completed in under 20 minutes, making it an ideal project for busy schedules or impromptu crafting sessions. We once eyed a gorgeous black and white glam pumpkin, purchased all the supplies, but never got around to making it. The silver lining? When we were brainstorming ideas for an easy Halloween craft, all the necessary items were already waiting in our craft closet!
This project is perfect for crafters of all skill levels, from beginners looking for a quick win to seasoned pros seeking a charming addition to their holiday display. It’s a fantastic way to personalize your Halloween decorations and inject some handmade charm into your home. Get ready to transform a simple foam pumpkin and a plain witch hat into a bewitching piece of decor that will delight trick-or-treaters and party guests alike.
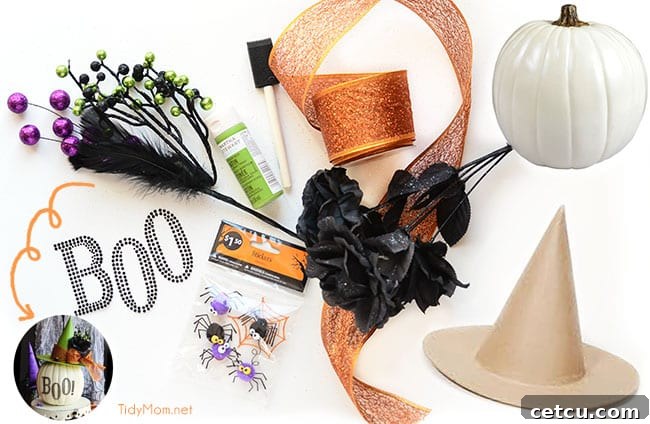
Essential Supplies for Your Witch Hat Pumpkin
- Paper Mache Unfinished Witch Hat: This provides a sturdy base for your creative embellishments. Look for one with a classic conical shape for that iconic witchy look.
- White Foam Pumpkin: Opt for a smooth, clean foam pumpkin. White provides a neutral canvas, but orange or black foam pumpkins can also be used, potentially requiring less paint if you match your theme.
- Scissors: A good pair of craft scissors will be essential for cutting ribbon and floral picks cleanly.
- Halloween Wired Ribbon: Wired ribbon is a dream to work with! It holds its shape beautifully, making it easy to create full, voluminous bows that truly stand out. Choose a festive Halloween pattern or color.
- Craft Paint: Select colors that resonate with your Halloween theme. Traditional choices include green, black, orange, or purple. Acrylic craft paints work wonderfully and dry quickly.
- Sponge Brush: Ideal for applying smooth, even coats of paint to the paper mache hat. A few brushes of varying sizes might be helpful for detail work.
- Faux Spiders or Other Embellishments: Add some creepy-crawly fun! Plastic spiders, glitter bats, spooky charms, or even tiny plastic skulls can personalize your hat.
- Halloween Floral Picks: These small decorative accents, often found in craft stores, can include miniature pumpkins, leaves, berries, or glittery branches. They add texture and visual interest.
- “BOO!” Rhinestone Decal: A simple way to add sparkle and a classic Halloween greeting. If you can’t find this exact decal, consider vinyl cutouts, stencils, or even hand-painting spooky phrases or designs.
- Hot Glue Gun and Glue Sticks (Optional but Recommended): For securely attaching embellishments that might not have an adhesive backing. It provides a strong, quick bond.
Step-by-Step Guide to Crafting Your Witch Hat Pumpkin
Transforming your ordinary supplies into a dazzling Halloween decoration is easier than you think! Follow these simple steps:
- Prepare Your Workspace and Paint the Hat: Begin by protecting your work surface with old newspaper, a cloth drop sheet, or wax paper. This will catch any paint drips and simplify cleanup. Using your sponge brush, apply two coats of your chosen craft paint to the unfinished paper mache witch hat. Allow about 15 minutes of drying time between coats and before proceeding to the next step. Consider vibrant greens, deep purples, classic blacks, or fiery oranges for a true Halloween vibe.
- Embellish Your Pumpkin: While your witch hat is drying, turn your attention to the white foam pumpkin. This is where you can add a personalized touch. If you have a “BOO!” rhinestone decal, carefully apply it to the front of the pumpkin. If you can’t find an exact match for the decal, don’t worry! This is an excellent opportunity to get creative. Consider vinyl eyeglasses for a scholarly witch look, spooky spider web decals, glitter accents, or even hand-painted designs like bats or ghostly silhouettes. The goal is to make your pumpkin unique and charming.
- Measure, Wrap, and Tie the Ribbon: Take your Halloween wired ribbon and measure out enough to wrap comfortably around the base of the witch hat, allowing extra length to tie a generous bow. Wired ribbon is exceptionally forgiving and allows you to shape and fluff your bow beautifully, giving it more body and a professional finish. Once measured, carefully wrap the ribbon around the hat’s base, then tie it into a festive bow, ensuring the loops are nicely fluffed for maximum impact.
- Integrate Floral Picks: Now for those charming details! Using scissors, cut small pieces from your Halloween floral picks. These could be tiny glittery leaves, miniature berries, or small decorative elements that complement your ribbon. Gently tuck these cut pieces into the loops and knots of your ribbon bow. If you find they’re not staying securely in place, a small dab of hot glue will ensure they remain perfectly positioned. This step adds depth and texture to your design.
- Attach Faux Spider (or other Embellishments): To complete the witchy aesthetic, add a faux spider or another chosen embellishment to the brim of the hat. If your spider or charm comes with an adhesive backing, simply stick it on. For items without adhesive, a small amount of hot glue will secure it firmly to the hat’s brim, giving your craft an extra touch of spooky charm.
- Assemble and Display: With all the elements complete, carefully place the decorated witch hat onto your embellished foam pumpkin. Adjust as needed to ensure it sits snugly and looks visually appealing. Your enchanting witch hat pumpkin craft is now ready to be featured in your Halloween display! Place it on a mantel, an entryway table, or as a focal point on your dining table.
Beyond the Pumpkin: Versatile Witch Hat Centerpiece Ideas
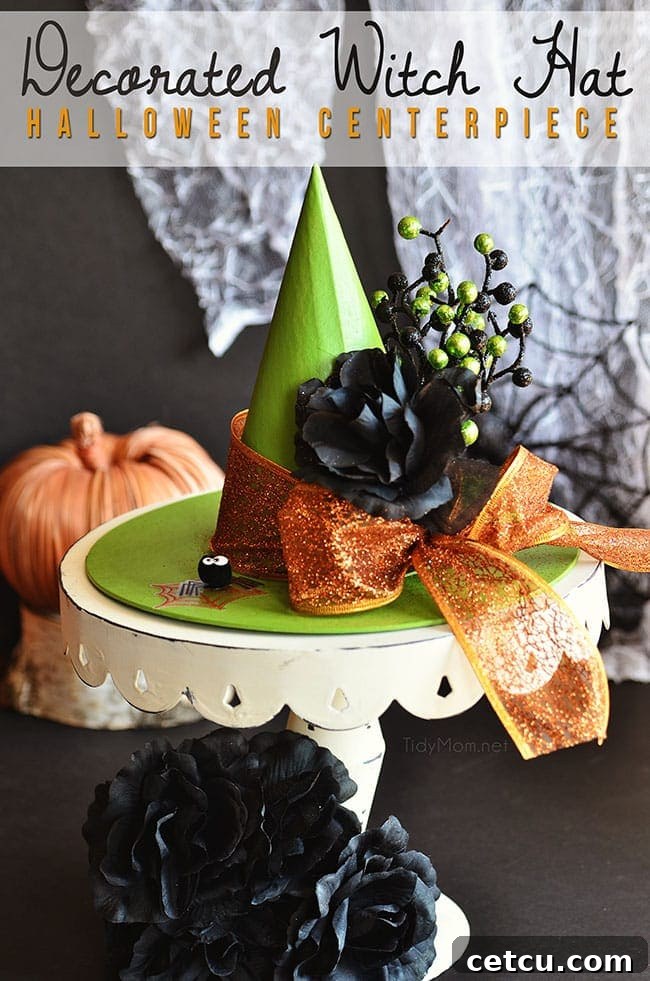
While the combination of the witch hat and pumpkin creates a delightful display, you also have the option to forgo the pumpkin entirely! Your beautifully decorated witch hat can serve as a stunning standalone centerpiece. Simply place it on a cake stand, directly on a table, or atop a shelf for a super easy Halloween centerpiece. This versatility makes the craft even more adaptable to different spaces and aesthetic preferences.
Either way, this charming decoration makes a perfect addition for a Halloween party, a cozy Halloween home decor statement on a table, or an eye-catching accent on a fireplace mantle. If you’re lucky enough to have an enclosed porch, imagine this decorated pumpkin centerpiece displayed on a welcoming table, greeting Halloween guests and trick-or-treaters with its festive charm. Its simplicity belies its visual impact, making it a truly rewarding DIY project.
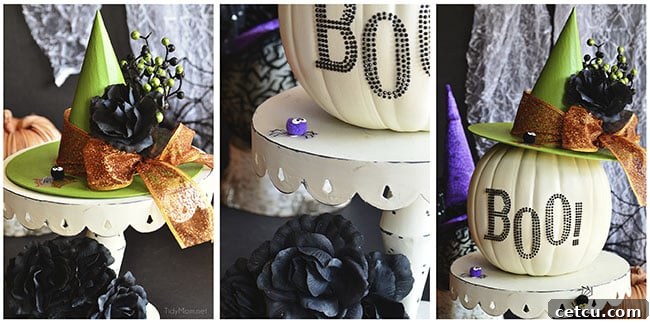
This project proves that creating festive and fun Halloween decorations doesn’t have to be complicated. With just a few supplies and a little imagination, you can craft a piece that brings joy and spooky cheer to your home. It’s so simple and fun, you might just find yourself making several!
Unleash More Halloween Creativity!
Loved making this witch hat pumpkin? There’s a whole world of Halloween crafts waiting for you! Dive into more festive projects to truly transform your home for the spookiest season. Here are some other Halloween crafts you might enjoy creating:
More Spooktacular Halloween Craft Ideas:
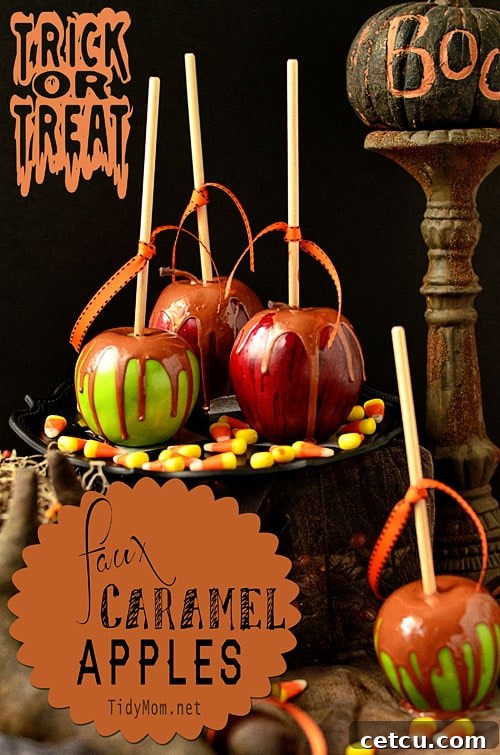
Faux Caramel Apples
Craft sweet, no-rot caramel apples that look good enough to eat but last forever!
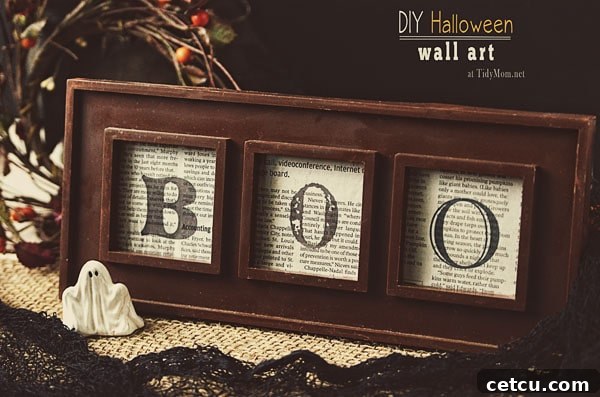
DIY Halloween Art – BOO Frame
Create custom spooky wall art with a stylish “BOO!” frame that adds a personalized touch to your decor.
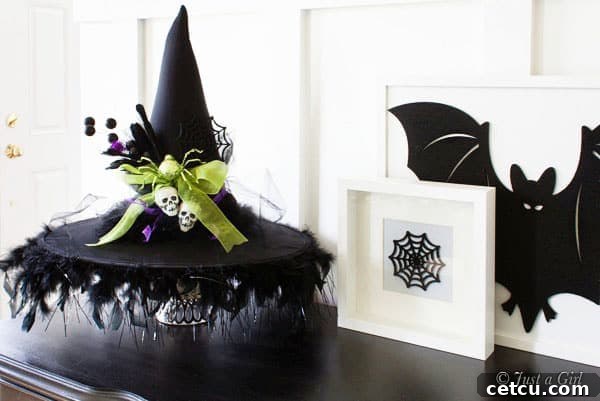
DIY Decorated Witch Hat
Learn more ways to decorate witch hats, perfect for costumes, props, or additional centerpieces.
Halloween Treats and more!
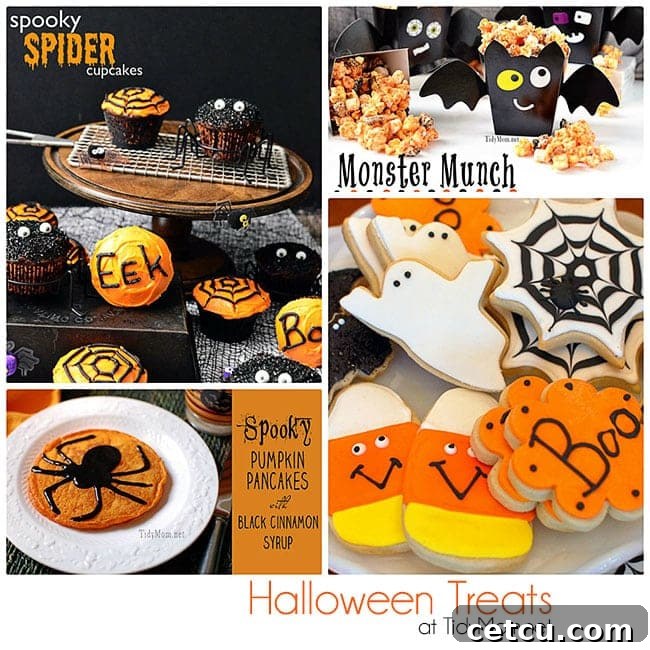
Beyond crafts, explore a collection of delicious and easy-to-make Halloween treats and other festive ideas!
Stay Connected for More Creative Inspiration!
Craving more creative ideas, home decor tips, and delicious recipes? Sign up for the TidyMom newsletter to stay on top of what’s new, delivered right to your inbox! And connect with us on Facebook, Twitter, Google+, and Pinterest for all of the latest updates, behind-the-scenes glimpses, and daily doses of inspiration. We love seeing your creations, so be sure to share your witch hat pumpkin crafts with us!