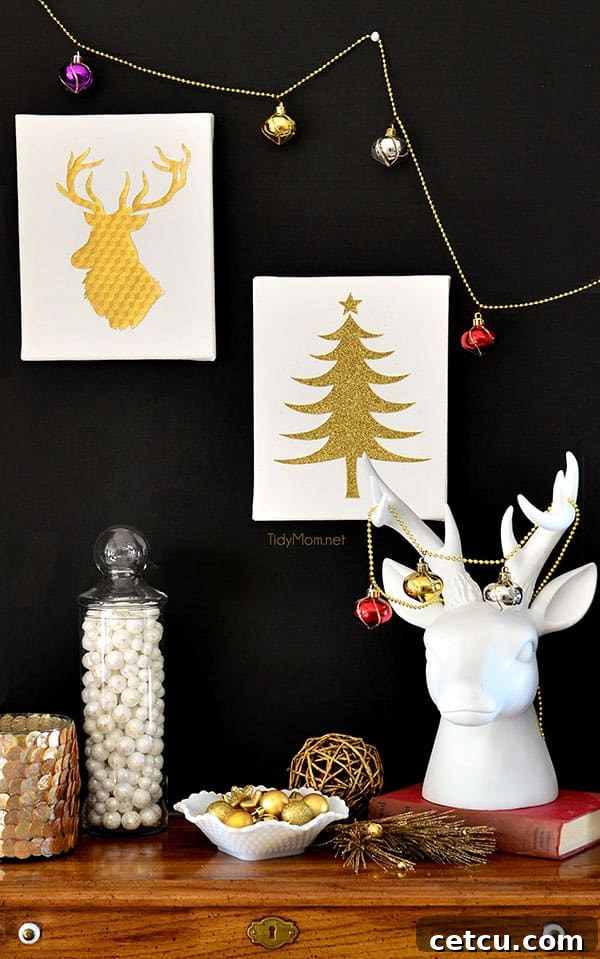
Welcome to the most wonderful time of the year! As the holiday season draws near, the excitement of festive decorations fills the air. While store shelves are brimming with options, there’s a unique charm and personal touch that only handmade decor can offer. This Thanksgiving week, and throughout the upcoming holidays, embrace simplicity and creativity with projects that truly make your home sparkle.
If you’re looking to infuse your living space with fresh, modern holiday decor, consider crafting your own. Not only is it a rewarding experience, but it also allows you to tailor every detail to your personal style. Few projects combine elegance, ease, and customization as perfectly as this stunning DIY Christmas Wall Art. It’s an ideal way to add a sophisticated touch to your festive arrangements without overwhelming your schedule.
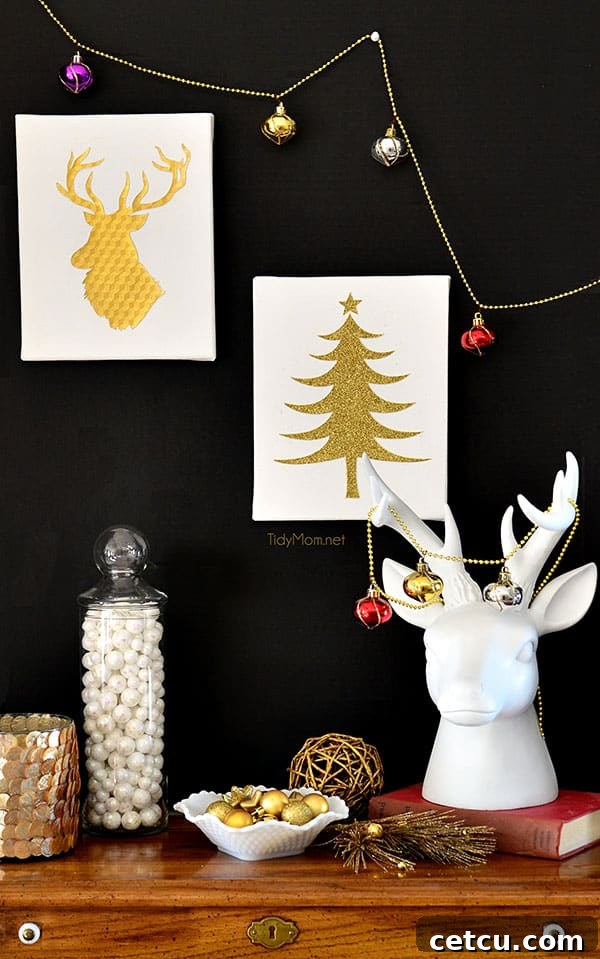
Elevate Your Holiday Decor: Crafting Custom DIY Christmas Wall Art
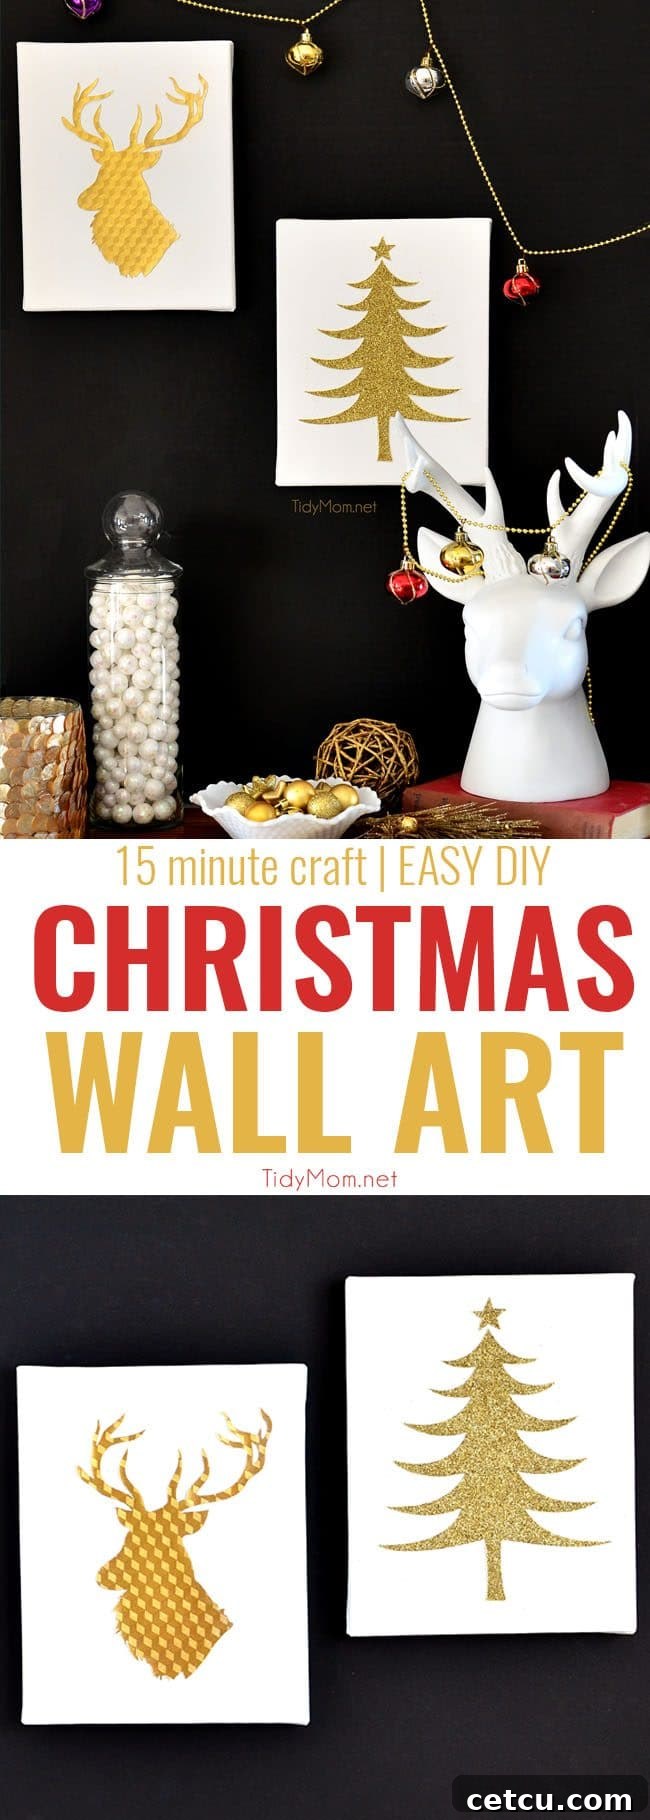
This year, my holiday theme is all about embracing the timeless elegance of gold, and this project perfectly aligns with that vision. I’ve created some new and effortlessly chic Christmas wall art, leveraging the incredible precision of my Silhouette craft cutter. This isn’t just a simple craft; it’s a gateway to endless creative possibilities, allowing you to design unique pieces that reflect your personal aesthetic. Whether you’re aiming for a minimalist look, a touch of glamour, or something whimsical, a craft cutter transforms intricate designs into reality with ease.
Creating your own holiday wall art offers numerous advantages over store-bought alternatives. Firstly, it provides an opportunity for complete personalization. You can choose specific colors, patterns, and messages that resonate with your home’s decor and your family’s traditions. Secondly, it’s often a more budget-friendly option, allowing you to achieve a high-end look without the high-end price tag. Finally, the act of crafting itself is a wonderful way to unwind and engage in a meaningful activity during the busy holiday season, creating not just decorations, but also cherished memories.
The beauty of using a craft cutter like the Silhouette lies in its ability to execute intricate designs flawlessly. From delicate snowflakes and elegant script fonts to detailed festive motifs, your imagination is the only limit. This project is designed to be accessible for crafters of all skill levels, ensuring a successful and satisfying result. After you master this wall art, be sure to explore the end of this post for even more easy holiday crafts, perfect for both decorating your home and creating thoughtful, personalized gifts for loved ones.
Essential Supplies for Your DIY Christmas Wall Art Project
Before diving into the creative process, gathering your materials is key. Each item plays a crucial role in achieving that crisp, elegant finish for your holiday masterpiece. Here’s what you’ll need, along with a bit more detail on why each is chosen:
- Silhouette Machine (or similar Craft Cutter): This is the heart of our project. A Silhouette machine, or any comparable craft cutter, allows for incredible precision when cutting intricate designs from card stock. It opens up a world of possibilities beyond what scissors can achieve, making professional-looking results attainable for home crafters. Its software allows you to design or download patterns, and then precisely cut them out, saving you immense time and effort.
- Gold Glittered Card Stock: The star material for our artwork! Gold glittered card stock adds a luxurious, festive sparkle that catches the light beautifully. Its thickness provides stability for detailed cuts, and the glitter is often sealed, minimizing mess. For alternative aesthetics, consider silver glittered card stock, metallic foil paper, or even patterned card stock to match different decor themes.
- White Canvas Panel: This serves as the pristine backdrop for your golden designs. A white canvas panel offers a clean, bright surface that makes the gold glitter pop. You can choose various sizes to fit your specific wall space, from smaller accent pieces to larger statement art. Stretched canvas boards or flat canvas panels are both excellent options, providing a sturdy and professional base for your artwork.
- Mod Podge: This versatile crafting essential acts as both an adhesive and a sealant. Mod Podge will securely attach your glittered cutouts to the canvas and then provide a protective top coat, sealing the glitter and ensuring the longevity of your artwork. There are different finishes available (gloss, matte, satin), so you can choose the one that best suits your desired look. For this project, a gloss finish often enhances the sparkle of the glitter.
- Foam Brush: An indispensable tool for smooth, even application of Mod Podge. Foam brushes help distribute the adhesive without leaving bristle marks, ensuring a clean and professional finish on your card stock and canvas. Have a few on hand, as they are ideal for both applying the initial adhesive and the final sealing coat.
Crafting Your Masterpiece: DIY Christmas Wall Art Directions
Follow these simple steps to transform your materials into a beautiful piece of custom Christmas wall art. The process is straightforward, ensuring a delightful crafting experience from start to finish.
- Step 1: Select Your Design and Cut with Precision. Begin by browsing the vast collection of festive patterns and phrases available in the Silhouette design store. Look for designs that embody the spirit of Christmas – think elegant snowflakes, stylized Christmas trees, reindeer silhouettes, or even words like “Joy,” “Peace,” or “Believe.” Once you’ve chosen your desired pattern, load your gold glittered card stock into your Silhouette machine. Ensure your machine settings are adjusted for cutting thicker materials like card stock to get clean, crisp edges. Carefully remove the cut designs from the mat, taking extra care with delicate areas to prevent tearing.
- Step 2: Prepare Your Cutout with Adhesive. Lay your intricate gold glittered cutouts face down on a protected work surface (parchment paper or a silicone mat works well). Using your foam brush, apply a thin, even layer of Mod Podge to the entire back surface of each cutout. Pay special attention to the corners, tips, and any fine details to ensure they adhere perfectly to the canvas. Avoid oversaturating the card stock, as this can cause it to warp.
- Step 3: Position and Secure Your Artwork on Canvas. Carefully lift each Mod Podge-coated cutout and gently position it onto your white canvas panel. Take your time to achieve the desired placement and arrangement. Once satisfied with the positioning, gently press down on the cutout, working from the center outwards to smooth out any air bubbles and ensure full adhesion. Because the card stock is relatively thick, you may need to apply a bit more pressure with your fingers to ensure every part is firmly attached. After the initial placement, apply another thin, even layer of Mod Podge over the top of the entire design. This acts as a protective sealant, locking in the glitter and providing a durable finish.
- Step 4: Allow to Dry and Prepare for Display. Once all your designs are adhered and sealed, lay the finished canvas panels flat in a well-ventilated area to dry completely. Mod Podge typically takes a few hours to be dry to the touch, but a full cure can take up to 24 hours. Ensuring they lay flat prevents warping as the adhesive dries. Once fully dry, your elegant DIY Christmas Wall Art is ready to adorn your walls! You can hang them individually or arrange them in a gallery wall display for a dynamic visual impact.
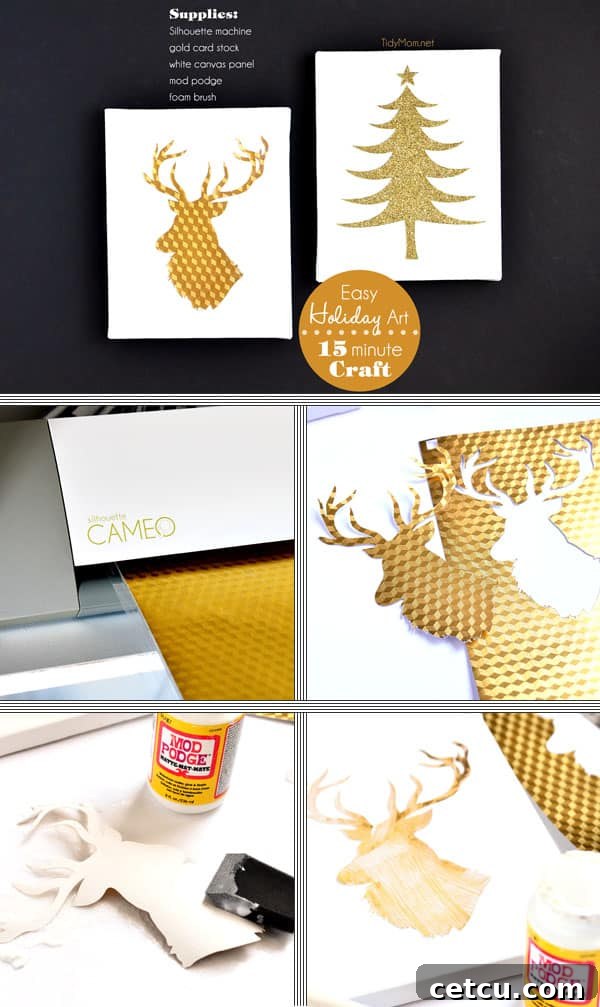
There you have it! Another elegant craft completed in under 15 minutes of active work. I absolutely adore the simple, sophisticated look of this Easy DIY Christmas Wall Art in White and Gold! The combination is classic, chic, and brings a beautiful festive glow to any room. This project is a testament to how accessible and rewarding DIY holiday decorating can be, proving that stunning results don’t require hours of complicated work.
Tips for Customization and Creative Variations
While the gold and white theme offers timeless elegance, feel free to unleash your creativity and adapt this project to your unique style. Here are a few ideas to inspire your next piece of custom wall art:
- Color Schemes: Experiment with different color combinations. Silver and deep blue create a serene winter wonderland effect, while classic red and green bring traditional warmth. For a more whimsical look, try pastel shades or vibrant jewel tones.
- Material Variety: Beyond glittered card stock, consider using metallic vinyl for a sleek, permanent finish, or even felt for a softer, textured look. You can also incorporate real dried botanicals for a natural, rustic charm.
- Different Bases: Instead of canvas, mount your designs on painted wood slices for a farmhouse feel, on framed cardstock behind glass, or even directly onto a chalkboard for a changeable art piece.
- Layering Techniques: Add dimension by layering multiple cutouts of different sizes or colors. For instance, a larger solid silhouette underneath a smaller, intricate glittered one.
- Embellishments: Enhance your wall art with subtle additions. Small pearls, rhinestones, or even tiny battery-operated fairy lights glued to the back of the canvas can add an extra magical glow.
- Themes: Go beyond traditional Christmas motifs. Create art celebrating winter, New Year, or simply uplifting words of cheer that can stay up beyond the immediate holiday season.
This DIY Christmas Wall Art also makes for an incredibly thoughtful and personalized gift. Imagine gifting a custom piece to a friend or family member, designed specifically to match their home decor or personal preferences. It’s a gift that carries a piece of your heart and creativity.
More Easy Holiday Crafts to Make in Under 15 Minutes:
If you loved the simplicity and speed of this project, you’ll be thrilled to discover more quick and impactful holiday crafts. These ideas are perfect for adding festive cheer throughout your home or for creating last-minute gifts.
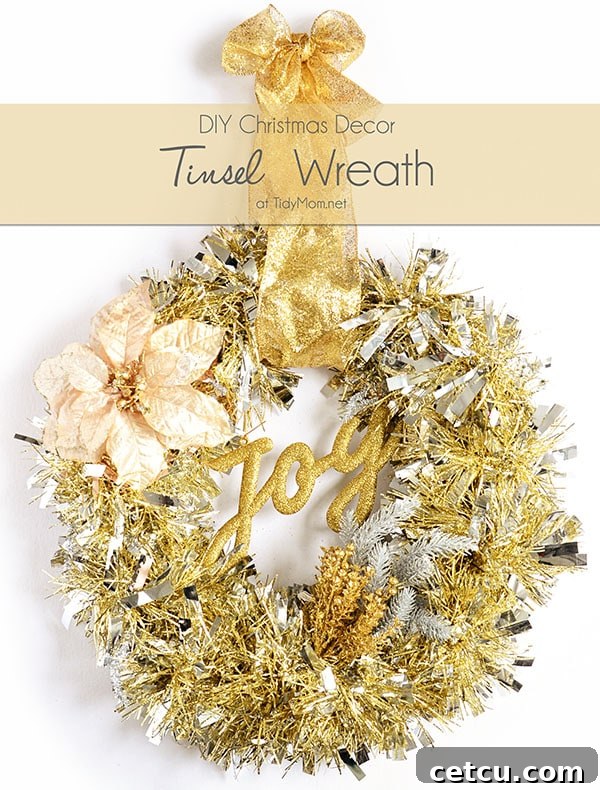
Holiday Tinsel Wreath: A shimmering, eye-catching wreath that comes together in minutes, perfect for your front door or as indoor decor.
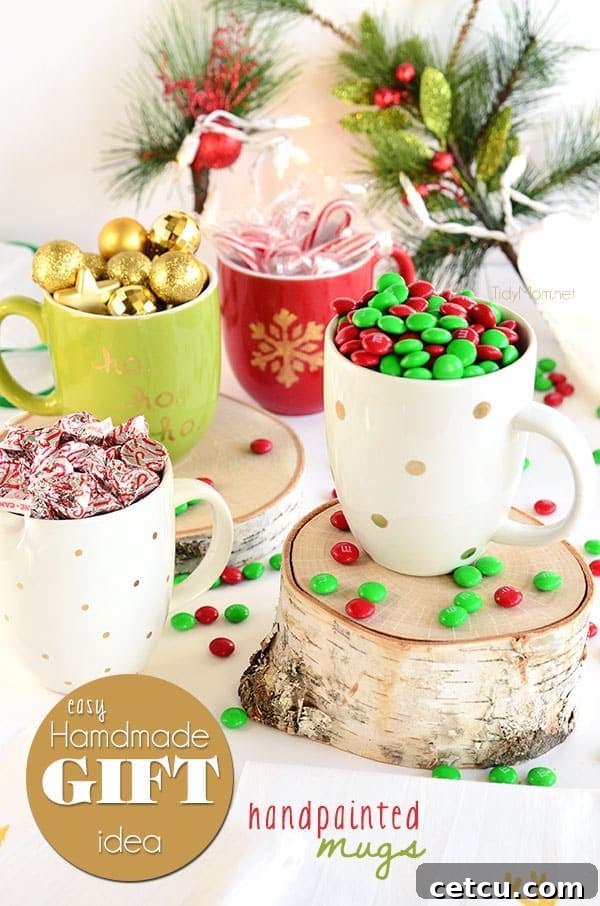
DIY Hand-Painted Holiday Mugs: Personalize ceramic mugs with festive designs, making them ideal for cozy hot cocoa nights or as thoughtful gifts.
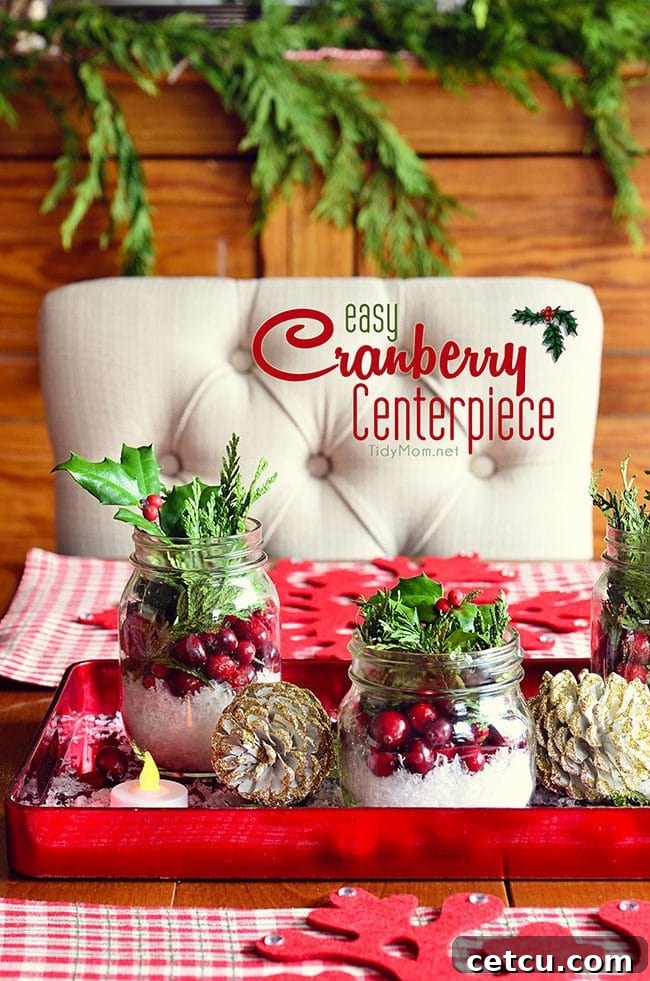
Easy Cranberry Centerpiece: Create a stunning and vibrant table centerpiece using fresh cranberries, perfect for any holiday gathering.
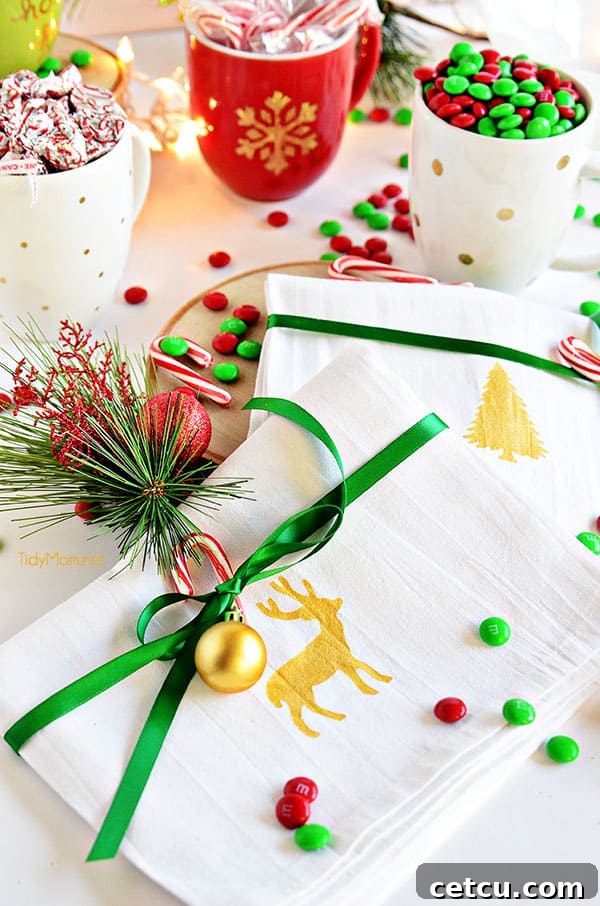
Stenciled Holiday Towels: Add a festive touch to your kitchen or bathroom with custom-stenciled towels, an easy and practical craft.
Loved this DIY Christmas Wall Art? PIN IT for later inspiration!
If you found this tutorial inspiring and helpful, please consider saving it to your Pinterest boards. Sharing is caring, and your pin helps others discover the joy of creating beautiful, personalized holiday decor.
Happy crafting, and may your holidays be filled with joy, creativity, and beautiful handmade decorations!