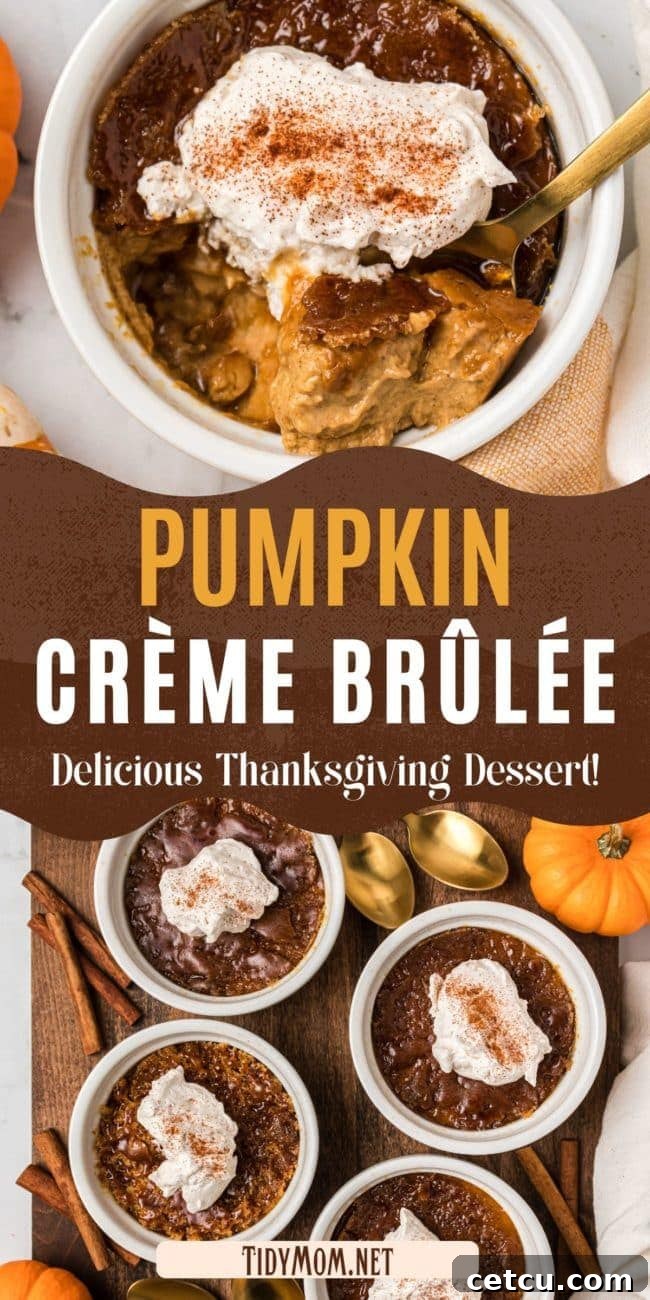
Indulge in Autumnal Elegance: The Ultimate Pumpkin Crème Brûlée Recipe (No Torch Needed!)
Discover the magic of Pumpkin Crème Brûlée, a sophisticated yet surprisingly simple dessert that brings a touch of gourmet elegance to any occasion. With its velvety pumpkin custard and iconic crackly caramel crust, this seasonal treat is destined to become a holiday favorite. Forget the fancy torch – we’ll show you how to achieve that perfect brittle top with everyday kitchen tools!
If you’re a connoisseur of classic fall and winter desserts, the comforting embrace of Pumpkin Pie or the aromatic spice of Gingerbread Cake likely holds a special place in your heart. Prepare to fall completely in love with this Pumpkin Crème Brûlée, a dessert that marries the best of these beloved flavors into one exquisite experience.
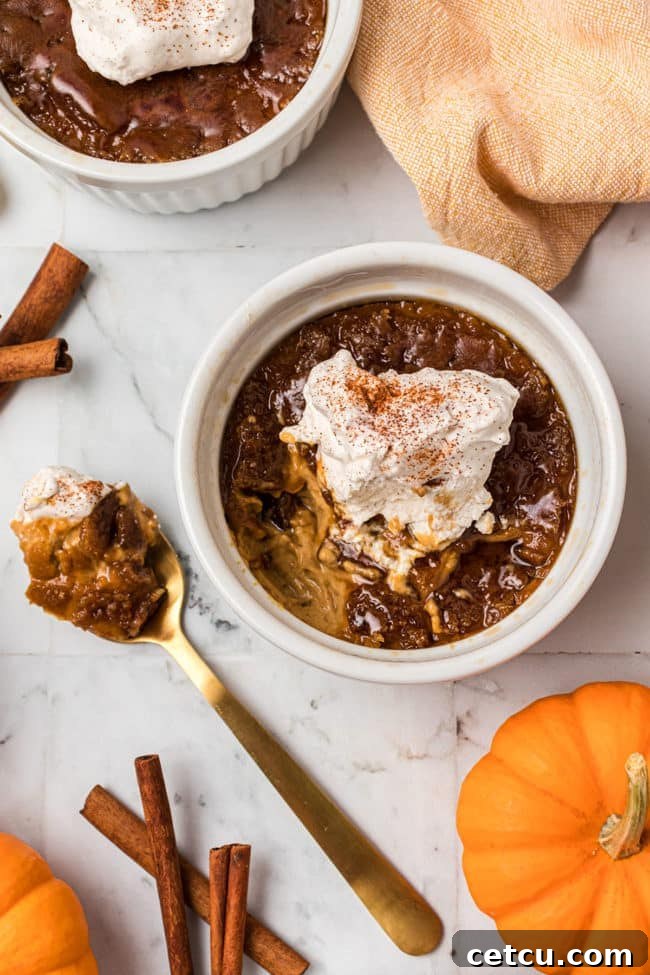
Table of Contents
What Exactly Is Crème Brûlée?
The name “Crème Brûlée” itself, translating from French to “burnt cream,” might not sound immediately appetizing, but rest assured, this classic dessert is anything but! Far from tasting burnt, it’s a centuries-old culinary masterpiece that has captivated palates around the world with its sublime textures and rich flavors.
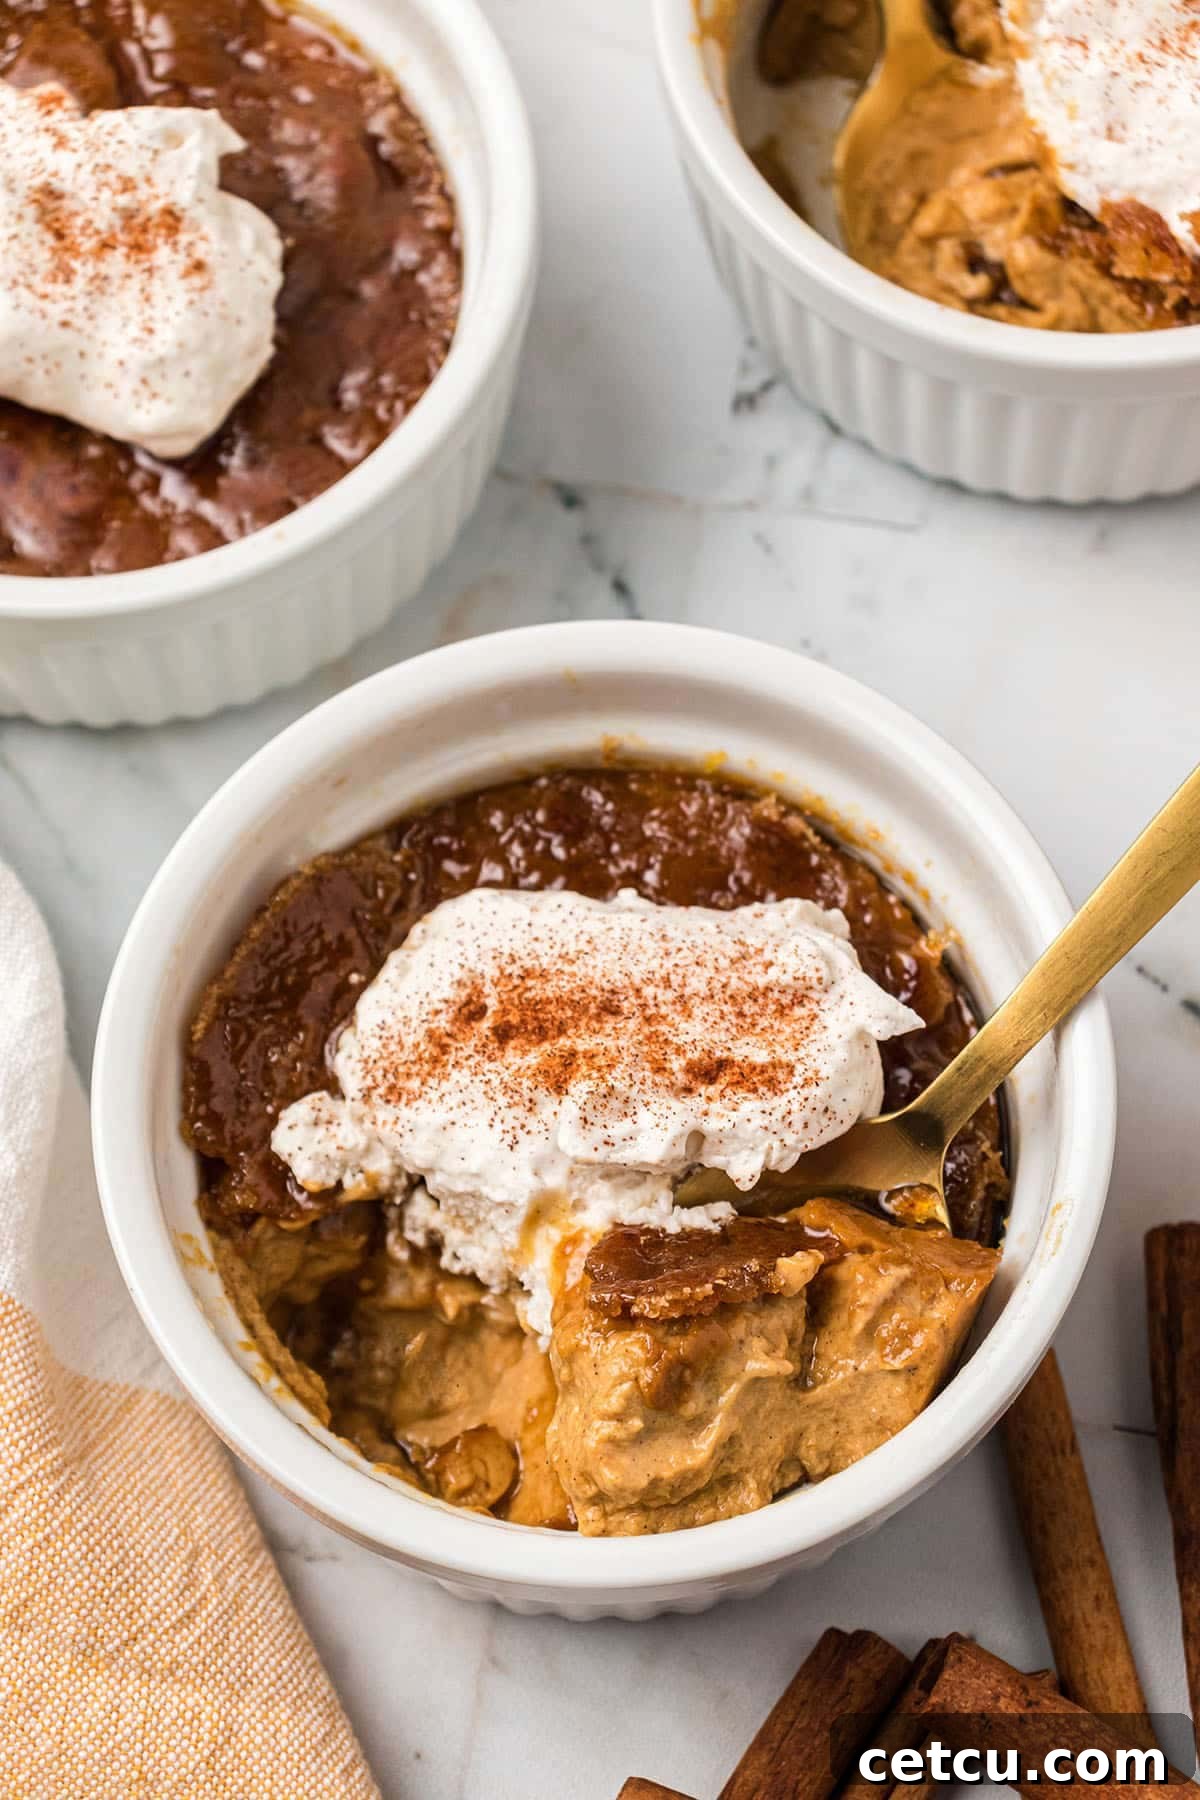
At its core, Crème Brûlée is a luxurious custard, traditionally vanilla-flavored, baked to a delicate, jiggly perfection. What truly sets it apart, however, is its signature topping: a thin, brittle layer of caramelized sugar. This golden crust is meticulously crafted to be shattered with the tap of a spoon, offering a delightful auditory and textural contrast to the smooth, creamy custard beneath. The interplay between the crisp, slightly bitter caramel and the cool, sweet creaminess is what makes Crème Brûlée an unforgettable dessert. It’s a symphony of sensations that makes “burnt cream” sound like the most delicious thing you could ever serve!
Why You’ll Absolutely Love Making & Eating Pumpkin Crème Brûlée
Even if this is your very first foray into the world of making Crème Brûlée, especially a no-torch version, you are in for an absolute treat. We’ve simplified the process to ensure success, even for novice bakers. Forget those kitchen “fails” – this recipe is designed to shine! The key lies in understanding a simple technique called tempering, which we’ll meticulously explain. So, prepare for culinary triumph; you and your guests will be raving about this exceptional pumpkin dessert!
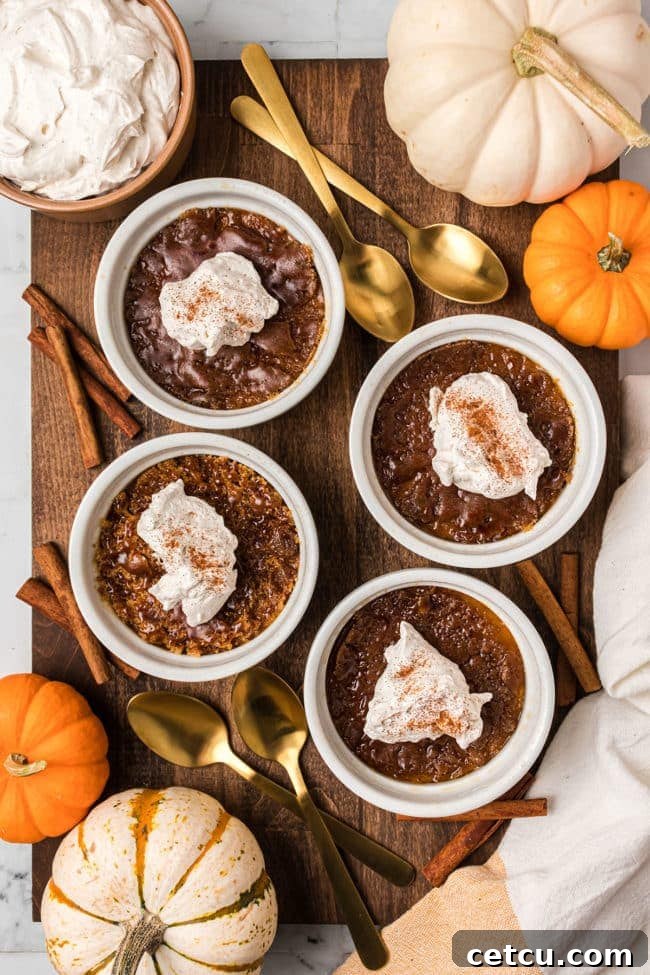
- Effortless Elegance: This easy Pumpkin Crème Brûlée recipe transforms any gathering, from a casual weeknight dinner to a grand holiday feast, into a truly special occasion. Its decadent nature and sophisticated presentation are sure to impress.
- Unique Flavor Profile: Our Pumpkin Crème Brûlée stands out with its rich, warm pumpkin custard, perfectly balanced with autumn spices. The addition of brown sugar for the crust adds a deeper, more complex caramel note that complements the custard beautifully.
- Stress-Free Preparation: One of the best aspects of this recipe is its make-ahead potential. You can prepare the custards 1-2 days in advance, allowing them to chill perfectly and freeing up valuable time on the day of your event. Simply caramelize the tops just before serving!
- Secret Ingredient Magic: The hidden gem in this recipe is molasses. This magical ingredient infuses the pumpkin brulee with a unique “oomph” – a rich, caramelly, almost gingerbread-like depth of flavor that takes it from delicious to absolutely freakin’ delicious! We recommend light molasses for its sweeter, less bitter notes.
- No Special Equipment Required: The biggest reason to love our Pumpkin Crème Brûlée? You don’t need to invest in a kitchen torch! We’ll guide you through creating that iconic crackly crust using your oven’s broiler, making this an accessible gourmet dessert for everyone. Yahoo!
- Perfect for Any Season: While it screams “fall holidays,” the comforting flavors and elegant presentation make it a delightful dessert choice for any time you want to add a touch of warmth and luxury to your meal.
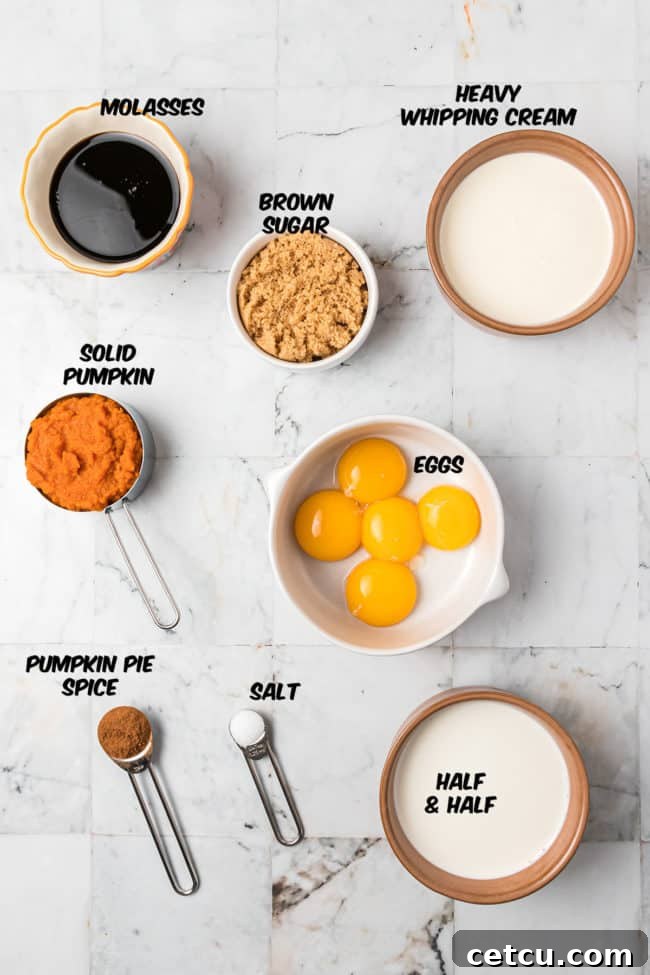
Essential Ingredients for Your Easy Pumpkin Crème Brûlée
Crafting this exquisite pumpkin brulee dessert requires no specialized equipment beyond what you likely already have in your kitchen: a medium saucepan, a whisk, a mixing bowl, 8-ounce ramekins, and a baking dish with high sides. Let’s delve into the star components that make this dessert truly special:
- Heavy Whipping Cream: This is the cornerstone of any classic crème brûlée. Its high butterfat content (typically 36% or more) is absolutely crucial for achieving that signature luscious, silky-smooth mouthfeel and the perfect set in your custard. Do not substitute with lighter creams for optimal results.
- Half And Half: Used in conjunction with heavy cream, half and half helps to balance the richness and fat content, preventing the dessert from becoming overly heavy while maintaining a delightful creamy texture.
- Solid-Pack Pumpkin: Insist on pure pumpkin puree only! It’s vital to check the label carefully, as pumpkin pie filling is pre-spiced and heavily sweetened, which would throw off the delicate balance of this recipe.
- Pumpkin Pie Spice and Salt: These essential spices bring warmth and depth to the pumpkin custard. A pinch of salt enhances all the flavors, making them sing. If you don’t have a bottle on hand, you can easily whip up my simple homemade pumpkin spice mix recipe.
- Egg Yolks: The yolks are the emulsifying and thickening agents that give the custard its rich body and smooth texture. Ensure you separate them carefully from large eggs and allow them to come to full room temperature. This step is key for a successful tempering process, preventing any dreaded “scrambled egg” texture.
- Molasses: This is our secret weapon! Light molasses is preferred here, as it imparts a wonderfully unique gingerbread-like essence to the crème brûlée, making it incredibly delicious and distinctive. It’s lighter in color and sweeter with fewer bitter notes compared to dark molasses, though dark can be used if that’s all you have. The nuanced flavor it adds is truly exceptional.
- Brown Sugar: Opt for light brown sugar for the caramel crust. Its finer crystals and lower moisture content are ideal for crystallizing evenly and quickly under the broiler, yielding that perfect crackly top. Dark brown sugar, with its higher moisture, might not caramelize as easily or as crisply.
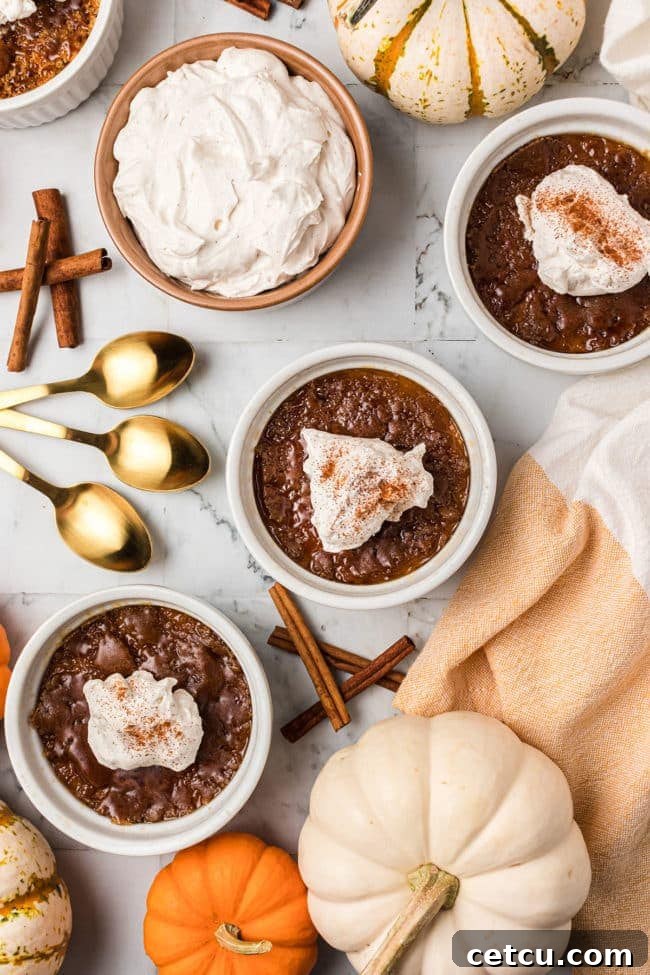
- Whip Cream (Optional): A dollop of freshly whipped cream adds an extra layer of decadence and a beautiful visual appeal. Who could resist?
- Cinnamon (Optional Garnish): A final delicate sprinkle of cinnamon adds a professional touch and a fragrant aroma, elevating the presentation of your finished dessert.
- *Note: You will also need HOT water for the water bath during the baking process, but this is not an added ingredient to the custard itself.
This post may contain affiliate links. Please read my disclosure policy here.
How to Master Pumpkin Crème Brûlée Without a Torch
Let’s embark on the delightful journey of creating this Pumpkin Crème Brûlée. Before you gather all your ingredients, a crucial first step: separate 5 large egg yolks and set them aside to warm to room temperature. This simple act is pivotal for a flawlessly smooth custard. And why let those egg whites go to waste? You might as well whip up a batch of festive Lemon Meringue Martinis while you’re at it!
(A full printable recipe card with precise measurements and timings is available at the end of this post.)
Part I: Crafting the Velvety Pumpkin Custard
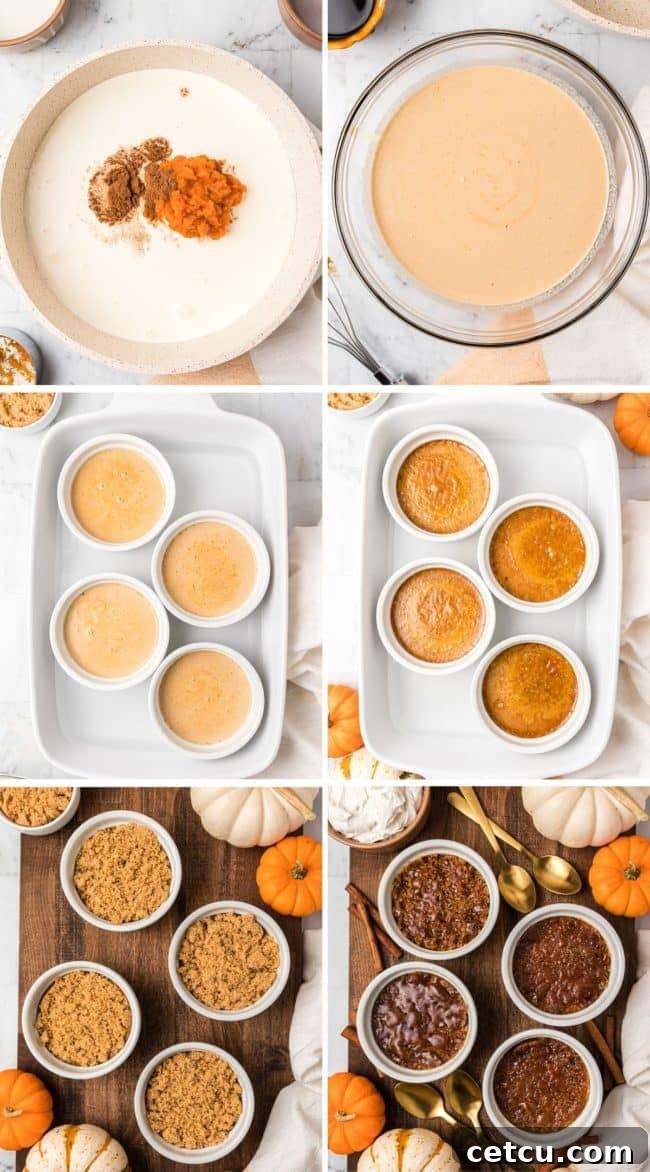
- Prepare the Cream Mixture: In a medium saucepan, combine the heavy cream, half and half, solid-pack pumpkin puree, pumpkin pie spice, and salt. Heat this mixture over medium-high heat, stirring occasionally, until it reaches a gentle, low simmer. You’ll see small bubbles forming around the edges, but avoid a rolling boil.
- Temper the Egg Yolks: In a large mixing bowl, whisk together the molasses and egg yolks until well combined and slightly lighter in color. This is where tempering comes in: slowly, and while continuously whisking, drizzle about ½ cup of the hot cream mixture into the egg yolk mixture. This gradually raises the temperature of the yolks without scrambling them. Once incorporated, slowly add the remaining heated cream mixture to the egg mixture, whisking constantly until everything is smooth and uniform.
- Prepare for Baking: Arrange your prepared 8-ounce ramekins in a deep baking dish with high sides. Carefully pour the pumpkin custard mixture evenly into each ramekin.
- The Water Bath (Bain-Marie): Fill the baking dish with hot water until the water level reaches approximately halfway up the sides of the ramekins. This water bath (bain-marie) is essential for even, gentle cooking, preventing the edges of the custards from overcooking and cracking.
- Bake to Perfection: Carefully transfer the baking dish with the ramekins to your preheated oven. Bake until the pumpkin brulee custards are set around the edges but still have a slight jiggle in the center when gently nudged.
- Cool & Chill: Once baked, remove the baking dish from the oven and allow the custards to cool in the water bath for about 30 minutes. Then, carefully remove the ramekins from the pan and transfer them to the refrigerator. Chill for at least 3 hours, or ideally, overnight, until thoroughly set and cold.
Part II: Mastering the Signature Crackle (No Torch Required!)
- Prepare for Caramelization: After at least 3 hours (or overnight) of chilling, remove your thoroughly set and cold pumpkin brulee custards from the fridge.
- Sugar Application: Evenly sprinkle about 1 tablespoon of light brown sugar over the surface of each individual brulee custard. Ensure an even layer for a consistent crackle.
- Broil for the Crust: Place the sugar-topped ramekins on a baking sheet. Position the baking sheet on the top rack of your oven, approximately 4-inches from the broiler heat source. Broil for 1 to 5 minutes, carefully watching the sugar. It will begin to bubble, melt, and turn a rich amber caramel color. Do not walk away, as it can burn quickly!
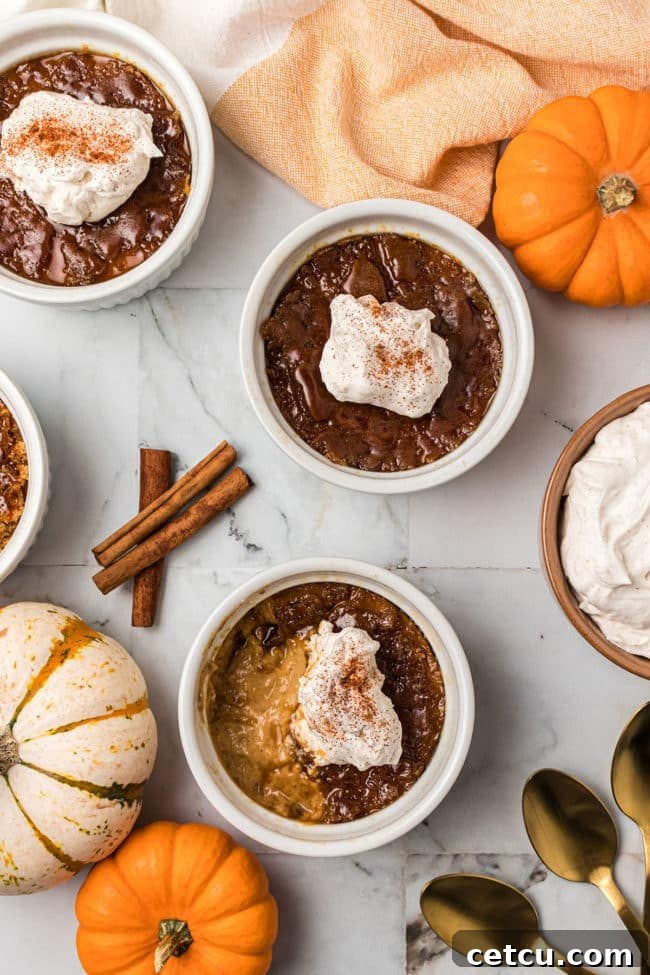
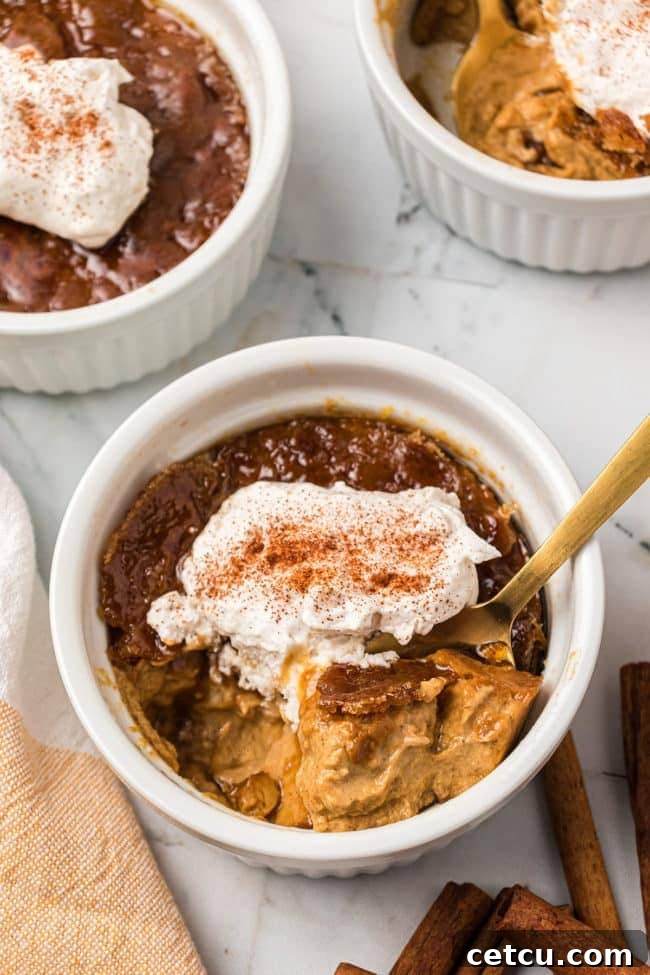
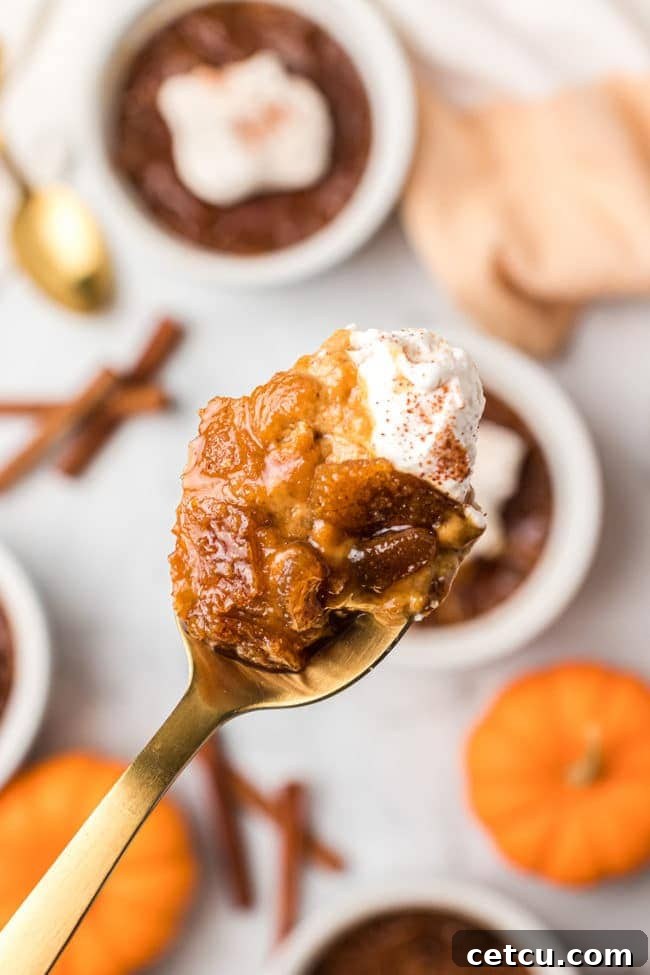
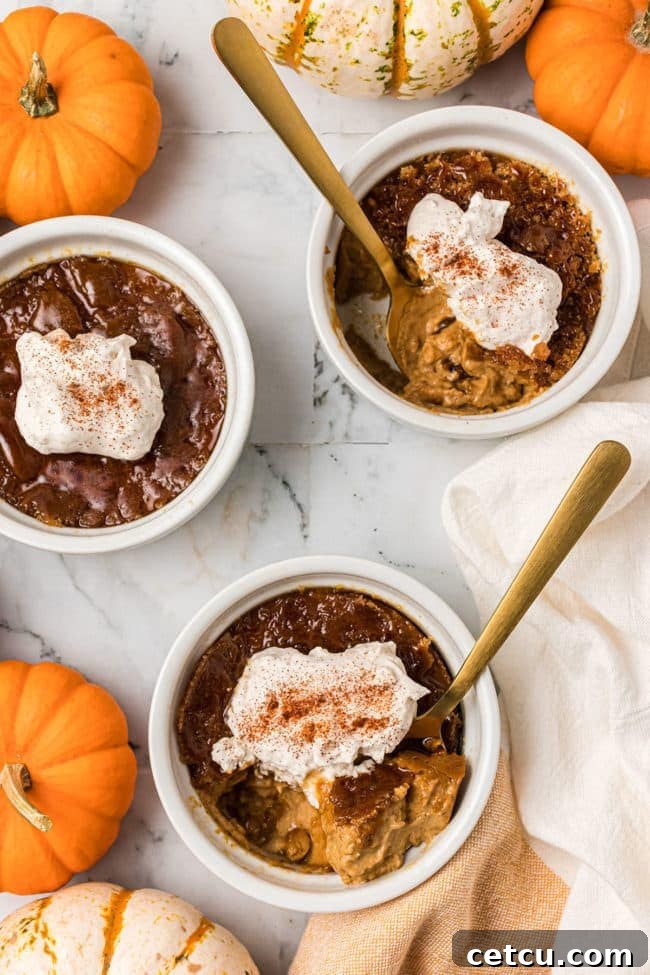
- Serve Immediately: Once caramelized, remove from the oven and allow the pumpkin crème brûlée to cool for just 2 minutes. The sugar crust will harden and become brittle. Serve immediately with a delightful dollop of freshly whipped cream and a sprinkle of cinnamon for an extra touch of flavor and elegance.
Chef’s Secret: Tempering Egg Yolks for Silky Smooth Custard
“Tempering” often sounds like a daunting, professional chef’s technique, but it’s fundamentally very simple: it’s about gradually introducing hot liquid to a cooler, delicate ingredient like egg yolks to gently raise their temperature without causing them to scramble or cook too quickly. Think of it as slowly acclimating them to the heat, rather than shocking them.
Here’s a breakdown to ensure even first-timers achieve a perfectly smooth, luscious custard:
- Start Small: While some experienced chefs might whisk in ½ cup of hot cream mixture to begin tempering, for your first few attempts, I recommend starting with a smaller amount, like ¼ cup. This gives you more control.
- Whisk Vigorously: As you slowly drizzle the hot cream mixture into the bowl with the egg yolks and molasses, it is absolutely crucial to whisk continuously and vigorously. This prevents the hot liquid from cooking any single part of the egg yolk mixture.
- Repeat and Acclimatize: After incorporating the first ¼ cup (or ½ cup), continue to add another small portion of the hot cream, still whisking constantly. By repeating this process a couple of times, you steadily and safely bring up the temperature of your egg yolk mixture.
- Full Incorporation: Once the egg mixture feels warm to the touch (it won’t be hot, but noticeably warmer than when you started), you can then slowly pour in the remaining hot cream mixture, whisking all the while, until everything is fully combined into a smooth, homogenous custard base. Viola! You’ve successfully tempered your eggs, ensuring no scrambled bits and a perfectly smooth pumpkin crème brûlée every time. Chillax – you got this!
Pumpkin Crème Brûlée: Recipe Notes & Expert Tips
To ensure your journey to making the best pumpkin brulee is smooth and stress-free, especially without needing a torch, here are some invaluable notes and tips:
- Don’t Skimp on Cream: Crème Brûlée is not the recipe to substitute lighter creams for heavy (whipping) cream. Its minimum butterfat content of >36% is paramount for achieving the ideal rich texture and perfect set of the custard. Lighter alternatives will result in a less luxurious, possibly watery, custard.
- Pure Pumpkin is Key: Always make sure to use pure solid-pack pumpkin puree, NOT pumpkin pie filling. Pie filling already contains added sugar and spices, which will alter the flavor balance of your carefully crafted custard.
- Master the Tempering: As emphasized, tempering the egg yolks is the most foolproof method to achieve a smooth, silky, and perfectly flavored crème brûlée. It prevents the eggs from “scrambling” when introduced to the hot cream, ensuring a consistent and delightful texture.
- Don’t Waste Egg Whites: If you’re not using them immediately, egg whites freeze beautifully! Simply portion them into an ice cube tray, freeze until solid, then transfer them to a freezer-safe bag for future baking endeavors.
- The Importance of a Water Bath: Before you ask, “do I really need a water bath for crème brûlée?”, the answer is an emphatic YES. The water bath (bain-marie) is not just a suggestion; it’s vital. It insulates the delicate custard, preventing the edges from cooking too quickly and becoming rubbery. The consistent, humid environment it creates also ensures the top of the custard sets gently, preventing cracks and promoting an even, creamy consistency, much like in my Brownie Bottom Cherry Cheesecake!.
- Ideal Custard Thickness: For the ultimate balance between the creamy custard and the crisp caramel crust, aim for your pumpkin crème brûlée to be between 1 and 2 inches thick. This ensures every spoonful offers the perfect ratio of textures and flavors.
- Water Bath Loading Trick: To avoid accidental splashes and spills, try this chef’s trick: place the baking pan with your filled ramekins into the oven first. THEN, carefully pour the hot water into the corner of the pan using a kettle, pitcher, or a pourable glass measuring cup. This minimizes the risk of water getting into your custards or scalding yourself.
- Patience for Setting: Allow ample time for the pumpkin crème to set up fully in the refrigerator. While 3-4 hours is the minimum, many chefs, including myself, prefer to make crème brûlée a day ahead and let it chill overnight. This extended time allows the flavors to meld and the custard to achieve its optimal firmness.
- Cover When Chilling: If you’re chilling the pumpkin brulee overnight or for an extended period past the 3-4 hour mark, cover the ramekins with plastic wrap. Ensure the plastic wrap doesn’t touch the surface of the custard to prevent condensation from dripping onto it, which could affect the final caramelization.
- Timing the Crust: The iconic crackly crust of crème brûlée is best enjoyed within an hour of caramelization. After that, the moisture from the custard will gradually start to melt and absorb the sugar, softening the crisp texture. For peak crunchiness, caramelize just before serving!
How to Store Your Delicious Pumpkin Crème Brûlée
While a freshly caramelized crème brûlée is an unparalleled delight, the crunchy top does begin to soften over time due to the moisture from the custard. This means crème brûlée generally doesn’t keep well as “leftovers” if you’re aiming for that signature crackle on subsequent days. However, that certainly hasn’t stopped me from enjoying every last bit!
If I happen to have a single serving left over, I simply pop it back into the fridge and savor it the next day. The top might lose its crunch, but all the exquisite flavors of the pumpkin custard remain perfectly intact. While I wouldn’t serve a softened crème brûlée to guests, I’m definitely not one to let such a delicious treat go to waste! #justsayin’
Chef’s Tip for Entertaining: If you’re preparing multiple ramekins but don’t plan to serve them all at once, only caramelize the tops of the ones you intend to serve immediately. Leave the remaining custards tightly covered with plastic wrap (without touching the surface) in the refrigerator. This way, you can achieve that perfect, fresh crackle whenever you’re ready to indulge!
Crème Brûlée Frequently Asked Questions
In most regions, particularly the U.S., the terms “heavy cream” and “heavy whipping cream” are used interchangeably. Both typically refer to a dairy product with a minimum butterfat content of 36%. For a luxurious Pumpkin Crème Brûlée, you definitely want to stick with this “heavy stuff” to achieve the desired richness and texture.
A perfectly executed crème brûlée should boast a soft-set custard, similar in consistency to a rich Greek yogurt or a loose panna cotta. It should be creamy and smooth, with a delicate wobble when gently shaken. It is distinctly different from a firm-set custard like flan, which holds its shape more rigidly. The texture can vary slightly based on the specific proportions of cream and egg yolks, as well as any added ingredients like pumpkin in our recipe.
The water bath, also known as a bain-marie, is indispensable for crème brûlée. It serves several critical functions: Firstly, it insulates the ramekins, ensuring that the custard bakes gently and evenly. This prevents the edges from cooking too quickly and becoming tough or rubbery. Secondly, the steam generated by the hot water creates a humid environment within the oven, which prevents the top surface of the custard from drying out, cracking, or forming a skin. The result is a uniformly smooth, creamy custard with a delicate, unbroken top surface.
For this Pumpkin Crème Brûlée recipe, the ideal ramekin size is 8 ounces. The ramekins I typically use are approximately 4 inches in diameter and 1.9 inches deep, providing a perfect ratio of custard to caramelized crust. While other sizes can certainly be used, be aware that the cooking time will need to be adjusted accordingly; deeper ramekins will require a longer baking time, and shallower ones will bake faster.
Creative Uses for Those Leftover Egg Whites
In my culinary philosophy, Pumpkin Crème Brûlée is not just a dessert for holiday gatherings; it’s perfect for any occasion – even a regular Tuesday night! 😉 Since this delightful recipe uses five egg yolks, you’re likely left with a handful of egg whites. Fear not, for I’ve solved the age-old dilemma of what to do with them that extends beyond just another omelet!
Here’s a collection of truly delicious recipes that joyfully welcome those extra egg whites:
- Savory Delights: Transform your egg whites into crispy, guilt-free Oven Fried Pickles. The egg whites provide the perfect coating to achieve a golden, crunchy exterior without deep frying.
- Sweet Indulgences: Elevate your baking with recipes like decadent Tiramisu Brownies, where egg whites can contribute to a lighter, chewier texture, or the ethereal Ultimate Coconut Cake, which often calls for whipped egg whites to create a delicate, airy crumb and frosting.
- Sophisticated Sips: For those who appreciate a well-crafted cocktail, egg whites are an essential ingredient for creating a luxurious, frothy top. Impress your guests (or yourself!) with one of these creamy, dreamy adult beverages: a vibrant Lemon Meringue Martini or a perfectly balanced Cran Cherry Whiskey Sour Cocktail. Both of these fantastic cocktails skillfully incorporate egg whites to achieve their signature silky texture and beautiful presentation!
Originally posted in January 2022. UPDATED January 2025. We spiffed up this post with more information and improved clarity. No changes were made to the original recipe itself.
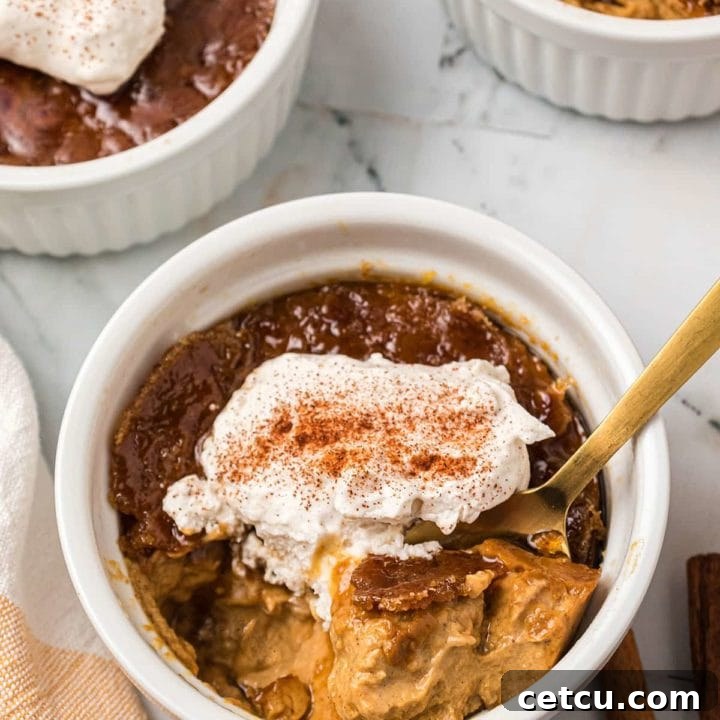
Pumpkin Crème Brûlée
4 (1 cup) servings
10 minutes
55 minutes
1 hour 5 minutes
Pumpkin Crème Brûlée is a deceptively simple dessert that’s elegant enough for any holiday celebration, featuring a velvety custard and a crisp caramel topping.
Ingredients
- 1 cup heavy whipping cream
- 1 cup half and half
- 1/2 cup solid-pack pumpkin (pure pumpkin puree, not pie filling)
- 1 teaspoon pumpkin pie spice
- 1/4 teaspoon salt
- 5 large egg yolks
- 1/2 cup light molasses
- 4 tablespoons light brown sugar, packed
- Whip cream (optional, for serving)
- Cinnamon (optional garnish)
Instructions
- Prepare Oven and Ramekins: Preheat your oven to 300°F (150°C). Lightly spray 4 (1-cup) ramekins with cooking spray.
- Heat Cream Mixture: In a medium saucepan, combine heavy cream, half and half, pumpkin, pumpkin pie spice, and salt. Heat over medium-high heat, stirring occasionally, until it reaches a low simmer (small bubbles form around the edges). Do not boil.
- Temper Egg Yolks: In a large bowl, whisk together molasses and egg yolks until well combined. Gradually temper the eggs by slowly whisking in about ½ cup of the hot cream mixture into the egg yolks. Continue whisking constantly while slowly adding the remaining hot cream mixture until fully incorporated.
- Fill Ramekins: Place the prepared ramekins into a deep baking pan. Carefully pour the custard mixture evenly into each ramekin.
- Create Water Bath: Pour hot water into the baking pan until it reaches halfway up the sides of the ramekins, being careful not to get any water into the custard. Carefully place the pan into the preheated oven.
- Bake and Chill: Bake for 45-55 minutes, or until the custards are set around the edges but still have a slight jiggle in the center. Remove the pan from the oven and let the ramekins cool in the water bath for 30 minutes. Then, remove ramekins from the pan and refrigerate for at least 3 hours, or preferably overnight, until thoroughly chilled and set.
- Caramelize Before Serving (No Torch): Just before serving, preheat your broiler and adjust the oven rack to the top position (about 4 inches from the heating element). Sprinkle 1 tablespoon of light brown sugar evenly over the top of each chilled custard. Place the ramekins on a baking sheet.
- Broil for the Crackle: Broil for 1-5 minutes, watching very carefully! The sugar will bubble, melt, and caramelize into a crisp, amber crust. This happens quickly, so do not leave unattended.
- Serve: Let cool for 2 minutes (the sugar crust will harden). Serve immediately with an optional dollop of whipped cream and a sprinkle of cinnamon for garnish. Enjoy the delightful crack!
Nutrition Information:
Yield: 4
Serving Size: 1 cup
Amount Per Serving:
Calories: 557
Total Fat: 35g
Saturated Fat: 21g
Trans Fat: 1g
Unsaturated Fat: 13g
Cholesterol: 368mg
Sodium: 295mg
Carbohydrates: 50g
Fiber: 1g
Sugar: 47g
Protein: 12g