As autumn leaves begin to fall and the air grows crisp, there’s an undeniable magic that sweeps through our homes and communities. Central to this seasonal charm is the beloved pumpkin, a versatile icon of fall festivities. From simple porch decorations to intricately carved masterpieces, pumpkins bring warmth and character to our spaces. However, the joy of a perfectly carved jack-o’-lantern is often short-lived, as these natural beauties are prone to rapid decay. This guide is dedicated to helping you master the art of pumpkin preservation, ensuring your creative efforts last well beyond Halloween night and keep your fall displays vibrant for as long as possible.
Imagine the frustration of spending hours crafting a spooky or whimsical design, only to see it shrivel, sag, and succumb to mold within a few days. Many myths abound about how to keep pumpkins fresh, but through extensive testing, certain methods have proven remarkably effective. We’ll delve into the science behind these techniques, providing you with practical, step-by-step instructions to significantly extend the life of both carved and uncarved pumpkins. Get ready to transform your pumpkin preservation game and enjoy your stunning fall décor for weeks, not just days.
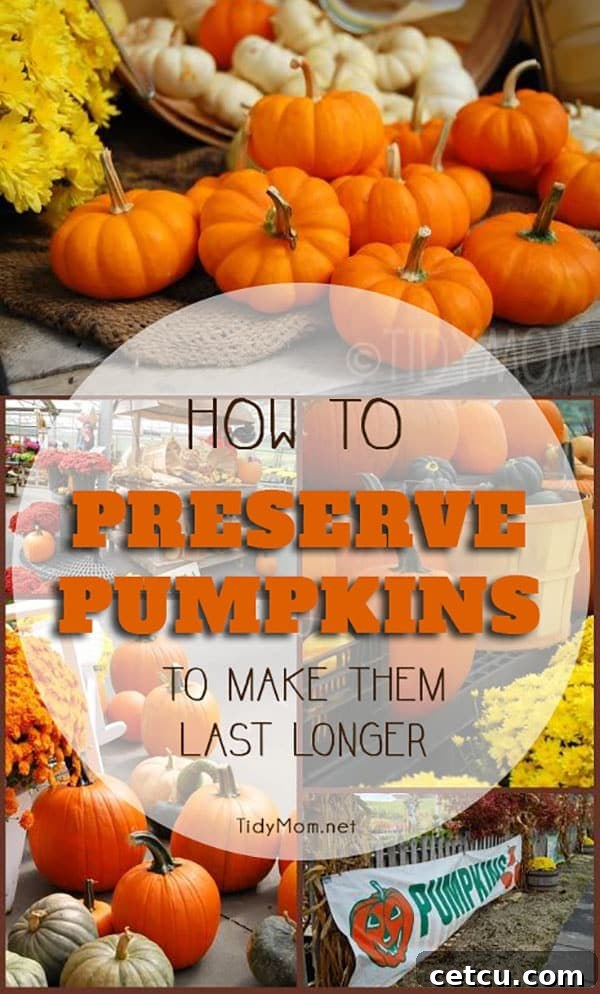
One of the most inspiring aspects of the fall season is visiting local nurseries and florists, where the autumn spectacle truly comes alive. Places like Hillermann Nursery & Florist transform into a vibrant wonderland, showcasing a breathtaking array of pumpkins, gourds, mums, and other seasonal delights. These visits aren’t just shopping trips; they’re an experience, offering a visual feast that fuels our own decorating aspirations. Strolling through rows of perfectly arranged fall flora, surrounded by the rich scents of earth and spices, it’s easy to gather inspiration for turning your home into a cozy autumn haven.
Many of us eagerly anticipate our annual fall visits, planning to fill our porches and yards with the rich hues of orange, red, and yellow. It’s during these inspiring moments that we often pick up valuable tips from the experts on how to best care for our autumnal treasures. The goal isn’t just to create a beautiful display, but to ensure it endures, bringing joy throughout the season. The insights shared by seasoned horticulturists and garden center staff often form the foundation of our own successful preservation efforts. They understand the nuances of keeping these seasonal decorations looking their best, and their advice is invaluable for anyone passionate about prolonging the beauty of their fall arrangements.
Whether you’re decorating early or just getting started, the desire to maintain the vibrant freshness of your pumpkins is universal. It’s particularly important for carved pumpkins, which are much more vulnerable to decay than their uncarved counterparts. Understanding the best methods to preserve pumpkins means you can enjoy your festive displays for a much longer period, reducing waste and maximizing your decorating efforts. Let’s explore the most effective strategies to keep your pumpkins looking their absolute best, from the moment you bring them home until well after the last trick-or-treater has departed.
Mastering Pumpkin Preservation: Keep Your Carved Creations Fresh for Halloween and Beyond
How to Preserve Pumpkins to Make Them Last Longer
Every pumpkin, no matter how carefully selected, is destined to return to the earth eventually. However, with the right techniques, you can significantly delay this process and enjoy your festive displays for much longer. The key to effective pumpkin preservation lies in addressing the primary culprits of decay: moisture loss, mold, and bacterial growth. By creating an environment that inhibits these factors, you can dramatically extend the life of your carved pumpkins.
Effective Preservation for Carved Pumpkins
Carved pumpkins are particularly susceptible to decay because their inner flesh is exposed to the air and environmental bacteria. The following steps focus on fortifying your pumpkin against these elements, ensuring it remains firm and free of mold for an extended period.
- Rehydrate Your Pumpkin: Begin by placing your entire pumpkin in a washtub, large bucket, or even a bathtub filled with cold water. Allow it to soak for several hours, ideally between one to eight hours. This process helps the pumpkin absorb moisture, firming up its flesh. A well-hydrated pumpkin is not only more resilient to decay but also much easier to carve, as the flesh will be less brittle. This initial soak is crucial for establishing a good moisture base before carving.
- Thorough Internal Cleaning: Once hydrated, carefully cut open the top of your pumpkin. The next critical step is to meticulously clean out all the seeds, stringy pulp, and loose fibers from the interior. These organic materials are prime breeding grounds for mold and bacteria, accelerating decay. Use a spoon, scraper, or even your hands to ensure the inside is as clean and smooth as possible. The cleaner the interior, the longer your pumpkin will last.
- Bleach Soak for Sterilization: Fill a washtub, sink, or large bucket with cold water, and add a small amount of unscented bleach. A common ratio is one tablespoon of bleach per gallon of water. Submerge your pumpkin, both inside and out, in this cold bleach water for an hour or two. Bleach acts as a powerful disinfectant, killing off mold spores and bacteria that would otherwise cause rapid decomposition. This step is a game-changer for extending pumpkin life, proving more effective than many other popular but less scientifically sound methods.
- Extended Soaking for Intricate Carving: If your carving design involves fine details or intricate patterns, consider letting your pumpkin soak overnight after the bleach treatment. This prolonged immersion will further firm up the pumpkin flesh, making it more robust and less likely to tear or break during detailed carving. The extra firmness allows for cleaner cuts and more precise execution of complex designs, ensuring your artistic vision comes to life beautifully.
- Seal Exposed Edges with Petroleum Jelly: After you have completed your carving, apply a thin, even layer of petroleum jelly (like Vaseline) to all the exposed cut edges. This creates a protective barrier that helps seal moisture within the pumpkin’s flesh, preventing it from drying out and shriveling. It also acts as a physical barrier against airborne mold spores and bacteria. Be thorough with your application, ensuring every cut surface is covered.
Revive a Dried Out Pumpkin
Even with the best preservation efforts, pumpkins can sometimes show signs of dehydration, appearing shriveled or soft. Don’t despair, as revival is often possible with a simple rehydration technique.
- If your carved pumpkin starts to dry out and shrivel, you can attempt to revive it by giving it a bath. Submerge the entire pumpkin in a tub of cold water. Allow it to soak for an extended period, anywhere from one to eight hours. Longer is generally better in this case; leaving it overnight will not harm it and can often yield the best results. The pumpkin will reabsorb water, regaining some of its firmness and plumpness, giving you a few more days of enjoyment.
How to Prepare Carved Pumpkins Ahead of Time
Planning a Halloween party or a special fall gathering? You can get a head start on your pumpkin carving without worrying about them wilting before the big event. Preparing your carved pumpkins ahead of time is entirely feasible with the right storage methods.
- Initial Preservation: Start by following the full directions for preserving pumpkins for carving as outlined above (steps 1-3: rehydration, thorough cleaning, and the bleach soak). These initial steps are crucial for laying the groundwork for extended freshness.
- Carve and Seal: Once the initial preservation steps are complete, proceed with your carving. After carving, apply petroleum jelly to all cut edges as directed to seal in moisture.
- Wrap for Moisture Retention: To maintain optimal moisture levels and prevent drying, wrap the entire carved pumpkin tightly in plastic wrap. Ensure there are no exposed areas where air can cause dehydration.
- Refrigerated Storage: Store the plastic-wrapped pumpkin in the refrigerator. The cool, stable environment of the fridge dramatically slows down the decomposition process. **Crucially, do not store it in the freezer**, as freezing will damage the pumpkin’s cellular structure and turn it mushy upon thawing. Stored this way, carved pumpkins can stay remarkably fresh for a very long time, often a week or more.
- Display Preparation: When you’re ready to display your beautifully preserved carved pumpkin, remove it from the refrigerator and immediately discard the plastic wrap. It is vital to thoroughly dry off any condensation from the pumpkin’s surface. This rapid drying prevents mold from having a chance to grow on the moist exterior, ensuring your pumpkin looks pristine for its debut.
NOTE: It’s important to understand that all pumpkins are organic matter and will eventually decompose. There are many myths surrounding pumpkin preservation, but after extensive testing by enthusiasts and experts, it has been consistently proven that treating pumpkins with a bleach solution offers the most effective and longest-lasting preservation method. While other techniques might offer minor improvements, the antibacterial and antifungal properties of bleach are unmatched in extending the life of your carved creations. Combine this with proper hydration and sealing, and you’ll have the best chance to enjoy your pumpkins for weeks.
Beyond Carving: General Tips for Uncarved Pumpkin Longevity
Even if you’re not carving, you can extend the life of your decorative pumpkins and gourds. Uncarved pumpkins still benefit from a little care to prevent premature softening and mold:
- Gentle Cleaning: Wipe down your uncarved pumpkins with a solution of 1 part bleach to 10 parts water, or a mild soap and water solution, to remove dirt, debris, and any mold spores from the surface. Let them air dry completely.
- Avoid Bruises: Handle pumpkins gently. Any nicks or bruises can create entry points for bacteria and accelerate decay.
- Proper Placement: Display pumpkins in a cool, dry, and shaded area. Direct sunlight and excessive moisture are enemies of pumpkin longevity. Placing them on straw, newspaper, or a mat rather than directly on damp ground can also help prevent rot.
- Air Circulation: Ensure good airflow around your pumpkins, especially if you have a large display. Crowding can trap moisture and encourage mold growth.
Making the Most of Your Fall Decor
With these preservation techniques in your arsenal, you can confidently embark on your fall decorating adventures. Imagine a porch adorned with vibrant, fresh pumpkins that stay looking great throughout October and into November. These methods not only extend the visual appeal of your décor but also allow you to put more effort into intricate carvings, knowing they won’t quickly perish. Combine your beautifully preserved pumpkins with other autumnal elements like colorful gourds, hay bales, corn stalks, and potted mums to create stunning, long-lasting displays that capture the true essence of the season.
Isn’t this just the most wonderful time of year? The riot of color, the crisp air, and the festive spirit that pumpkins bring are truly unmatched. With these proven preservation techniques, you can ensure your fall and Halloween decorations remain vibrant and beautiful, extending the joy of the season for everyone to admire. Happy decorating, and may your pumpkins last and last!