Christmas
DIY Stenciled Holiday Towels
Get the full instructions to make your own handmade gift with this DIY stenciled dish towel. A perfect gift this holiday season, or hostess gift any time of the year.
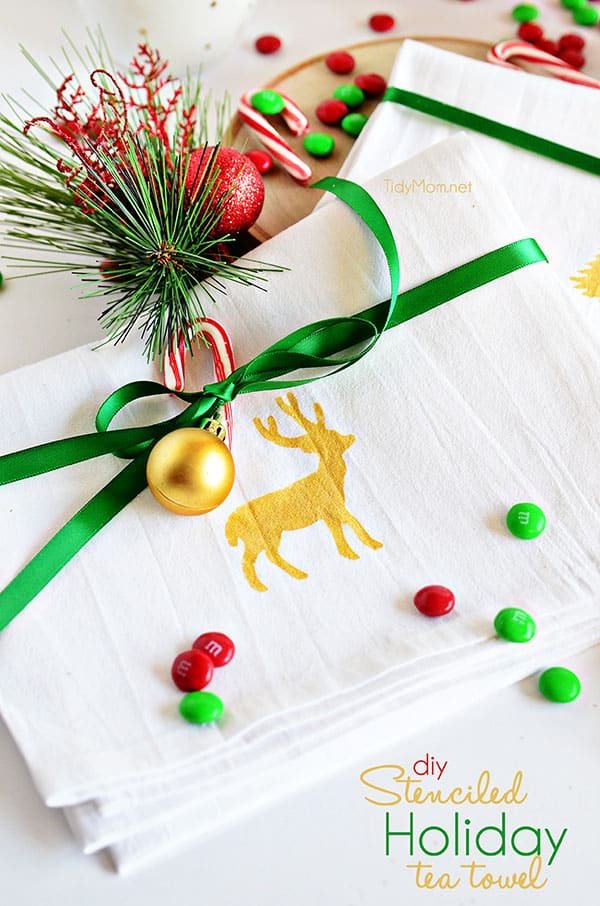
I totally forgot I have not shared a really simple project I worked on a few weeks ago! These DIY Stenciled Holiday Tea Towels make a lovely handmade gift and the best part is….it’s not too late to make them! they are SOOO easy!!
Be sure to sign up for my email… to get new recipes and ideas in your inbox!
These Stenciled Towels can be made in minutes, and it only requires a few easy-to-find supplies. Let’s get started!
This post may contain affiliate links. Please read my disclosure policy here.
How to Make DIY Stenciled Holiday Towels
I have printable directions at the end of this post, for your convenience.
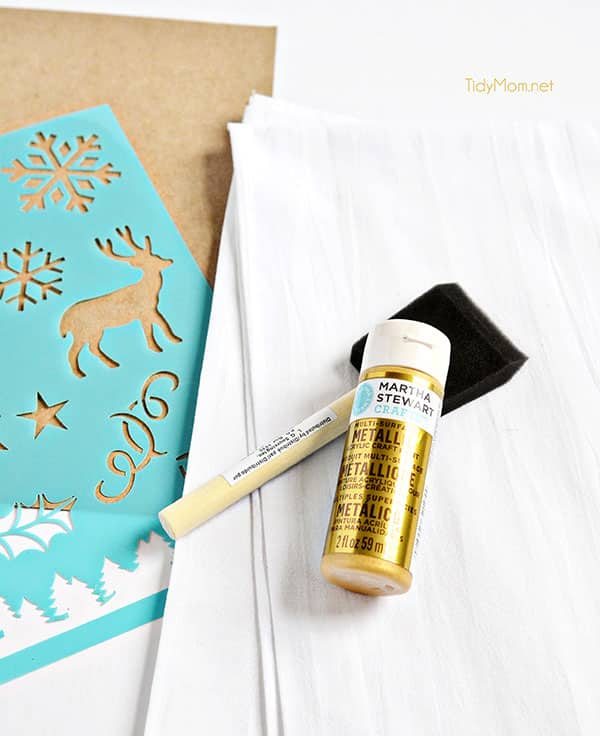
Supplies:
- White cotton hand towels – I just ordered some flour sack towels from Amazon
- Stencil – I used the Martha Stewart Holiday Stencils
- a piece of cardboard to place under the fabric while stenciling
- paint – I used Martha Stewart Metallic multi-surface acrylic paint
- foam brush
- spray adhesive (optional – but recommended)
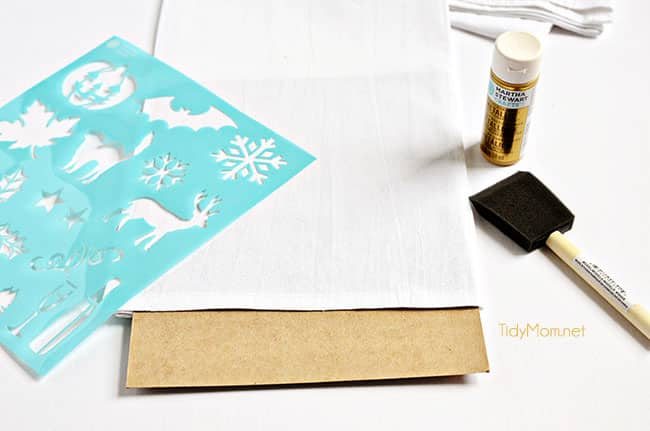
Directions:
Place a piece of cardboard underneath the towel so the paint doesn’t bleed thru the other side.
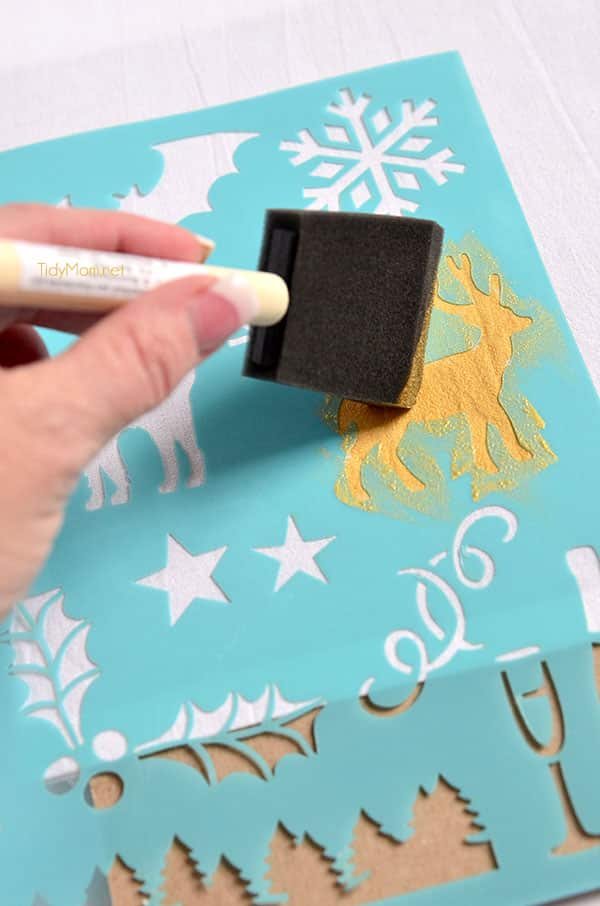
Next, lightly spray the stencil with some spray adhesive so the stencil stays in place (or you could use masking tape to secure the stencil to the fabric). Add a little paint to you brush and gently dab it around inside the stencil. (tip: you may want to place tape over the surrounding stencils so you don’t accidentally get paint in a spot you don’t want).
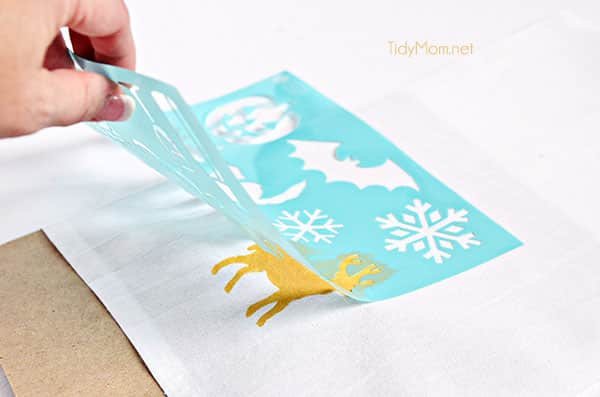
Carefully remove stencil and cardboard and you are done!! You could easily make several of these in a matter of minutes! Don’t you just love an easy craft?!
Set aside for a bit to dry (I’m not sure how long this took, I didn’t touch them for an hour or so, but they were probably dry sooner.
You can set the paint by ironing or tumble drying.
Allow 24 hours for your towels to air dry; then heat set. Two heat setting methods are recommended:
Dryer method-
Turn garment inside out; place the item in the dryer for 30 minutes on highest setting allowed for the type of fabric used.
Iron Method:
Place decorated item right side up on ironing board; cover with a dry pressing cloth. Set iron to highest setting allowed for the fabric used. Place dry iron (no steam) on area pressing for 30 seconds, lift iron moving to another area until all sections are heat set.
If you heat set it after painting, it can be washed in the washing machine on a gentle cycle. I would then hang it to dry.
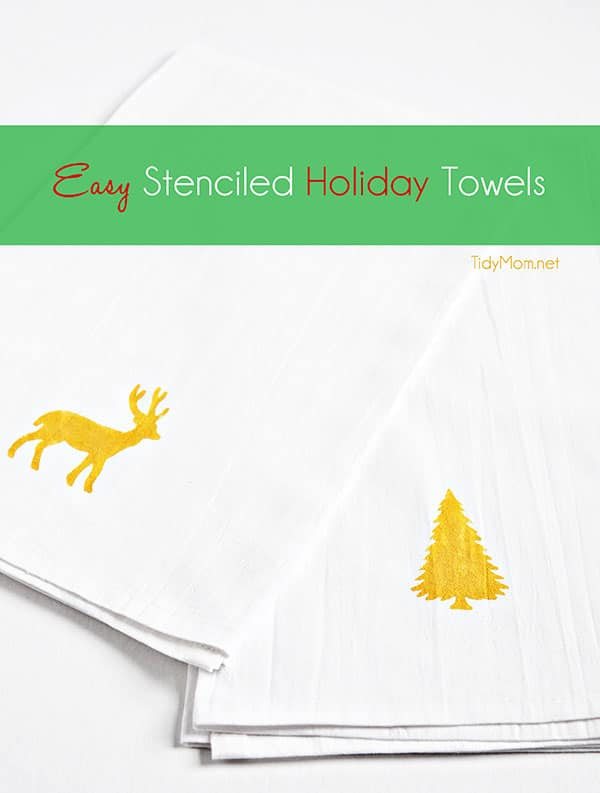
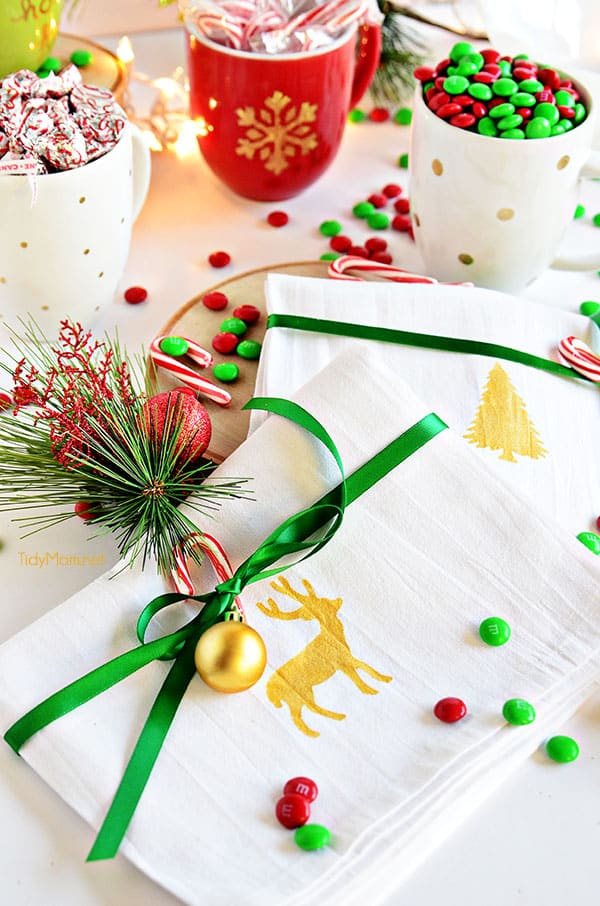
They would make a nice gift, just fold and tie with ribbon, garnished with a small ornament and candy cane! Gift with a loaf of homemade quick bread or just some holiday candy and a hand-painted mug!!
I created a fun little group on facebook and I’d love for you to join in! It’s a place where you can share YOUR favorite recipes, home tips, creative ideas and ask questions and see what’s new with Cetcu! If you’d like to check it out, you can request to join HERE. Be sure to follow me on Instagram and tag #tidymom so I can see all the wonderful Cetcu recipes YOU make and tips YOU use!
Connect with Cetcu! Facebook | Twitter | Google+ | Pinterest | Instagram
Sign up to receive an email in your inbox for each new recipe:
FREE EMAIL SUBSCRIPTION
I originally shared this project over at Tatertots and Jello for her Happy Holiday’s event – head over there for more holiday inspiration!
Have you made any handmade gifts this year?
DIY Stenciled Holiday Towels
Active Time: 5 minutesdrying time: 1 hour
Total Time: 1 hour 5 minutes
Difficulty: Easy
Materials
- White cotton hand towels (I used flour sack towels)
- Stencil (I used the Martha Stewart Holiday Stencils)
- a piece of cardboard
- Paint (I used Martha Stewart Metallic multi-surface acrylic paint)
- foam brush
- spray adhesive (optional - but recommended)
Tools
- No tools needed
Instructions
- Place a piece of cardboard underneath the towel so the paint doesn’t bleed thru the other side.
- Next, lightly spray the stencil with some spray adhesive so the stencil stays in place (or you could use masking tape to secure the stencil to the fabric). Add a little paint to you brush and gently dab it around inside the stencil. (tip: you may want to place tape over the surrounding stencils so you don’t accidentally get paint in a spot you don’t want).
- Carefully remove stencil and cardboard and set aside for an hour to dry.
To Heat Set:
You can set the paint by ironing or tumble drying.
Allow 24 hours for your towels to air dry; then heat set. Two heat setting methods are recommended:
- Dryer method: Turn garment inside out; place the item in the dryer for 30 minutes on highest setting allowed for the type of fabric used.
- Iron Method: Place decorated item right side up on ironing board; cover with a dry pressing cloth. Set iron to highest setting allowed for the fabric used. Place dry iron (no steam) on area pressing for 30 seconds, lift iron moving to another area until all sections are heat set.
If you heat set it after painting, it can be washed in the washing machine on a gentle cycle. I would then hang it to dry.
Recommended Products
As an Amazon Associate and member of other affiliate programs, I earn from qualifying purchases.
-
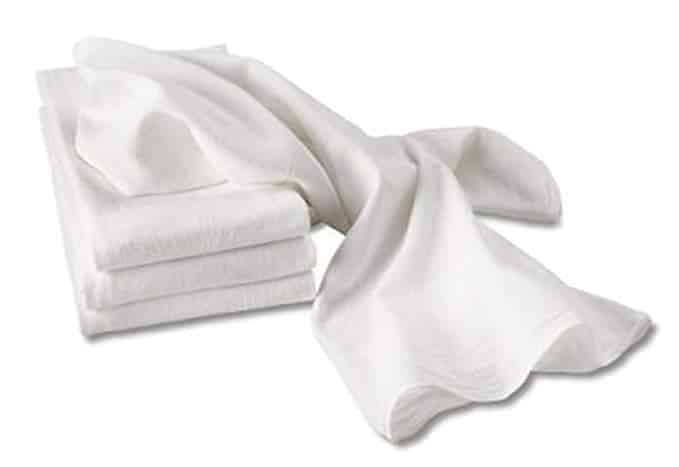 Aunt Martha's White Flour Sack Dish Towels
-
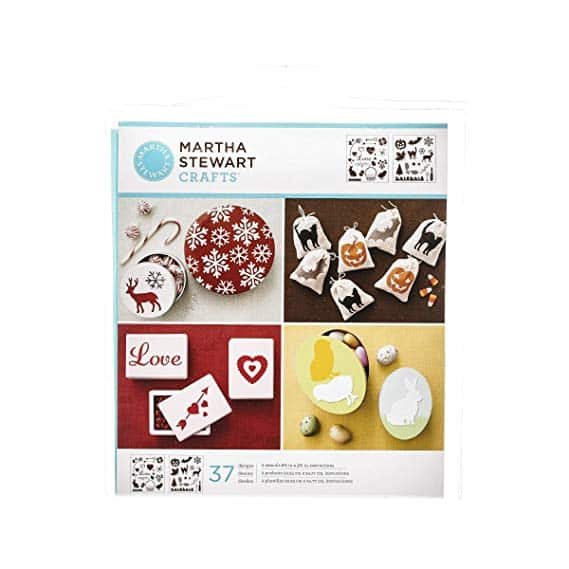 Martha Stewart Crafts Stencils
-
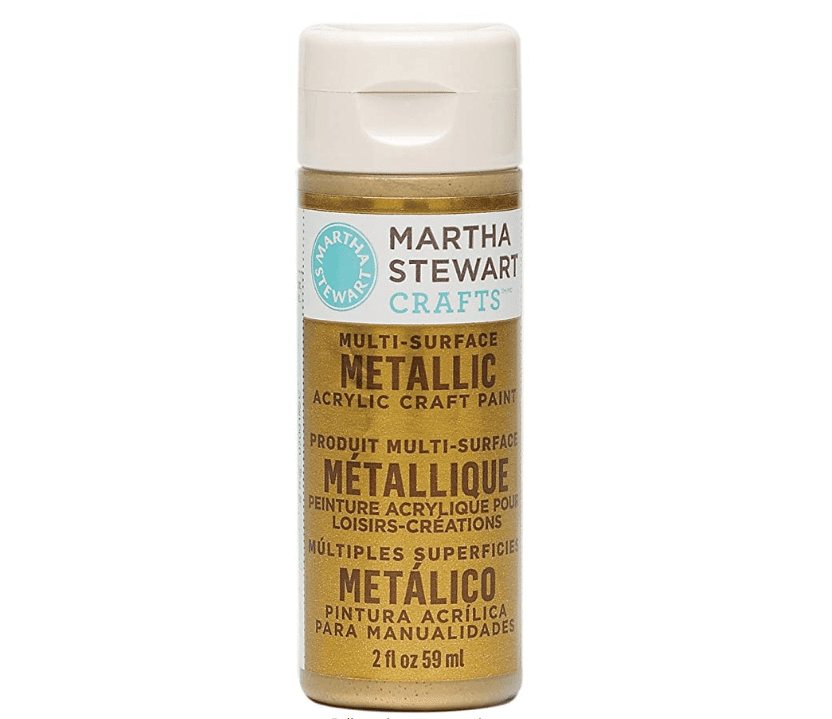 Martha Stewart Crafts Metallic Acrylic Craft Paint inGold
-
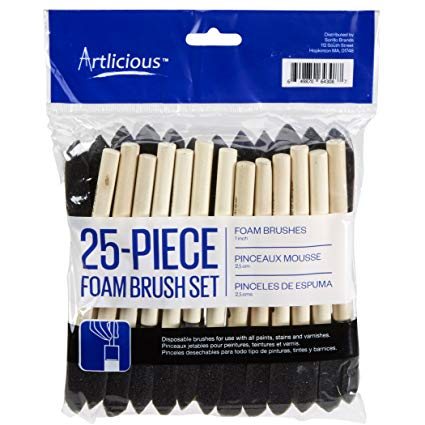 Foam Paint Brush
-
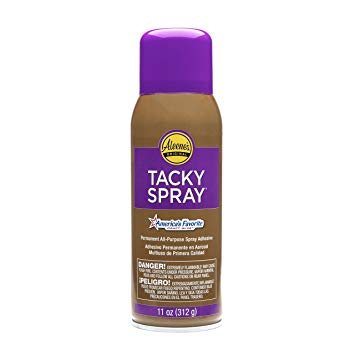 Aleenes All Purpose Tacky Adhesive Spray, 11-Ounce