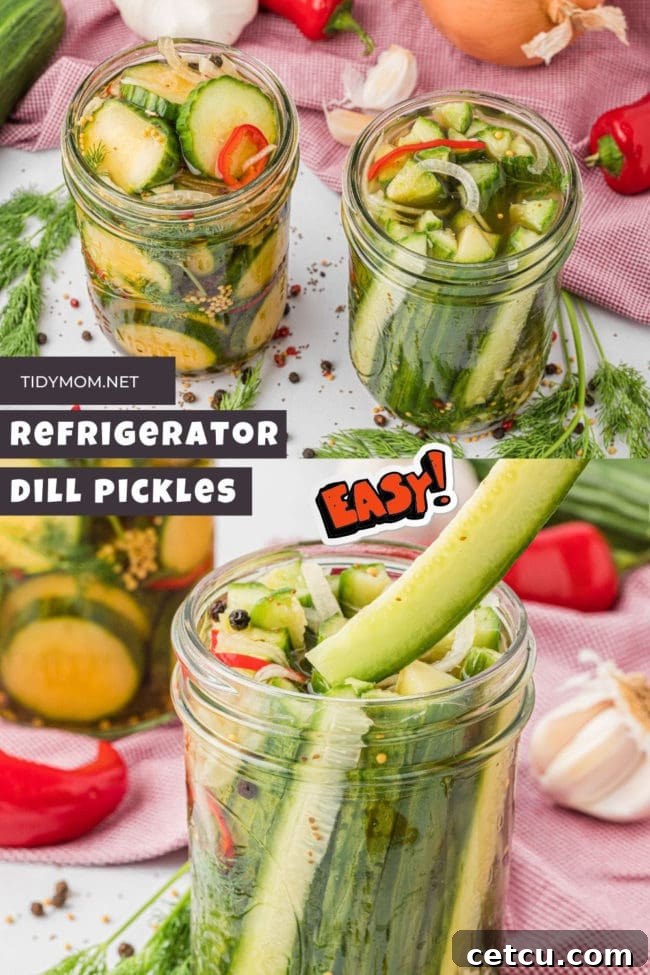
Tired of bland store-bought pickles? Crave the vibrant, zesty crunch of homemade goodness without the fuss of traditional canning? This ultimate guide to **Refrigerator Pickles** is your answer! Discover how to transform crisp cucumbers into tangy, flavor-packed delights in just a few hours. No special equipment, no complex techniques – just simple ingredients and a dash of enthusiasm. Get ready to embark on a delightful pickling journey that will revolutionize your snacking and mealtime experiences!
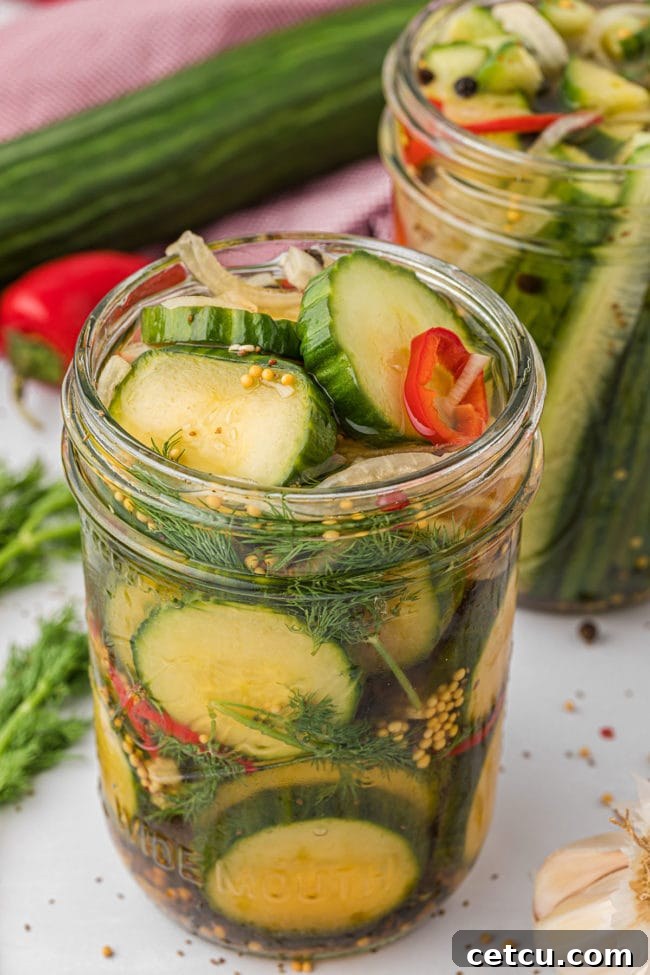
Table of Contents
What Are Quickles? Your Fast Track to Flavor
A “quickle” is simply a delightful nickname for what is formally known as a refrigerator pickle, quick pickle, or quick-process pickle. Unlike traditional fermented pickles that rely on a longer, anaerobic fermentation process, quick pickles are made by submerging fresh vegetables in a hot, acidic brine and then chilling them. This method bypasses the need for complex water bath canning, making it incredibly accessible for home cooks.
The magic of quickles lies in their speed. You can go from fresh cucumbers to perfectly tangy, crisp pickles in a matter of hours, rather than weeks. While this recipe focuses on cucumbers – the quintessential pickle – the term “quickle” can truly encompass any quickly pickled vegetable, from vibrant carrots and crunchy green beans to sharp red onions or even spicy jalapeños. This versatility makes quick pickling an exciting culinary adventure, allowing you to experiment with different vegetables and flavor combinations to suit any dish or craving. The vinegar-based brine rapidly infuses the vegetables with flavor, creating that signature tangy profile and delightful crunch that defines a great pickle, all without the elaborate steps of traditional preservation.
Why You’ll Be Obsessed With Refrigerator Pickles
Once you experience the ease and incredible flavor of homemade refrigerator pickles, you’ll wonder why you ever bought them from the store. Beyond the sheer satisfaction of creating something delicious from scratch, there are countless reasons to fall in love with this simple recipe:
- Nutrient Powerhouse: Far from being just a tasty snack, quick pickles can be a surprising source of essential nutrients. Cucumbers themselves are hydrating and provide Vitamin K, which is vital for blood clotting and bone health. The pickling process, while not fermentation, can still help preserve some of these beneficial compounds, offering a healthy dose of fiber, calcium, and potassium with every crunchy bite.
- Simple, Wholesome Ingredients: Forget complicated lists with unpronounceable chemicals. This recipe calls for fresh, readily available ingredients you likely already have or can easily find at any grocery store. All you truly need are cucumbers, water, vinegar, a few common herbs and spices, and salt. It’s real food, made simply.
- Budget-Friendly Bites: Making your own pickles is remarkably economical. Cucumbers, especially when in season, are inexpensive. The brine ingredients – vinegar, salt, and common spices – are pantry staples that cost pennies per batch. This DIY approach not only saves you money compared to specialty store-bought pickles but also helps you utilize fresh produce before it spoils, reducing food waste and stretching your grocery budget further.
- Endless Customization: This is where the real fun begins! Refrigerator pickles are incredibly adaptable to your personal taste and dietary preferences. Want a little more heat? Add extra jalapeños or a pinch of red pepper flakes. Prefer a sweeter pickle? Increase the sugar slightly. Craving an herbal twist? Experiment with bay leaves, fresh thyme, or coriander seeds. You can even quick-pickle a variety of other vegetables alongside your cucumbers, creating a unique medley of flavors and textures in every jar. The possibilities are truly boundless!
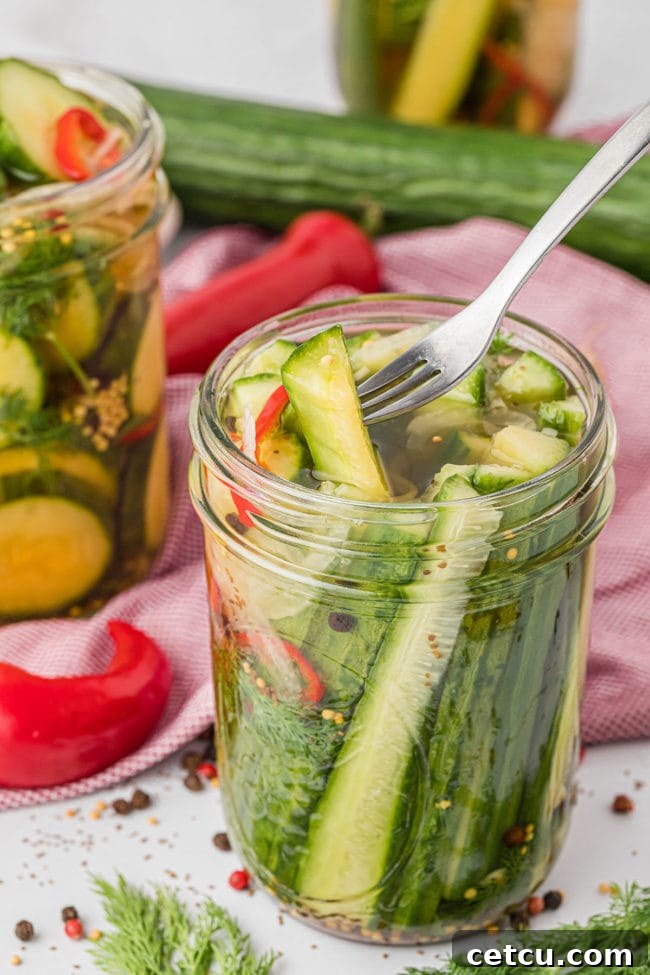
- Remarkably Versatile: Don’t limit these homemade gems to just a burger topping. Fridge pickles are a fantastic low-calorie snack all on their own. They make a refreshing side dish, a bright addition to salads, or a tangy component in sandwiches and wraps. Chop them finely to create a homemade relish for hot dogs or tuna salad, or arrange them on a charcuterie board for a burst of vibrant flavor. Their crisp texture and bold taste elevate almost any meal.
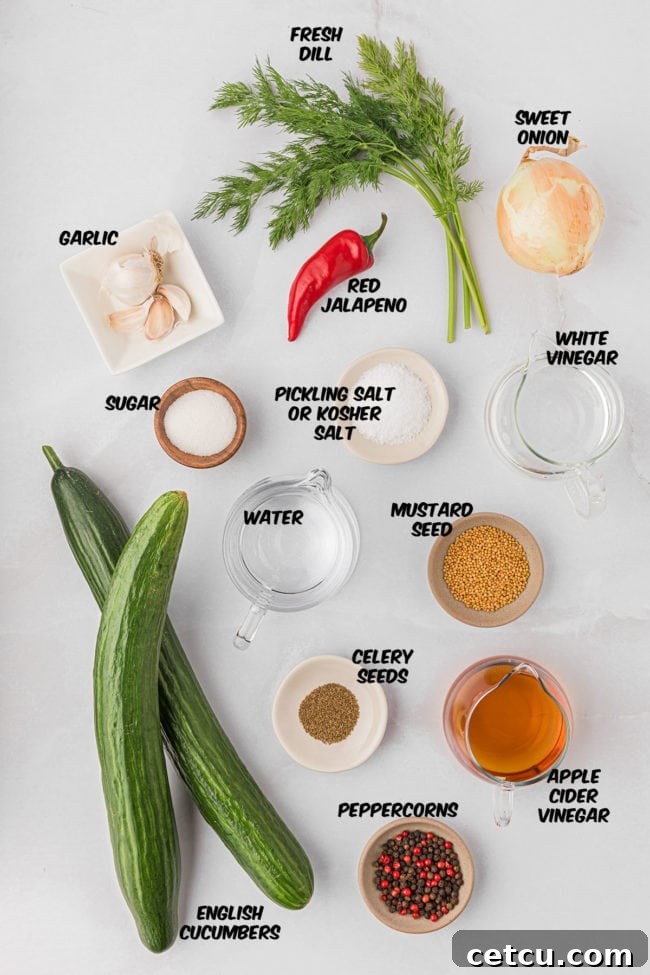
Essential Ingredients for Perfect Quick Pickles
Crafting quick pickles is wonderfully straightforward, requiring only a handful of fresh vegetables and readily available pantry staples. Be warned, though: once you taste them, they’re delightfully addicting!
For precise measurements and detailed instructions, please refer to the complete recipe card located at the end of this article.
Crafting the Ideal Brine
The brine is the heart of your pickles, imparting flavor and ensuring their crispness and preservation. Choosing the right components is key:
- Water: For the cleanest taste and best results, always opt for demineralized, filtered, or purified water. Hard water, rich in minerals, can sometimes lead to cloudy brine and affect the texture of your pickles. Similarly, heavily chlorinated tap water can introduce off-flavors, so filtering is highly recommended.
- White Vinegar: This is your primary pickling agent. A standard 5% acidity white vinegar is crucial for proper preservation and contributes significantly to the characteristic tangy flavor. It also plays a vital role in maintaining the crisp texture of your cucumbers.
- Apple Cider Vinegar: To add a layer of complexity and a slightly milder, sweeter undertone, apple cider vinegar is an excellent choice. While it can result in a slightly darker brine if used alone, combining it with white vinegar offers a beautifully balanced flavor profile that many prefer.
- Canning & Pickling Salt: This is non-negotiable for superior results. Canning and pickling salt is pure sodium chloride, free from anti-caking agents, iodine, or other minerals found in table salt. These additives can lead to cloudy brine, discoloration, and even an undesirable texture in your finished pickles. If you must use kosher salt, adjust the quantity slightly (approximately ¼ teaspoon more per teaspoon of pickling salt) and ensure it’s a pure variety without additives.
- Recommended Seasonings: These classic additions create the familiar, comforting dill pickle flavor.
- Peppercorns: Whole black peppercorns add a subtle, earthy heat and aromatic complexity.
- Mustard Seeds: A cornerstone of pickle flavor, mustard seeds provide a characteristic tang and pungency.
- Celery Seeds: These small seeds contribute a delicate, herbaceous, and slightly bitter note that rounds out the flavor profile.
- Sugar: A touch of sugar is essential for balancing the acidity of the vinegar, preventing the pickles from being overly sour and enhancing the overall flavor without making them sweet.
The Stars of Your Quick Pickles
Beyond the brine, these fresh ingredients bring texture, heat, and aromatic depth:
- English Cucumbers: These are ideal for quick pickles due to their thin skin and minimal, almost unnoticeable seeds. This means less peeling and deseeding work for you, and a consistently crisp texture in the finished product. Look for firm, unblemished cucumbers.
- Red Jalapeño (Optional): For those who enjoy a little kick, a red jalapeño adds a beautiful color and a pleasant warmth. To control the heat level, completely remove the ribs and seeds from the pepper. After deseeding, rinsing the inside under cold running water while gently rubbing can help remove any residual capsaicin oils, further reducing the spice. Slice thinly for even distribution.
- Sweet Onion: A small sweet onion, thinly sliced into rings and halved, will add a mild, slightly sweet, and pungent flavor that complements the tang of the pickles beautifully, offering another layer of texture.
- Garlic: Fresh garlic cloves are always best for quick pickles, infusing a robust, aromatic depth. For convenience, you can substitute with jarred minced garlic in a pinch, but be aware that the flavor might be slightly less vibrant.
- Fresh Dill Sprigs: The quintessential herb for dill pickles! Washed, gently patted dry, and roughly chopped, fresh dill provides that unmistakable, bright, herbaceous flavor that defines classic dill pickles. Don’t skimp on the fresh dill – it makes all the difference!
This post may contain affiliate links. Please read my disclosure policy here.
Your Step-by-Step Guide to Easy Refrigerator Pickles
For the best results and specific measurements, please refer to the comprehensive recipe card at the bottom of the page when making these homemade pickles.
Making quick pickles is incredibly simple and doesn’t demand an arsenal of specialized kitchen tools. Gather a medium saucepan, a sharp knife, a sturdy cutting board, and a couple of thoroughly clean jars with tight-fitting lids. And, a crucial reminder: if you’re working with jalapeños, always have a pair of disposable gloves ready for prep!
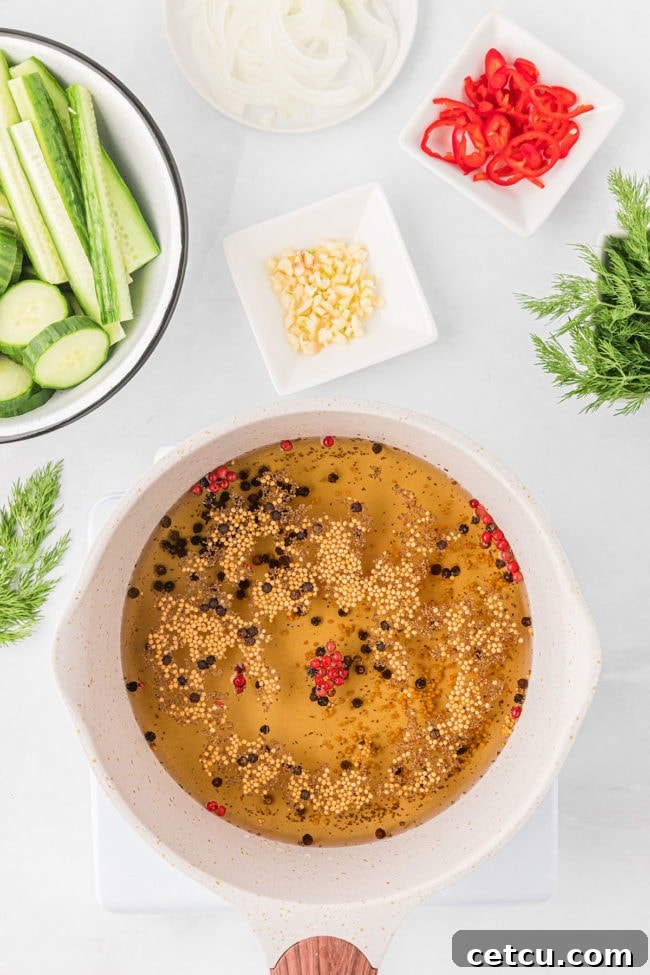
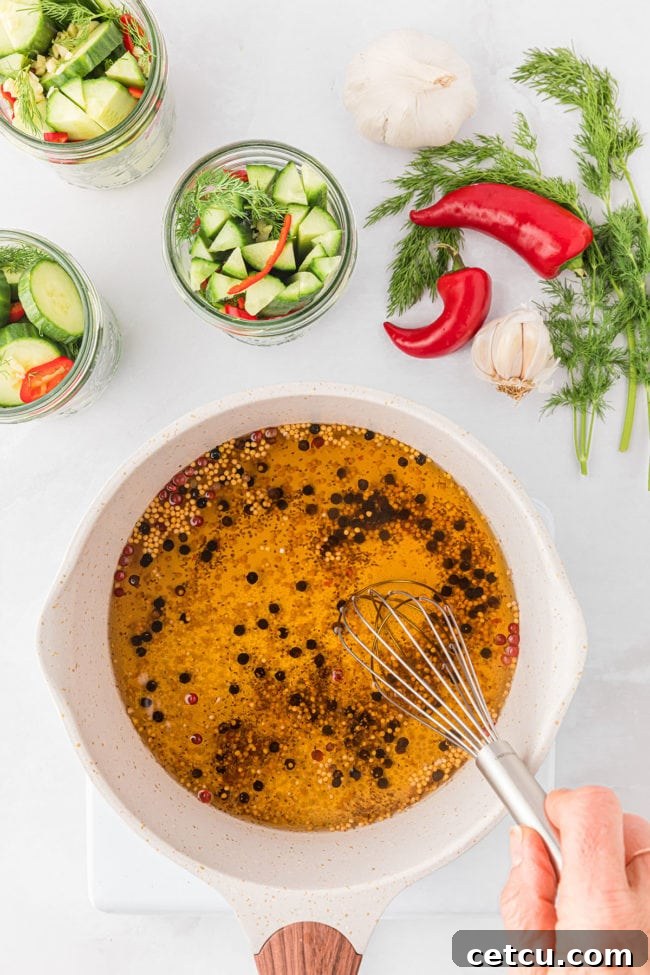
- Prepare the Brine: In your saucepan, combine all the brine ingredients (water, vinegars, salt, peppercorns, mustard seeds, celery seeds, and sugar). Place it over medium heat, stirring occasionally. Bring the mixture to a rolling boil, ensuring all the salt and sugar have completely dissolved. Once boiling, remove the saucepan from the heat and allow the brine to cool down while you prepare your vegetables. Cooling the brine is important to prevent the hot liquid from softening your cucumbers too much.
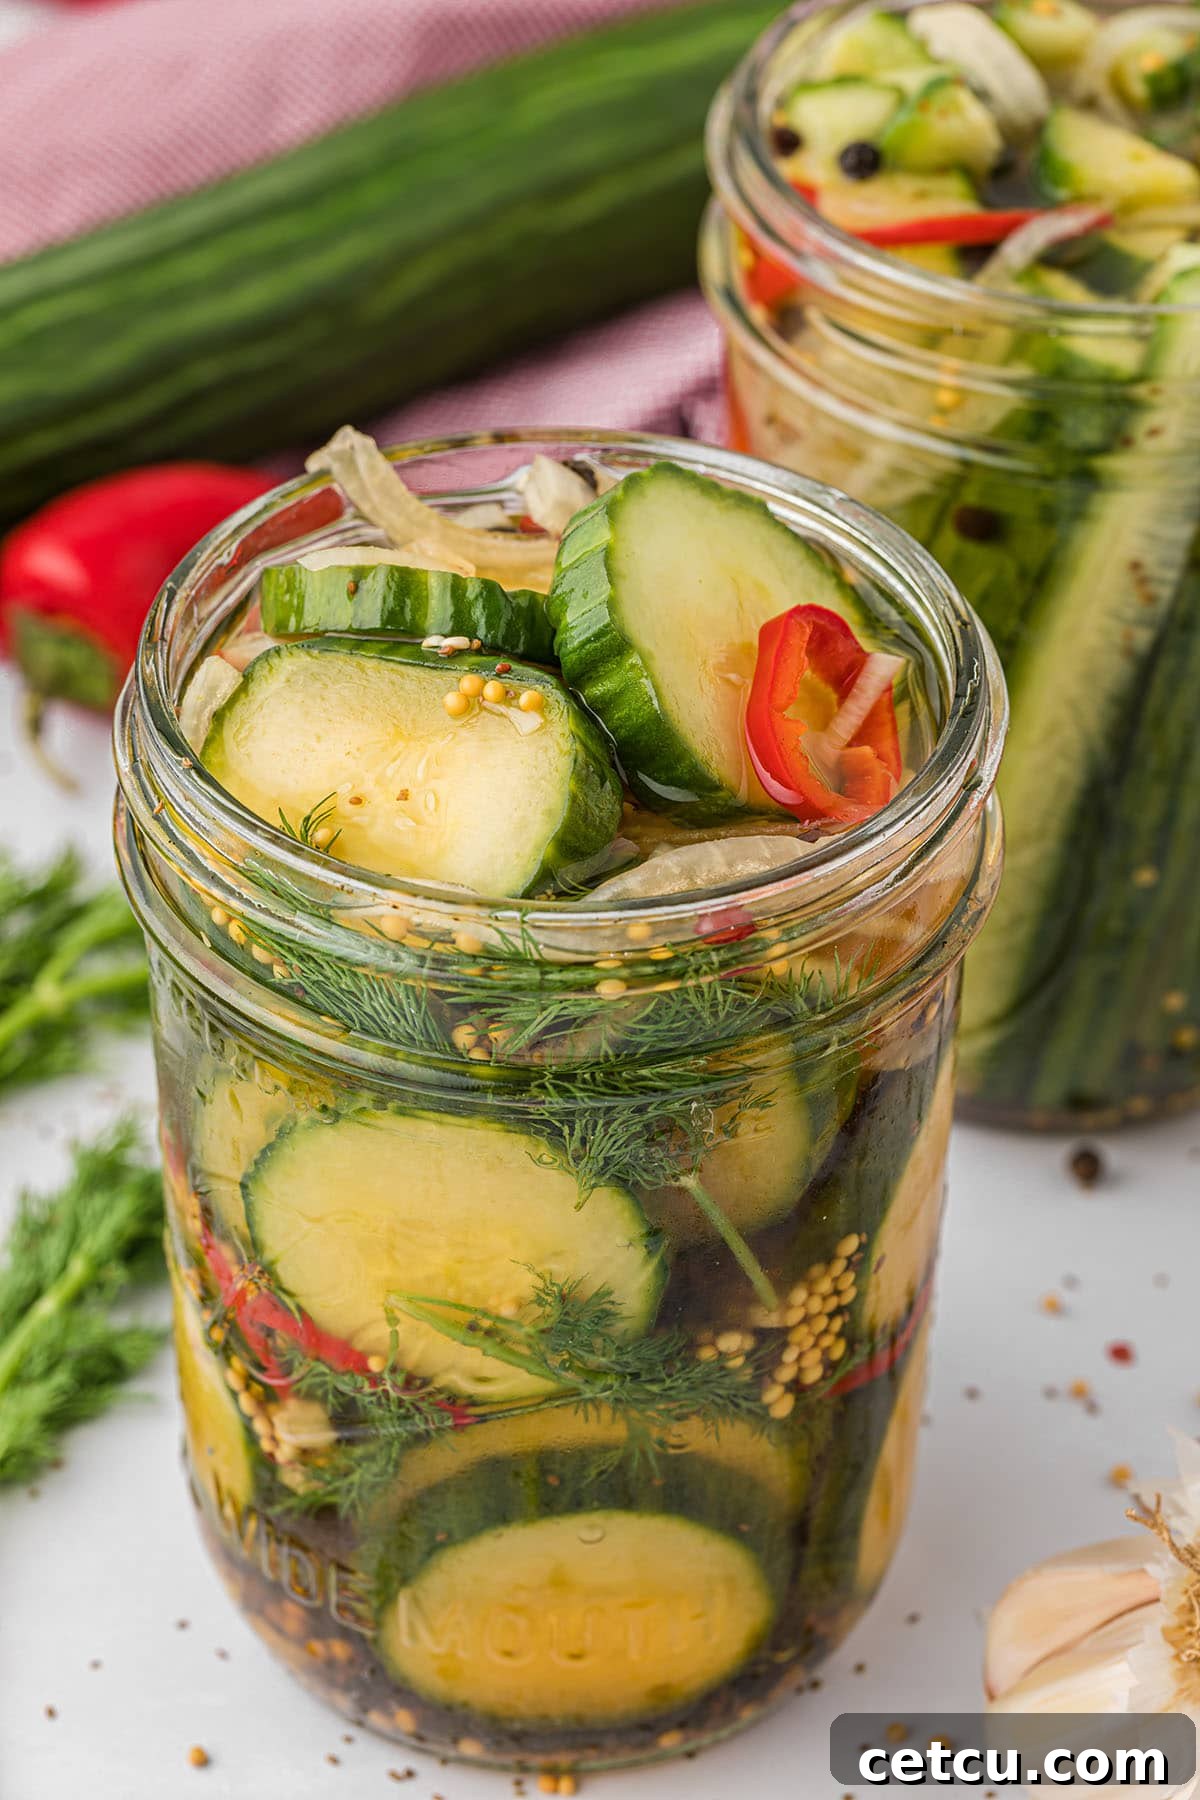
- Prep Your Vegetables: Thoroughly wash your cucumbers. You can slice them into ¼ to ½-inch thick rounds, or cut them lengthwise into elegant spears – whichever you prefer! If using a jalapeño, carefully remove the ribs and seeds (wearing gloves is highly recommended here) to control the heat, then slice it thinly. Slice your sweet onion into thin rings and peel and chop your garlic cloves. Roughly chop your fresh dill sprigs.
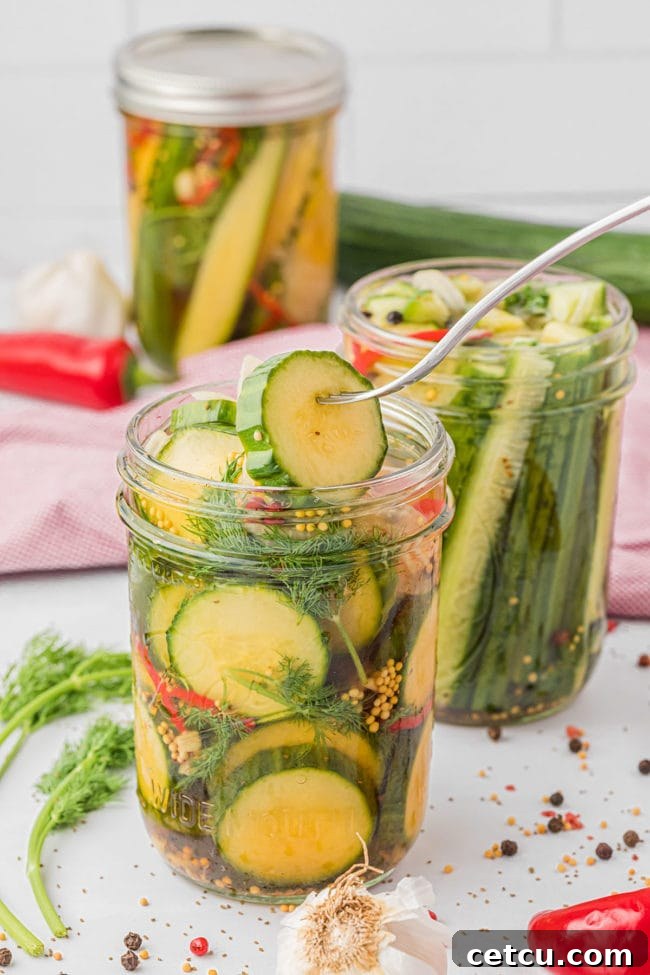
- Pack the Jars: Once your vegetables are prepped, tightly pack them into your very clean, sterilized pint-sized jars. Layer the cucumber slices or spears, jalapeño, onion, garlic, and fresh dill sprigs. The goal is to pack them as snugly as possible without bruising them, ensuring maximum contact with the brine. Leave about a 1-inch headspace at the top of each jar.
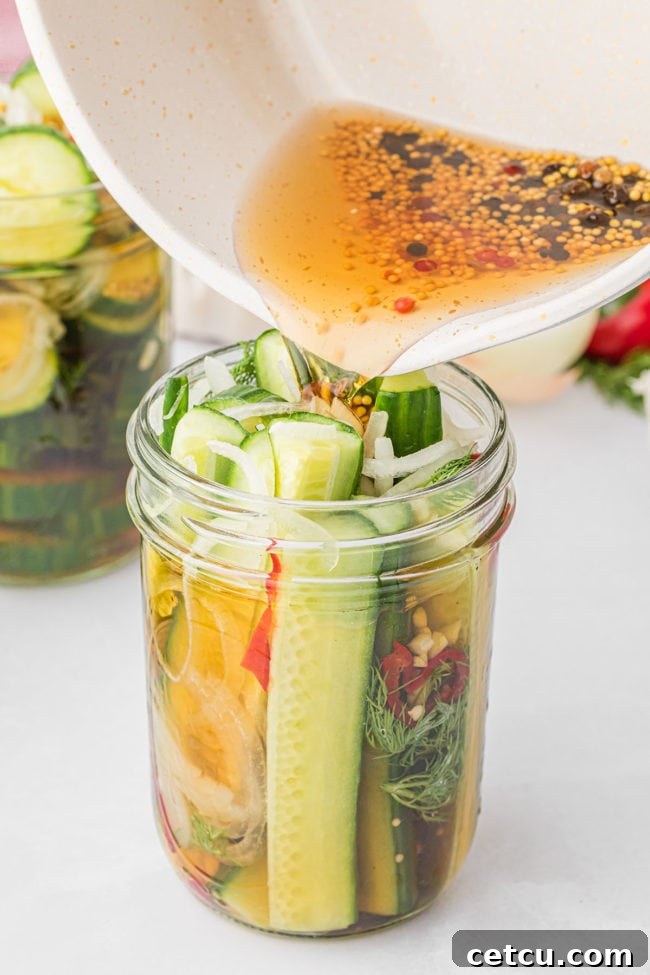
- Pour and Chill: Carefully pour the now-cooled brine over the packed vegetables in each jar. Make sure all the vegetables are completely submerged in the liquid. This ensures proper pickling and flavor absorption. Maintain that 1-inch headspace. Wipe the rims of the jars clean to ensure a good seal, then tightly close them with their lids. Allow the jars to cool completely to room temperature on your counter. Once cooled, transfer them to the refrigerator. For optimal flavor development, let them chill for at least 1-3 hours, or ideally, overnight. The longer they sit, the more the flavors will meld and intensify!
*Note: Headspace refers to the empty space left between the surface of the food and the underside of the lid in a jar. This space is crucial as it allows for the expansion of food during the pickling process and helps create a vacuum seal in traditional canning, though not required for refrigeration only.
Pro Tips and Expert Notes for Unbeatable Pickles
- The Right Salt Makes All the Difference: Salt is not just for flavor; it’s a critical component in the pickling process, drawing out moisture and contributing to crispness. Always use canning, pickling, or pure kosher salt. Avoid table salts that contain iodine, silica, or anti-caking agents, as these can cause your brine to become cloudy, discolored, and even affect the texture of your pickles.
- Cucumber Quality is Key: Start with the freshest, firmest cucumbers you can find. They should be free of soft spots, blemishes, or broken skins. English, Persian, or pickling cucumbers are generally best due to their thinner skins and fewer seeds.
- Trim the Blossom End: The blossom end of a cucumber contains enzymes that can cause pickles to soften. To prevent this, always trim off about an ⅛-inch piece from the blossom end before slicing your cucumbers. This small step can make a big difference in maintaining that desirable crunch.
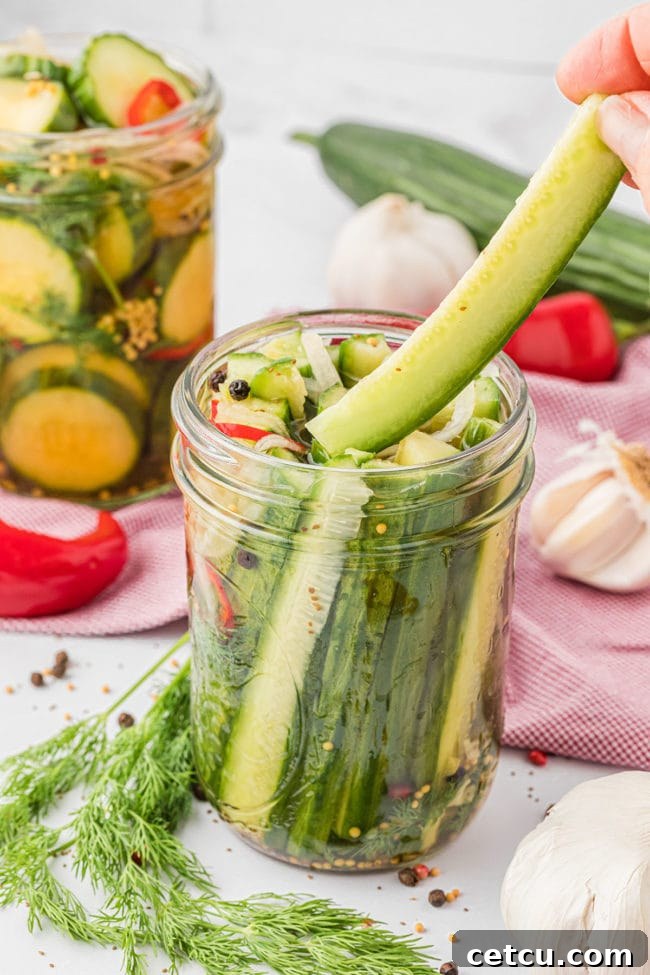
- Uniform Slicing: For even pickling and consistent texture, slice your washed cucumbers into uniform ¼ to ½-inch thick rounds. If you prefer spears, cut them lengthwise into quarters. If your spears are too long for your chosen jar, simply cut them in the middle to ensure they fit snugly.
- Jalapeño Prep Safety: Always wear food-safe gloves when handling and prepping jalapeños. The oils can cause severe irritation if they come into contact with your skin or eyes. Remove gloves by peeling them inside out and dispose of them immediately. Trust us, your hands (and face!) will thank you.
- Full Submergence for Optimal Flavor: For proper pickling and preservation, all quick pickle ingredients must be fully submerged in the brine. This ensures they are constantly in contact with the acidic solution, allowing flavors to develop and preventing spoilage. If any vegetables float, gently press them down with a small clean weight or ensure the jar is packed tightly.
- Achieving the Perfect Crunch: English cucumbers have delicate skins and a naturally crisp texture. Pouring hot brine directly over them can sometimes soften them slightly. For maximum crunch, allow your brine to cool completely to room temperature before pouring it over the prepared cucumbers.
- Easy Brine Transfer: To avoid spills and make pouring the brine into your pickling jars much easier, transfer the cooled brine into a large glass measuring cup with a spout or use a canning funnel.
- Don’t Waste Leftover Brine: If you find yourself with extra brine, don’t discard it! Store it in the refrigerator. It can be a wonderful inspiration to quickly pickle other vegetables later, such as carrots, bell peppers, or even hard-boiled eggs, minimizing waste and maximizing flavor.
- Short on Brine? No Problem: If you accidentally under-measure or need a little more brine to fully submerge your pickles, simply mix equal parts white vinegar and filtered water. Add this mixture until your quick pickles are completely covered.
*Critical Prep Tip: Seriously, don’t touch any part of your face when prepping jalapeños! The capsaicin oils are incredibly potent and can cause a burning sensation that’s very difficult to alleviate once it starts. After handling, remove your gloves by peeling them inside out, so the contaminated surface is contained, and discard them immediately. You’ll avoid a fiery lesson, and that’s a welcome gift!
Quick Pickling, Safety First and Always:
While refrigerator pickles are a simpler method than traditional canning, food safety practices remain paramount to ensure your delicious creations are safe to eat.
- Cleanliness is Non-Negotiable: Always begin any refrigerator pickle recipe with thoroughly cleaned and sterilized jars and lids. Running them through a dishwasher on a hot cycle is effective, or hand wash them with hot, soapy water and rinse them thoroughly in hot water. Allow them to air dry completely or use clean paper towels. This eliminates any bacteria that could potentially spoil your pickles.
- Choose Non-Reactive Cookware: When heating your pickling liquids, always use non-reactive pans. Stainless steel, glass, or unchipped enamelware are excellent choices. Avoid aluminum, copper, and brass. These metals can react with the acids and salts in your brine, potentially causing discoloration of your pickles, imparting metallic off-flavors, or even creating undesirable chemical compounds.
- ***CRITICAL SAFETY WARNING: THIS RECIPE IS NOT DESIGNED FOR WATER BATH CANNING.*** This refrigerator pickle recipe has been developed and tested specifically for storage in the refrigerator. It has not undergone the rigorous safety testing required for shelf-stable canning methods (like water bath or pressure canning). Attempting to water bath can this recipe could lead to unsafe food and a risk of botulism. If you wish to make shelf-stable pickles, please seek out and follow a recipe that has been specifically designed and scientifically tested for traditional canning methods. Refrigerator pickles must always be stored in the refrigerator to prevent spoilage.
Recommended Equipment for Effortless Pickling
While minimal tools are needed, having the right equipment can make your pickling experience even smoother:
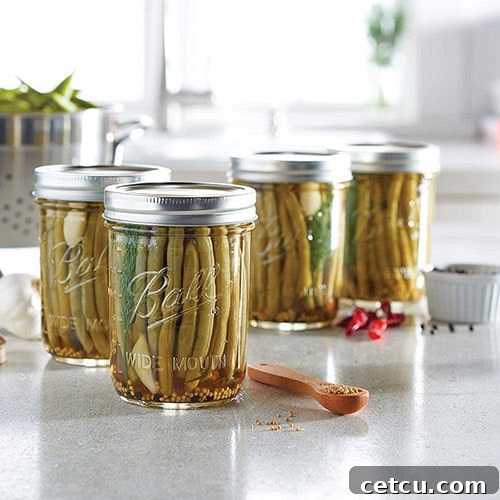
- Ball Wide-Mouth Pint Mason Jars: These 16 oz jars are the gold standard for pickling and a versatile staple for any kitchen. Their wide mouth makes packing cucumbers and pouring brine easy, and their sturdy design ensures safe storage. They are also perfect for general food storage and various DIY projects.
- Large Glass Measuring Cup with Spout: Ideal for safely transferring hot or cooled brine into jars without spills.
- Canning Funnel: A wide-mouth funnel designed for canning helps guide liquids and solids into jars cleanly and efficiently.
- Sharp Knife and Cutting Board: Essential for precise and safe vegetable preparation.
- Disposable Food-Safe Gloves: Crucial for handling spicy ingredients like jalapeños to protect your skin.
- Mandoline Slicer (Optional): For perfectly uniform cucumber slices, a mandoline can be a great investment, especially if you plan to make many batches.
Storage Secrets: How to Keep Your Pickles Fresh
It might sound obvious, but the clue is in the name: refrigerator pickles *must* be stored in the refrigerator! Unlike traditionally canned pickles, quick pickles are not shelf-stable and rely on continuous refrigeration to prevent spoilage and maintain their quality. The good news is, when stored correctly, they can last for a surprisingly long time!
- Unopened Jars: In a sealed, unopened jar, kept consistently cold in the refrigerator, your homemade quick pickles can retain their excellent quality for up to 3 months. This makes them a fantastic make-ahead option for various meals and occasions.
- Once Opened: Once you break the seal and start enjoying your quick pickles, their shelf life naturally shortens. For the best quality, including optimal crispness and flavor, aim to consume them within 1-2 weeks. While some sources suggest they might last up to a month, our experience shows they rarely last that long around here because they’re simply too delicious to resist!
- Constant Refrigeration: Remember, these tasty cucumbers are perishable. They need to remain refrigerated at all times. Do not leave them out at room temperature for extended periods, as this will significantly accelerate spoilage.
How to Tell if Your Quick Pickles Are Still Delicious?
As refrigerator pickles age, their quality will gradually deteriorate. The first signs that your quick pickles are past their prime will often be a noticeable loss of crispness, becoming softer than desired. Additionally, the brine might become cloudy or murky, which can indicate microbial growth or simply the breakdown of the cucumber cells. If you notice any off-smells, unusual textures, or visible mold, it’s definitely time to discard them to ensure food safety. Always trust your senses!
Frequently Asked Questions About Refrigerator Pickles
While it might seem convenient, using regular table salt for fridge pickles is strongly discouraged. Table salt often contains iodine and anti-caking agents that can cause your pickle brine to become cloudy, discolored, and even negatively impact the crispness of your cucumbers. For superior results – meaning beautifully clear brine and perfectly crunchy pickles – always opt for pure canning and pickling salt or pure kosher salt without additives. These salts are specifically formulated for pickling and preserve both flavor and appearance.
Yes, boiling the brine ingredients is a crucial step. Heating the brine serves several important purposes: it thoroughly dissolves the salt and sugar, ensuring an even distribution of flavor and proper preservation properties. More importantly, boiling helps to intensify and meld the flavors of all the seasonings, creating a more robust and harmonious brine. After boiling, it’s essential to allow the brine to cool before pouring it over the cucumbers to prevent them from becoming too soft.
The primary difference lies in their preservation method and resulting shelf stability. Refrigerator pickles (quick pickles) are preserved in an acidic vinegar and salt brine and require continuous refrigeration to prevent spoilage. They are not fermented. Canning pickles, on the other hand, are typically made through a fermentation process. Naturally occurring bacteria interact with cucumber sugars to produce lactic acid, which preserves the pickles and gives them their characteristic tangy, complex flavor. This natural fermentation creates a shelf-stable product that can be stored at room temperature for extended periods after proper canning (like water bath canning).
Absolutely! Quick pickling is incredibly versatile. You can use this brine recipe for a wide array of vegetables such as sliced carrots, bell peppers, green beans, asparagus, cauliflower florets, radishes, or even hard-boiled eggs. Just ensure they are cut to a uniform size for even pickling and packed tightly into clean jars. Adjust pickling times slightly based on the vegetable’s density.
While you can technically enjoy them after just 1-3 hours in the refrigerator, the flavors will deepen and meld significantly if you allow them to sit overnight, or even for 24-48 hours. The longer they sit, the more pronounced and complex the pickle flavor will become. Experiment to find your preferred level of tanginess and infusion!
Several factors can lead to soft pickles: using old or bruised cucumbers, not trimming the blossom end (which contains softening enzymes), not using appropriate pickling salt (additives can cause issues), or pouring hot brine over the cucumbers without allowing it to cool first. Over-packing jars can also sometimes lead to softer pickles due to insufficient brine penetration. Ensure you use fresh, firm cucumbers and follow the cooling step for the brine for best results.
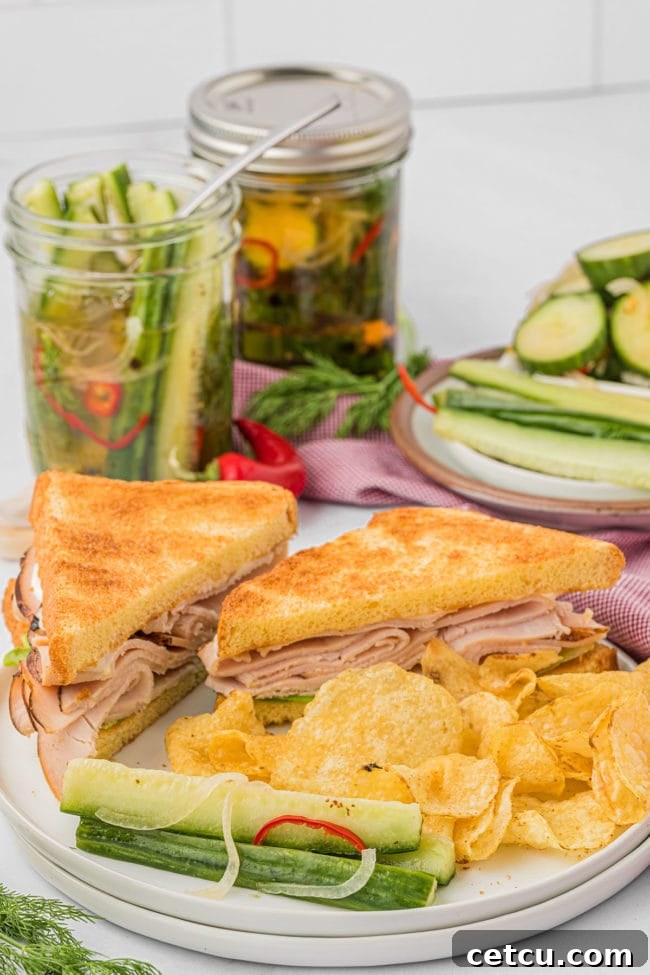
Endless Serving Suggestions for Your Homemade Pickles
Your homemade refrigerator pickles are so versatile, they’ll quickly become a staple in your kitchen. Here are just a few ideas to get you started:
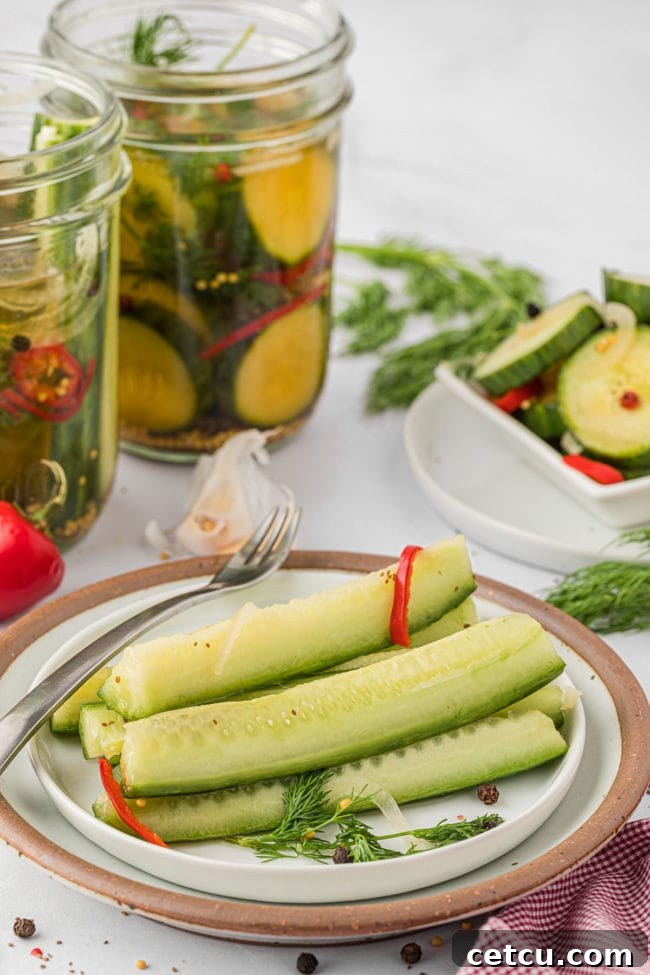
- Classic Sandwich & Burger Topping: The most obvious and beloved use! Place quick pickle rounds or spears on your favorite sandwiches, burgers, or hot dogs for an irresistible tangy crunch. They’re a game-changer for dishes like a juicy cheeseburger or a classic California Chicken Club Sandwich.
- Homemade Relish: Chop your fridge pickles finely to create a vibrant, fresh relish. This is fantastic in recipes that call for relish, like a creamy Egg Salad Sandwich, classic potato salad, tuna salad, or as a topping for bratwursts.
- BBQ & Picnic Perfect: Serve a bowl of crisp quick pickles alongside grilled meats, BBQ ribs, or at any potluck. Their tangy bite cuts through rich flavors, making them a refreshing accompaniment.
- Elevate Your Salads: Add chopped quick pickles to green salads, pasta salads, or grain bowls for an extra layer of flavor and texture. They bring a lively zest that brightens up any salad.
- Charcuterie Board Essential: Arrange colorful pickle spears or rounds on a charcuterie or cheese board. Their acidity pairs wonderfully with rich cheeses, cured meats, and crackers, providing a delightful palate cleanser.
- Snack Time Savior: Enjoy them straight from the jar as a healthy, low-calorie, and satisfying snack. The crunch and tang are incredibly addictive!
- Cocktail Garnish: For a sophisticated touch, use a quick pickle spear as a garnish for a Bloody Mary or other savory cocktails.
- Tacos & Burrito Bowls: A scattering of finely chopped quick pickles can add a bright, zesty counterpoint to the savory flavors of tacos, burritos, or grain bowls.
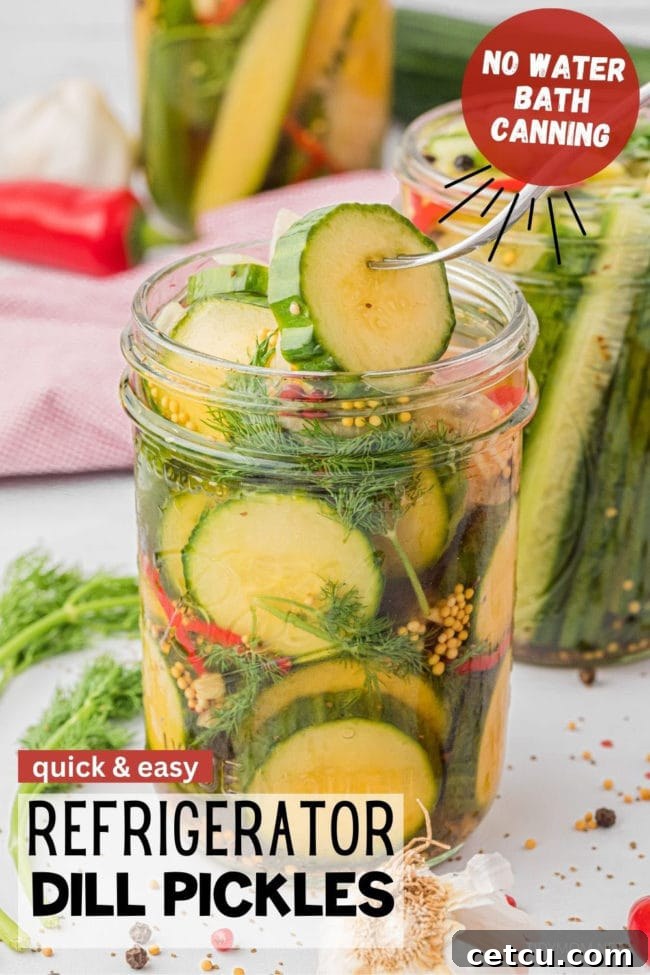
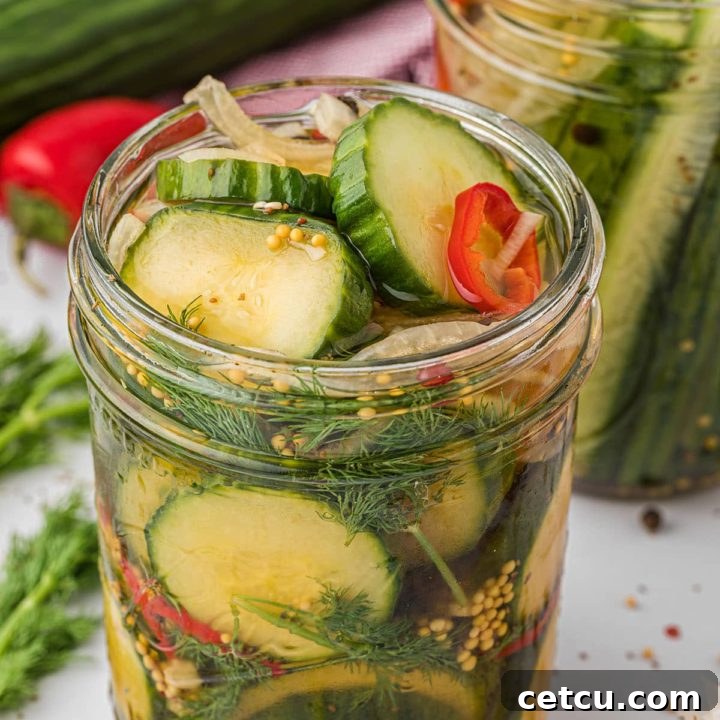
Quick and Easy Refrigerator Pickles Recipe Card
Two 1-pint jars (about 12 servings)
20 minutes
5 minutes
25 minutes
Craving that delightful tangy crunch without the complexities of traditional canning? This quick and easy refrigerator pickle recipe is your perfect solution! In mere hours, you can transform fresh cucumbers into crisp, flavorful homemade pickles that are perfect for snacking, sandwiches, or any meal. Simple ingredients, straightforward steps, and absolutely no canning required. Get ready to enjoy the freshest, most satisfying pickles you’ve ever made!
Ingredients
- 1 cup water
- ½ cup white vinegar (5% acidity)
- ½ cup apple cider vinegar
- 3 teaspoons pickling salt or pure kosher salt
- 2 teaspoons whole black peppercorns
- 2 teaspoons mustard seeds
- ½ teaspoon celery seeds
- 1 tablespoon granulated sugar
- 1 pound fresh English cucumber (about 2 medium), firm and unblemished
- 1 red jalapeño (optional, ribs and seeds removed for less heat), thinly sliced
- ½ small sweet onion, thinly sliced into rings and halved
- 3 cloves fresh garlic, peeled and chopped
- 4 sprigs fresh dill, washed, patted dry, and roughly chopped
Instructions
- Prepare the Brine: In a medium saucepan, combine the water, white vinegar, apple cider vinegar, pickling salt, peppercorns, mustard seeds, celery seeds, and sugar. Heat over medium heat, stirring occasionally, until the salt and sugar have completely dissolved. Bring the mixture to a boil, then immediately turn off the heat. Remove the saucepan from the stove and allow the brine to cool completely to room temperature while you prepare the vegetables.
- Prep the Vegetables: Wash the English cucumbers thoroughly. Slice them into ¼-inch to ½-inch thick rounds, or cut them into spears (see notes for spear-slicing instructions). If using, carefully slice the red jalapeño, remembering to remove the ribs and seeds (wear gloves!). Thinly slice or finely chop the sweet onion. Peel and chop the garlic cloves. Roughly chop the fresh dill sprigs.
- Pack the Jars: Tightly pack the prepared cucumber slices or spears, jalapeño, onion, chopped garlic, and fresh dill sprigs into two clean, 1-pint glass jars. Aim for a snug fit without crushing the vegetables. Leave approximately 1-inch of headspace at the top of each jar.
- Pour and Refrigerate: Once the brine has completely cooled, carefully pour it over the packed vegetables in the jars, ensuring all ingredients are fully submerged. Maintain the 1-inch headspace. Wipe the rims of the jars clean, then secure them tightly with their lids. Allow the jars to sit at room temperature until fully cooled, then transfer them to the refrigerator. For the best flavor development, chill for at least 1-3 hours, or ideally, overnight.
Notes
To slice cucumber into spears: First, slice the cucumber in half lengthwise. Then, slice each half lengthwise into quarters. Depending on the size of your cucumber, you may need to slice each quarter lengthwise into eighths to get ideal spear size. If your spears are too long for the jar, cut them in the middle to fit.
Ensuring Submergence: It’s critical that all cucumbers are fully submerged in the brine for proper pickling and safety. If any float, gently press them down with a small, clean weight or ensure your jars are packed tightly.
Headspace is the empty space at the top of a jar, left to accommodate the expansion of food and liquid. For refrigerator pickles, it ensures everything stays submerged and provides space for handling.
Pouring Brine: For easier and mess-free pouring, transfer the cooled brine into a large glass measuring cup with a spout before filling the jars.
STORAGE: Quick pickles will keep for up to 3 months in a sealed jar in the refrigerator. Once opened, for optimal crispness and flavor, consume them within 1-2 weeks. Always keep refrigerated.
Nutrition Information (Estimated):
Yield: 12
Serving Size: 1
Amount Per Serving:
Calories: 22
Total Fat: 0g
Saturated Fat: 0g
Trans Fat: 0g
Unsaturated Fat: 0g
Cholesterol: 0mg
Sodium: 78mg
Carbohydrates: 4g
Fiber: 1g
Sugar: 2g
Protein: 1g
Nutrition information is estimated based on the ingredients and cooking instructions as described in each recipe and is intended to be used for informational purposes only. Please note that nutrition details may vary based on methods of preparation, origin, and freshness of ingredients used and are just estimates. We encourage, especially if these numbers are important to you, to calculate these on your own for most accurate results.
Did you make this recipe?
We’d love to see your delicious homemade refrigerator pickles! Please leave a comment on the blog below to share your experience, or tag us in a photo on Instagram!
Love This Recipe? Connect With Us!
We’d absolutely love to hear what you think of these quick and easy refrigerator pickles! Your feedback is invaluable and helps other home cooks discover delicious new recipes. Please take a moment to leave a review below and let us know how much you enjoyed making (and eating!) them.