Home and Garden
DIY Reclaimed Wood Sconce with Hook
Learn how easy it is to use power tools. Pretty Handy Girl shows you how to make a wood sconce and hook with reclaimed wood at cetcu.com

Grab your tool belt, I have a treat for you today! We are going to build a Reclaimed Wood Sconce and Hook with Pretty Handy Girl!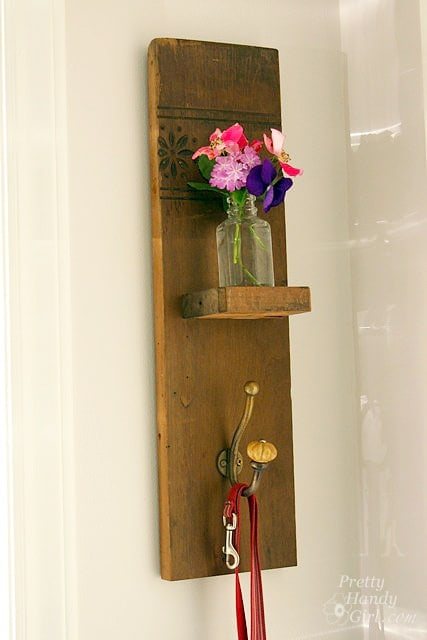
Hello Cetcu readers! I want you to imagine something for a moment. There you are rushing out the door to take the dog for a walk, but you spend 10 minutes looking for the leash. Or you’re late for an appointment, but where the heck did you put your keys? Arrghhhh. Frustrating right? I’m here to show you how to make that super adorable vintage wall vase and hook you saw above. It’s a fairly easy DIY tutorial that I know you can handle. Plus, this is a great project to get you started if you’re still new to working with wood.
Before we begin, I think introductions are in order. My name is Brittany aka Pretty Handy Girl. Yup, that’s me replacing my own light fixture. You can definitely replace your own, just follow my tutorial.

I won’t bore you with the rest of the details about my life. But, I will tell you that my motto is “If a human being can do it, then there is a 95% chance you can do it too.” This motto is one I work feverishly hard to pass on to my readers.

For example, if you are hesitant to pick up a power tool, you’ll love my Tool Tutorial Friday series where I show how to use power saws, nail guns and much more! So, if you want step-by-step tutorials for anything from home décor for the holidays to home repairs and improvements, I’m your gal.
Ready to get started? Here are the materials you will need:
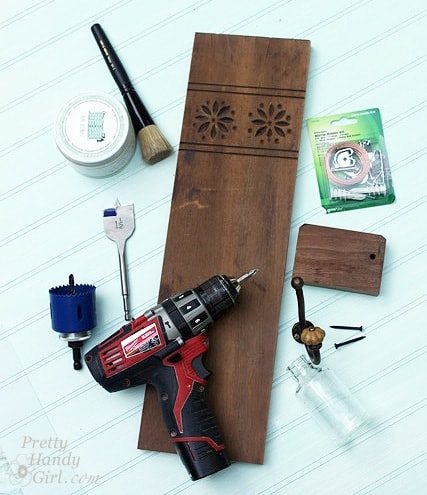
- Scrap piece of lumber for back (mine is 5.5″ x 20″)
- Scrap lumber for shelf (mine is 4″ x 3″)
- Bottle
- Coat hook (with mounting screws)
- Drill
- Forstner bit and/or spade bit the diameter of your bottle
- Clamp
- Pencil
- Gorilla Glue
- Wet rag
- Two wood screws 1 5/8″ – 2″ long
- D-hook (with mounting screws)
Optional:
- Furniture Wax
- Waxing brush
- Clean dry rag
- Picture bumpers
- Chisel
Instructions: Start by cutting your wood to size. (I actually made two of these sconces that flank either side of our doorway.)
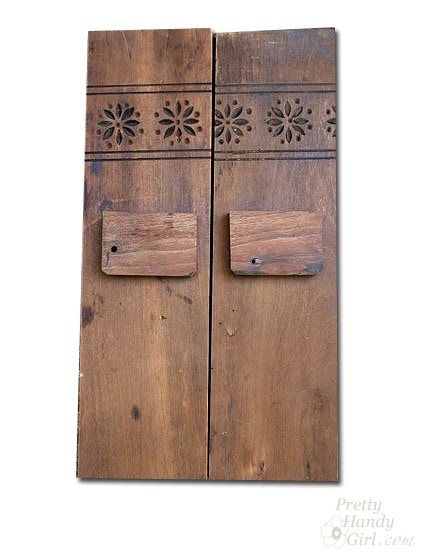
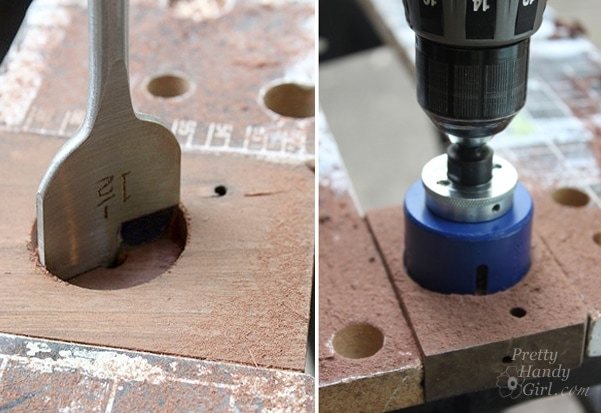
Clamp the little shelf to a workbench and drill a hole in the center. (For me this was a two-step process because my Forstner bit didn’t cut the center area, so I drilled with the largest spade bit I owned first, then widened the hole to correct size with the Forstner bit.)
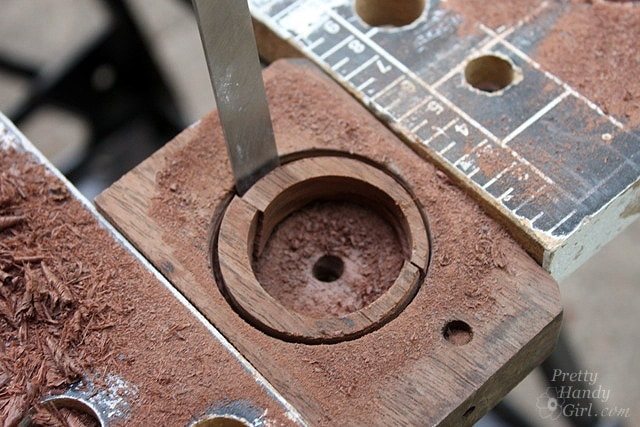
Use a chisel to break out the excess wood.
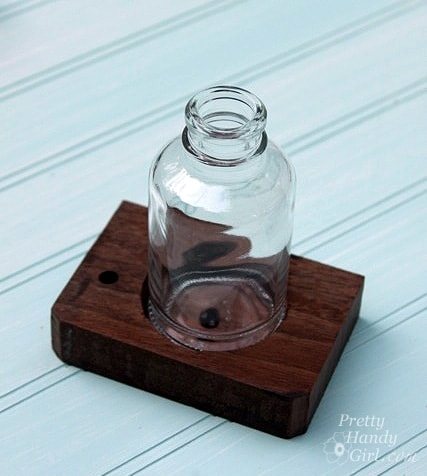
Check the fit by inserting your bottle into the hole.
Lay out the location of the coat hook, shelf, and vase and mark the location of each with a pencil.
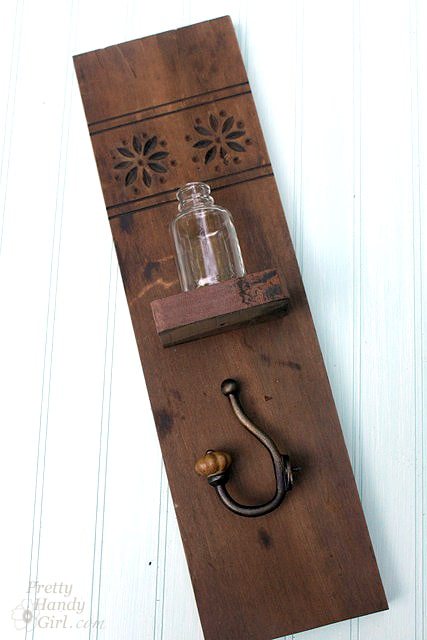
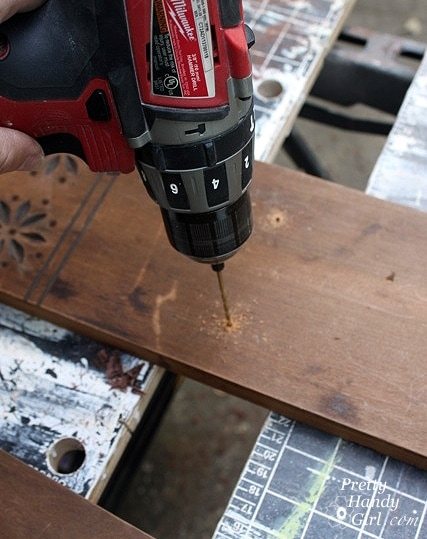
Pre-drill two holes through the wood back piece where the shelf will mount.
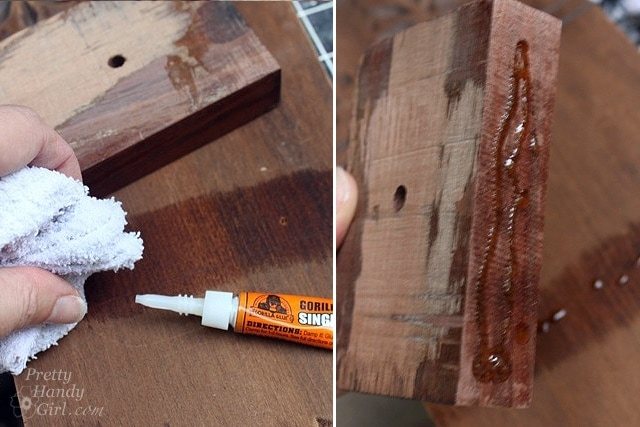
Wet your shelf and the back piece, then add Gorilla glue. (The wet wood allows the glue to soak into the two wood surfaces to create a stronger bond.)
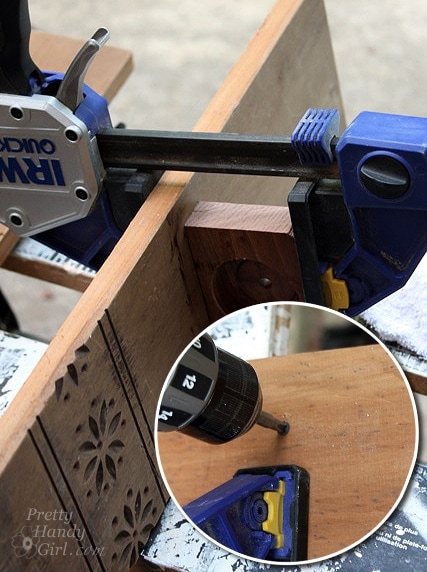
Clamp the shelf in place (offset the clamp to expose the pre-drilled holes.) Drive the wood screws through the back and into the shelf to secure it.
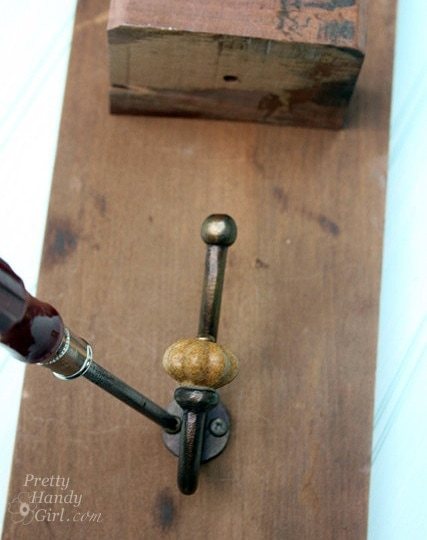
Attach the coat hook below the shelf using small wood screws provided with the hook.
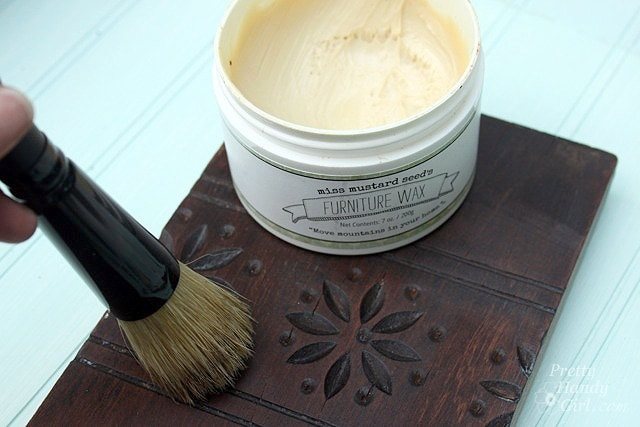
To give the wood a beautiful luster and finish, apply a furniture wax to the wood. Wait 3-5 minutes for the wax to penetrate and then buff it off with a clean dry cloth.
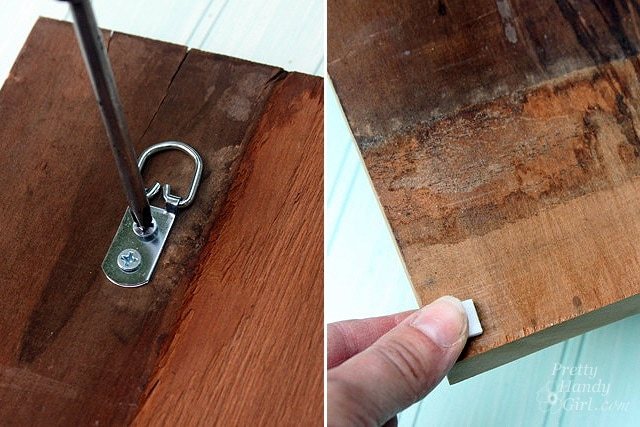
Center one D-hook to the back of the wall sconce. Add rubber bumpers to the bottom corners to avoid any rubbing or swaying on the wall.
Hang the sconce on the wall.
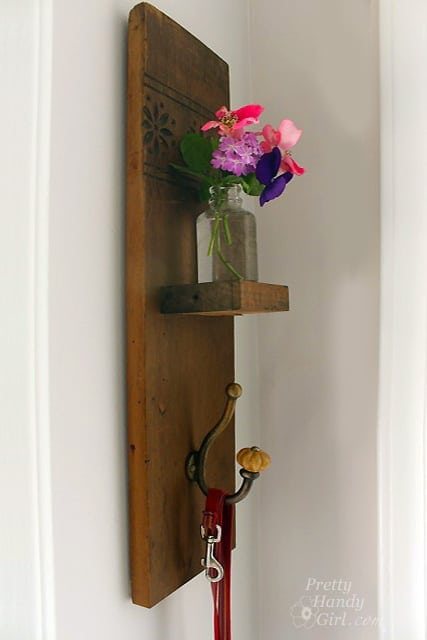
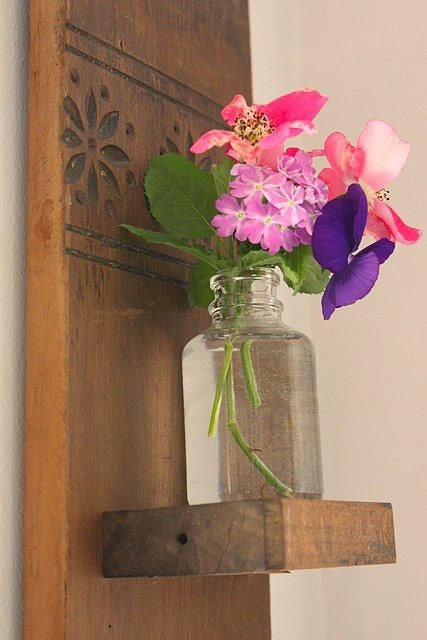
Fill the vase with fresh flowers. They are guaranteed to brighten your morning as you are rushing out the door!
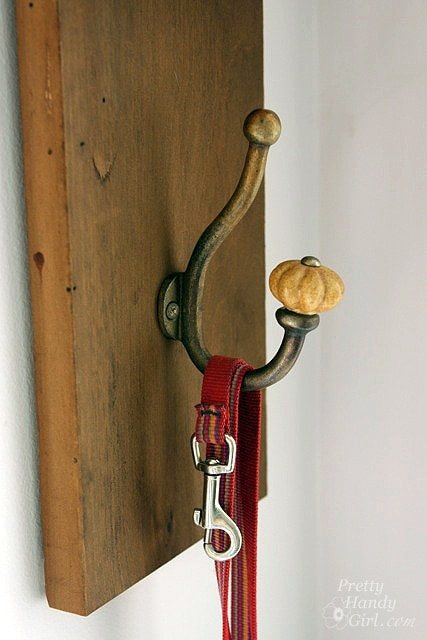
And never search for your dog leash…
…or keys again!
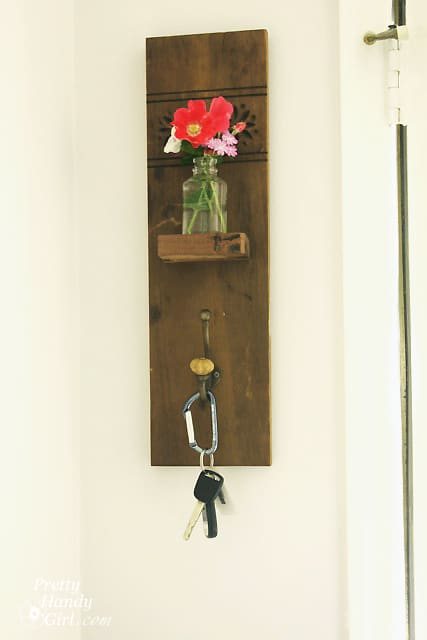
What do you think? Could you build this yourself? Have faith in yourself, because I believe you can!
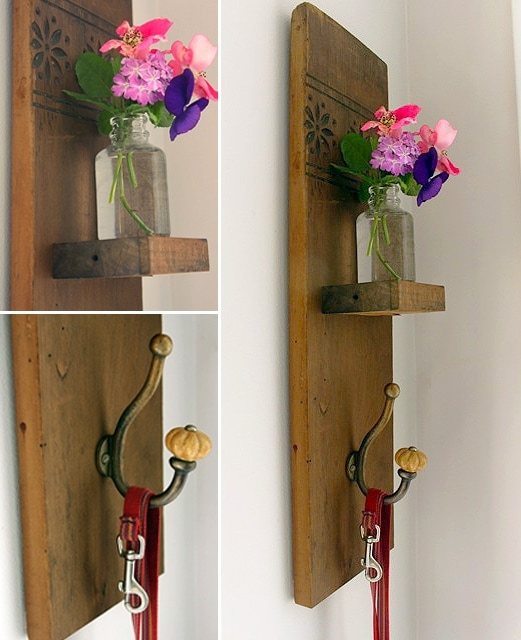
This would also make a great gift! If you want more DIY Gift Ideas, you’ll want to follow Trés Frugal, a series of 30 DIY Gift Ideas coming this November to my site.

A big thank you to Cheryl aka Cetcu for inviting me to meet y’all today! I hope you’ll visit me over at Pretty Handy Girl to tackle more DIY projects! I’m also on your favorite hangouts:
Google+ | Facebook | Pinterest | Twitter | Instagram| Blog
Or you can get Pretty Handy Girl tutorials delivered right to your email