Fall
Elegant Succulent Pumpkin Planter
White faux pumpkins make a great vessel for a fall succulent planter
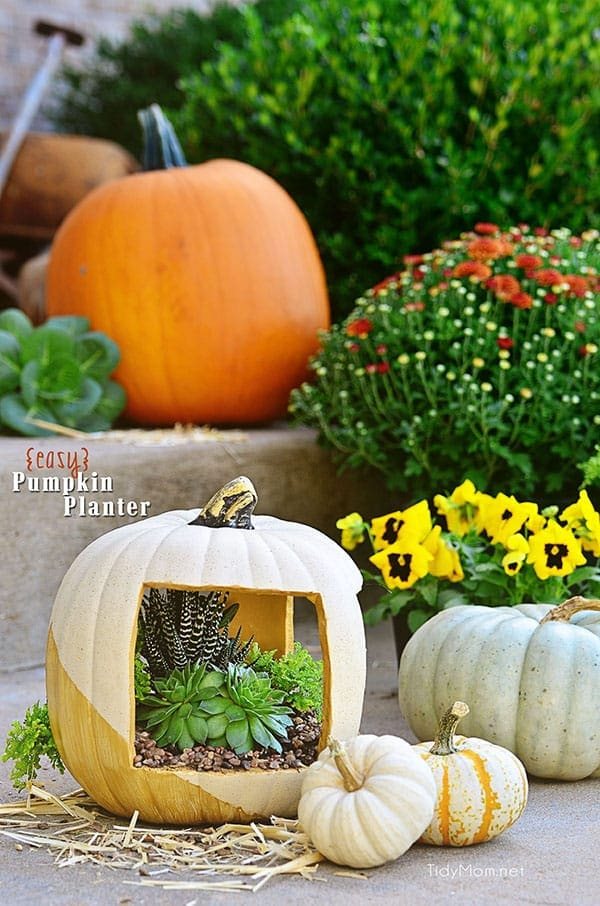
Add a bit of elegance to a faux white pumpkin with succulents, a few basic craft supplies and a little imagination for this easy DIY Elegant Succulent Pumpkin Planter. Scroll down for the full tutorial.
Click HERE to save this tutorial to Pinterest!
Have you seen the latest trend turning pumpkins into planters? It’s a great way to make those pumpkins a little functional as well as pretty. A succulent pumpkin planter can add interest and a little green life to a fall display or centerpiece.
Succulents are so pretty this time of year. They are very forgiving and hardy, meaning they can withstand a great deal of neglect and still keep on growing– my kind of plant! This year I’m trying a little softer look for fall, by using neutrals more than bright orange, so I used a white faux pumpkin for this little project. When I added a bit of gold paint, it made it oh so elegant, while the pumpkin gives a subtle nod to fall. You don’t need many supplies, many you probably already have on hand.
Supplies List To Make a DIY Pumpkin Planter
- faux craft pumpkin
- a hot knife (found at most craft supply stores near the wood-burning supplies)
- sandpaper
- gold acrylic craft paint
- painters tape
- sponge brush
- potting soil, succulents, and pebbles
How To Make a Pumpkin Planter
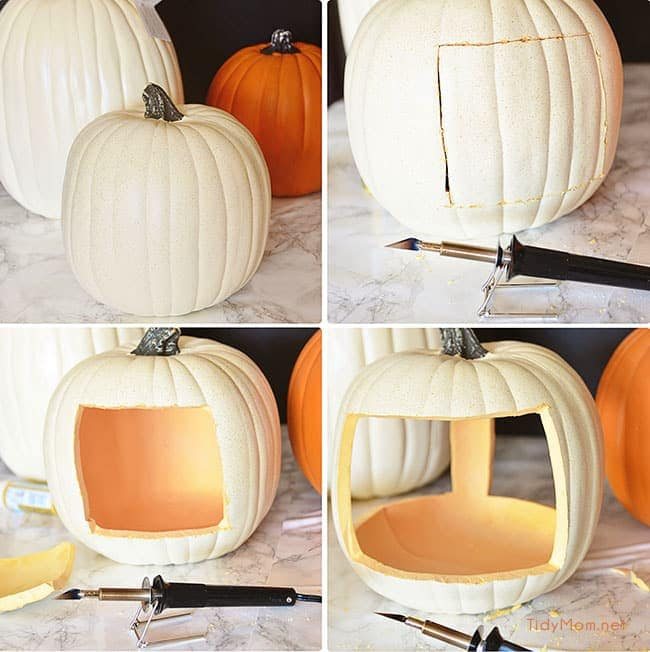
First, you want to cut 3 square holes in your pumpkin. You could probably use a pumpkin carving knife, but my hot knife made it super easy. it’s basically a utility knife that has a heated blade. You can pick one up at Michaels for $10 if you use a 40% off coupon.
I just eyeballed where I wanted the openings. Just remember you need enough room in the bottom to hold the soil and plants.
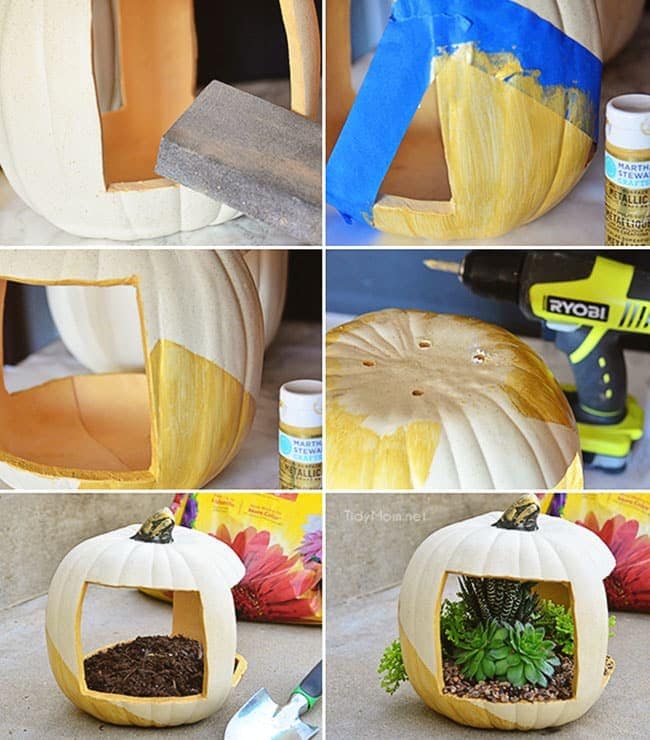
Next, I sanded the openings a little just too smooth the edges some. I then used painters tape to mark off where I wanted to add a little gold to my pumpkin.
I used a few coats of Martha Stewart Metallic Gold to paint the areas I tapped off and the inside edge of the openings and stem, to give it a more finished look.
I removed the tape, and let the paint dry.
After everything was dry, which only took about 5-10 minutes, I turned the pumpkin over and drilled a few drainage holes in the bottom (you could also do this before you paint). I then filled the bottom of the pumpkin with soil and planted the succulents. I filled in with some pebbles I had, which also gave it some added interest. And that’s it!
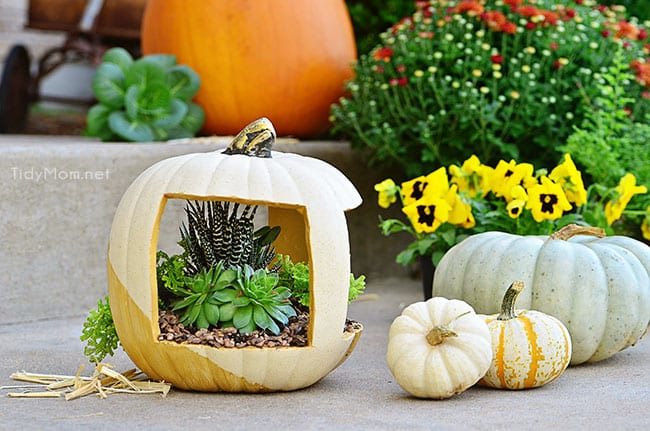
It looked great out front with some other pumpkins and mums.
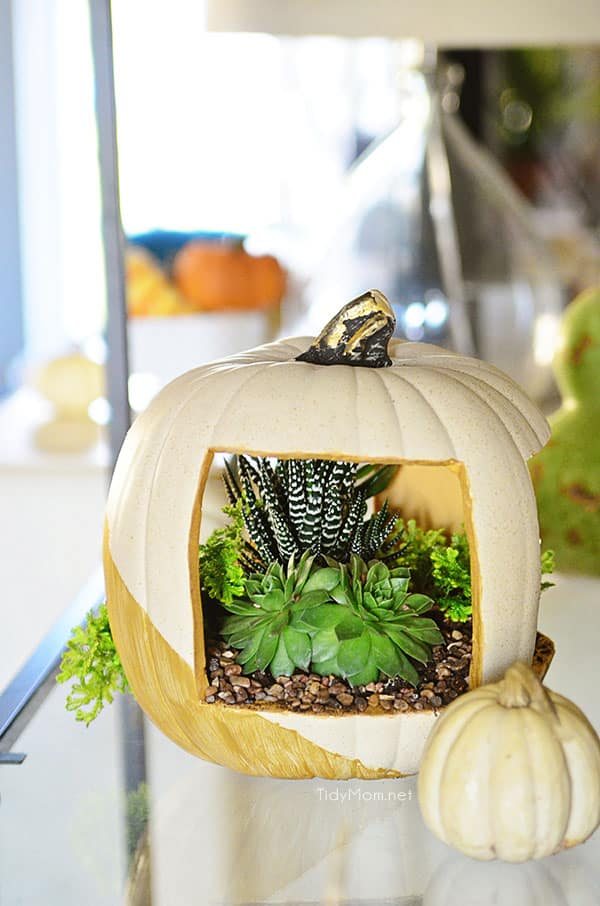
Or inside on my bookcase.
Since I used a faux pumpkin, this will easily last thru Thanksgiving, then I can just transplant the succulents to another container until next year.
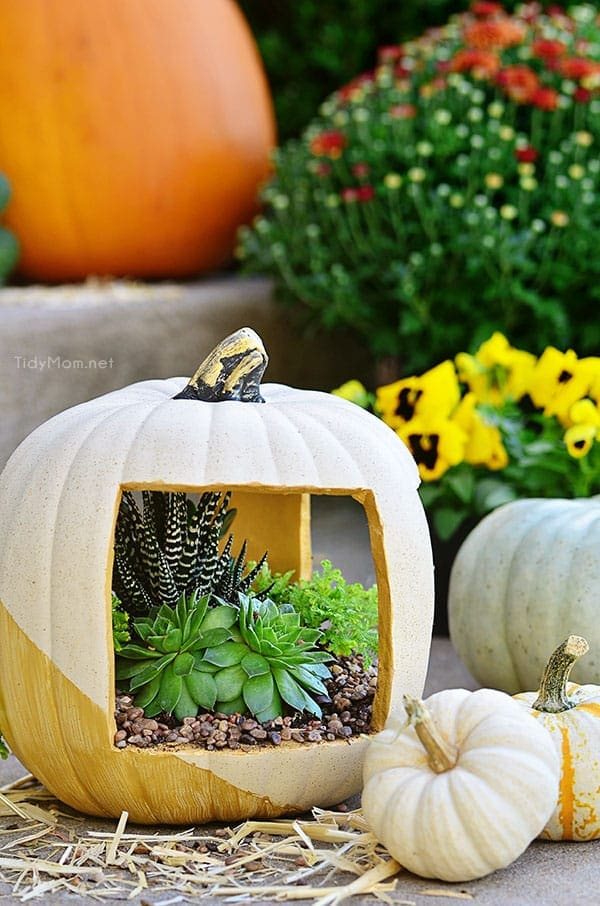
I took Clinton Kelly’s (from The Chew) 30-minute pumpkin challenge to make this Elegant Succulent Pumpkin Planter. You can see more fabulous 30-minute pumpkin ideas and take the challenge yourself over at ClintonKelly.com
Be sure to follow the hashtags #30minpumpkin and #pumpkinchallenge on twitter and Instagram – or better yet, use them to show off your 30 minute pumpkin ideas!! I’d love to see what you come up with.
More Easy Fall/Halloween Ideas:
Easy Halloween Pumpkin Craft
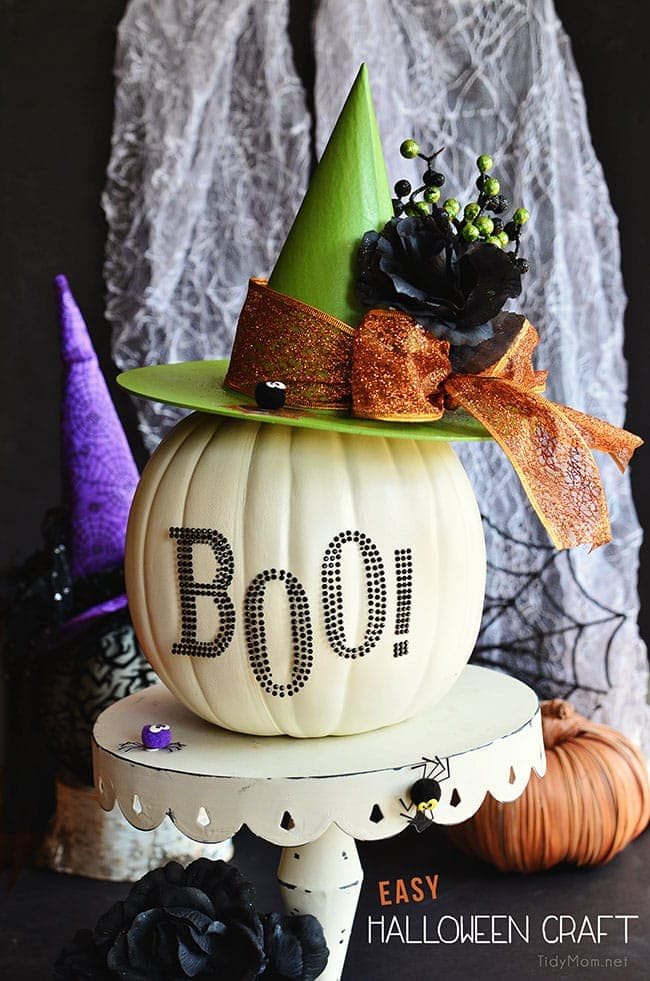
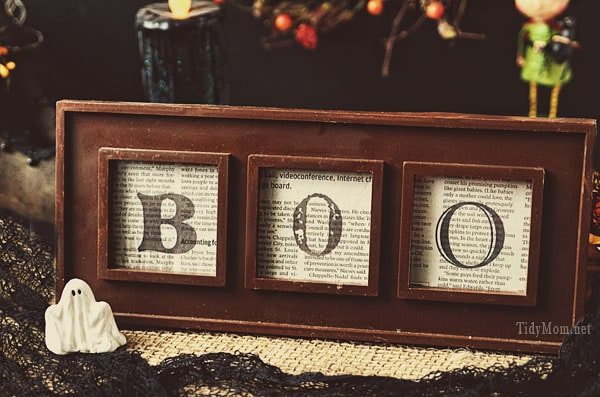
DIY BOO! Art Frame
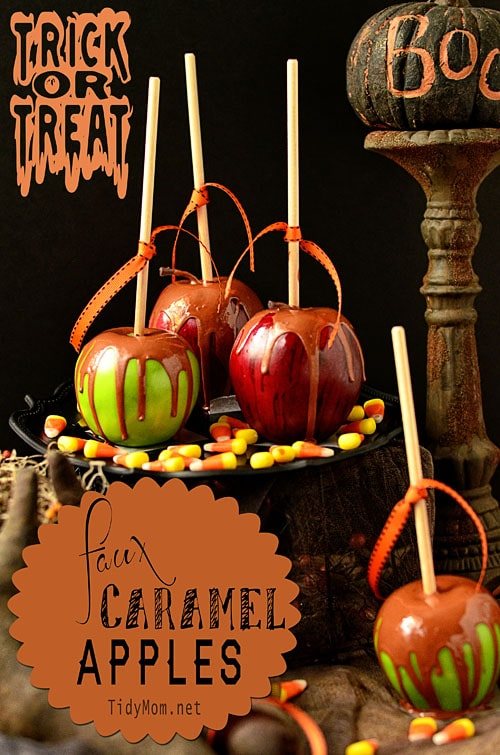
Faux Caramel Apples