Lifestyle & DIY
Welcome Spring {craft tutorial}
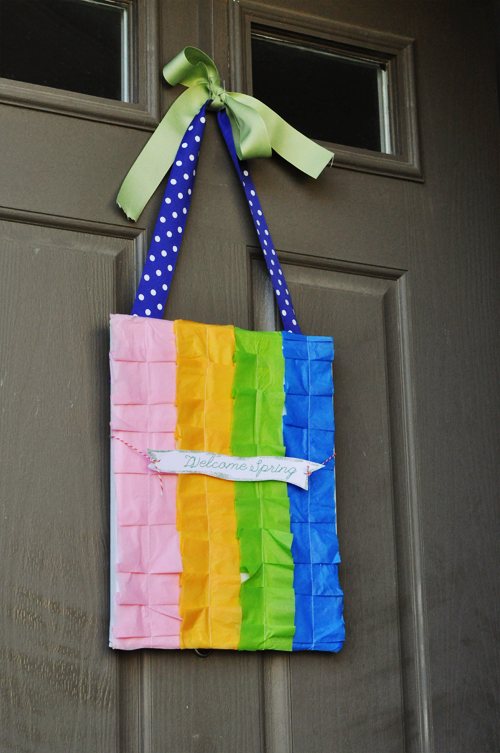
Welcome spring with these easy craft for your front door!
Join me today in welcoming my special guest, Mique. She is my crafty friend who shares crafts, ideas and giveaways on her blog, 30days. Mique and I met for the first time in person earlier this year in Nashville at Blissdom, and she’s every bit as sweet as she is crafty!! Creativity runs in the family, her and her creative sister Jess run The Queen Bee Market, a handmade market in the San Diego area.
Hi Cetcu readers! I’m Mique from 30days. I absolutely adore Cheryl and am so happy to share a little idea with you today. It’s made to welcome spring but you could make something similar for any time of year- a pleated tissue paper craft project.
What you need:
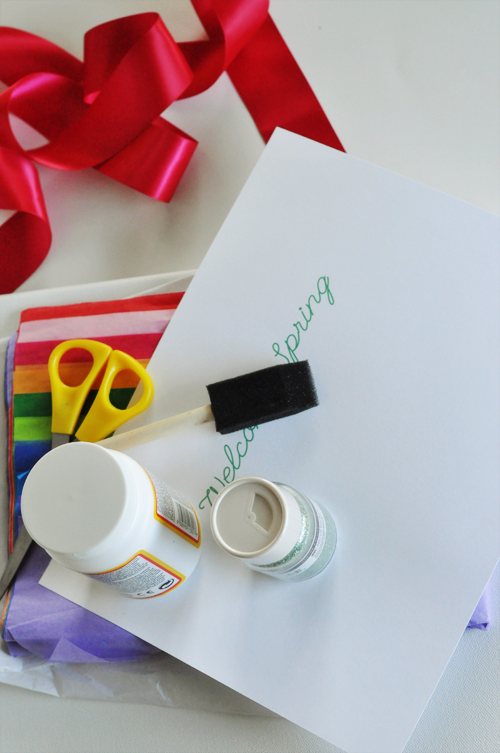
Scissors
Tissue paper of varying colors
11×14″ canvas (or whatever size you want)
ruler or yard stick
Martha Stewart glitter
foam brush
Mod Podge
sewing Machine
coordinating ribbon
First take 2 sheets each of tissue paper (have to use two sheets, just using one sheet is too thin and you won’t be able to sew)- measure 3 inches and draw a line using your yard stick. Easiest/quickest way is to lay all the colors on top of each other, make one line and cut along it. It doesn’t have to be perfect, as you will trim later.
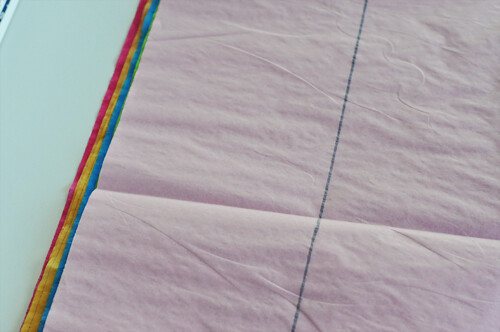
After cutting all the layers of tissue paper, lay the yard stick down and measure approx 2 1/2″
and make tick marks (remember you will trim this, so the tick marks don’t matter):
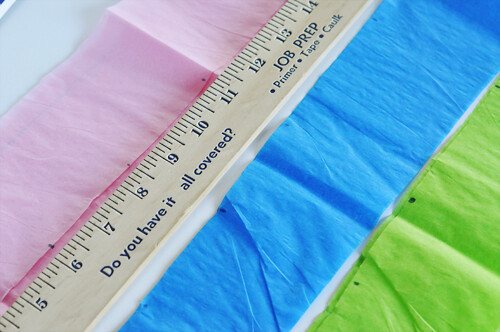
I originally tried to fold up the tissue paper first and then sew- that was tricky because it moved too much. So I found that if I folded up the tissue paper to the first tick mark, and then kept folding up as I sewed a straight stitch down the center, that worked best. There’s no need to backstitch:
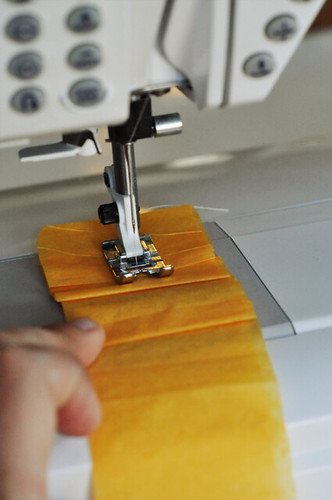
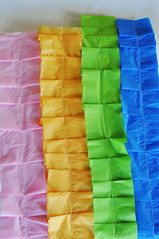
Do that with each shade. They should look like this:
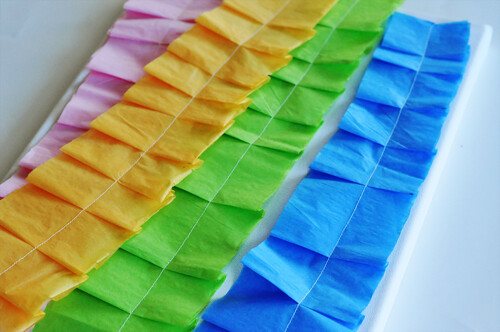
After you sew them all, you can trim them to make them more even if you need to.
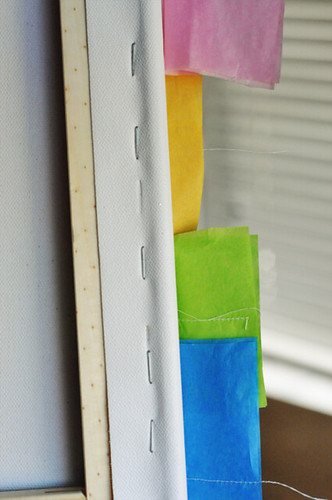
Using mod podge, glue each pleated tissue paper strip to the canvas:
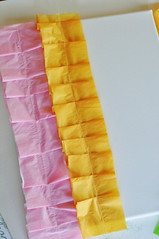
At this point you will have some excess tissue paper hanging over. Trim that:
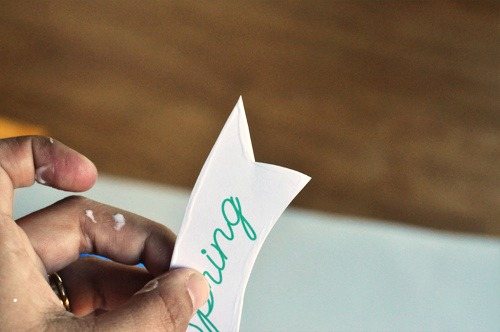
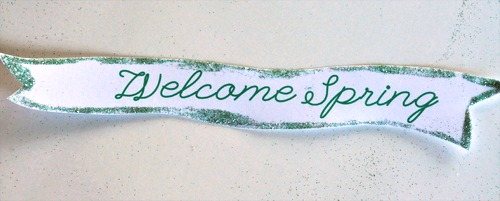
Next, print the Welcome Spring onto cardstock. Cut into a scrolly banner shape:

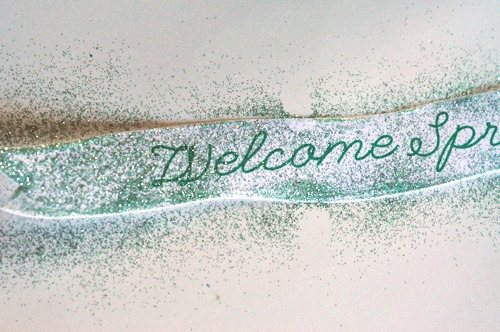
Paint the edges of the banner with Mod Podge:
Sprinkle with Martha Stewart glitter (my fave) & shake off excess
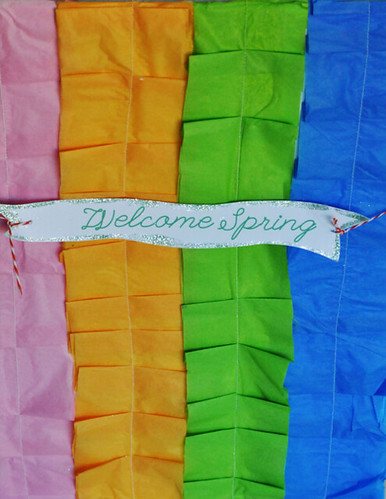
I attached my sign with twine from the Twinery:
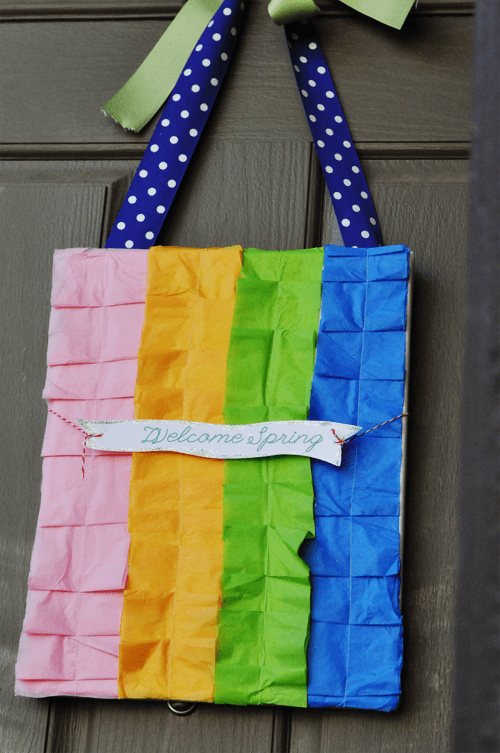
I added some coordinating ribbon and secured it to the back of the canvas using thumb tacks
(you could use a stapler too) and tied a bow on top:
 Mique lives in the beautiful Los Angeles area with her husband and three kids- 2 boys, 1 girl. She is passionate about family, friends and crafting. She is learning to embrace her role as a special needs momma.
Like me.
Tweet me.
Pin me.