Lifestyle & DIY
Creative Blocks DIY
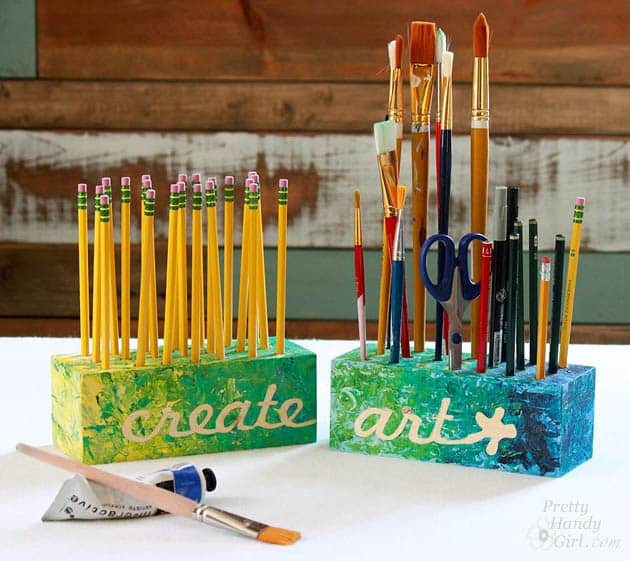
Organize your pencils, pens and art materials with these DIY Creative Blocks. Tutorial by Pretty Handy Girl for cetcu.com
Hi! I’m Brittany, the DIY tutorial guru over at PrettyHandyGirl.com.

I’m excited to share with you an easy DIY project that makes a great gift or a way to organize your pencils, pens and art materials. I call them “Creative Blocks” (Or maybe they should be Creative Unblocks because they may unblock your creativity!) This is a great little DIY project that will introduce you to using power tools if you are just getting up your #DIYCourage.
They were easy and fun to make and certainly a project that you can customize to meet your needs. Best of all, the kiddies can help with the painting step!
Materials needed for Creative Blocks:
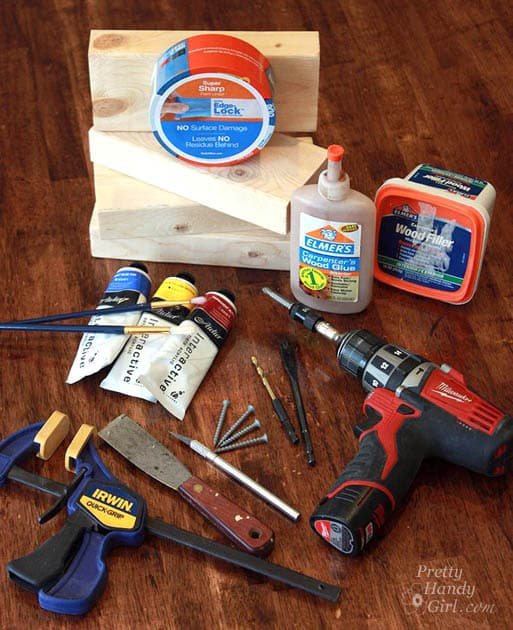
- 2 – 2×4″ scrap blocks of wood
- Carpenter’s Wood Glue
- 2″ wood screws
- Drill
- 3/8″ drill bit
- Wood putty
- Putty knife
- Sanding block
- Paint brushes
- Clamp
- Painter’s Tape
- Cutting mat
- X-ACTO Knife
- Acrylic paint
- Art palette knive
Instructions:
1. Block assembly: Select two 2×4″ scraps that are the same length or cut two pieces the same size. Spread glue on one block and place the second block on top of the glued one.
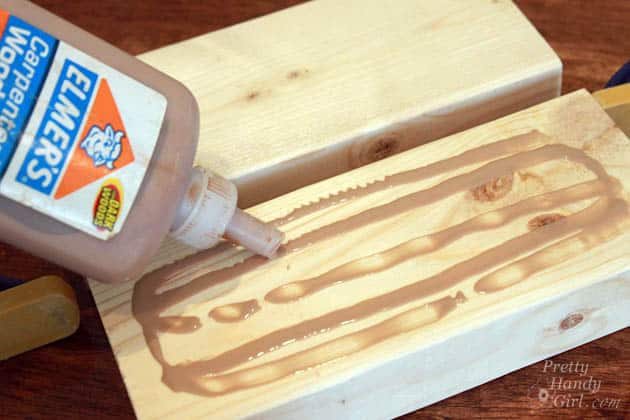
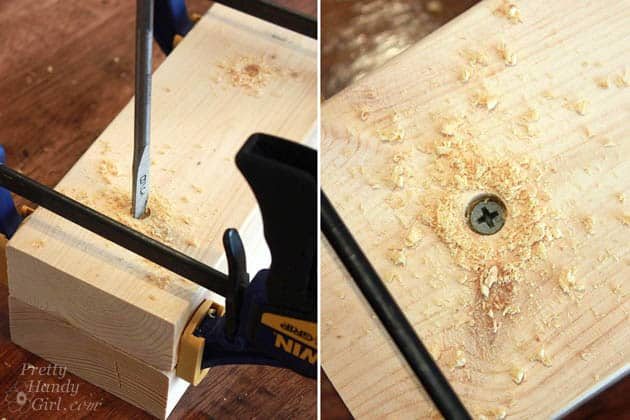
Clamp the wood blocks together and drill two small holes into the bottom 1/4″ deep. Drive two wood screws into these pre-drilled holes to hold the two blocks together. The screw heads should countersink into the wood.
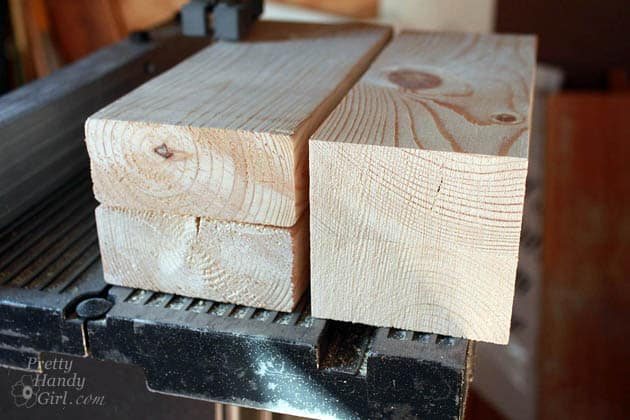
Use a band saw, jig saw or table saw to trim off the rounded edges of the wood so you have a square block of wood with straight corners. You can skip this step if you want to, but be sure to putty the grooves between the blocks.
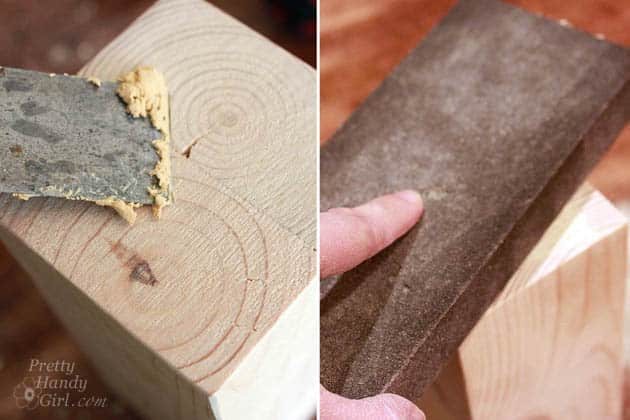
Putty any cracks or holes. After the putty has dried, sand until smooth.
2. Creating the mask: If you don’t have a Silhouette or Cricut Electronic Cutting Machine, you can use your computer to print out your words. Lay the print out on top of a strip of painter’s tape. Use a few pieces of tape to secure the edges.
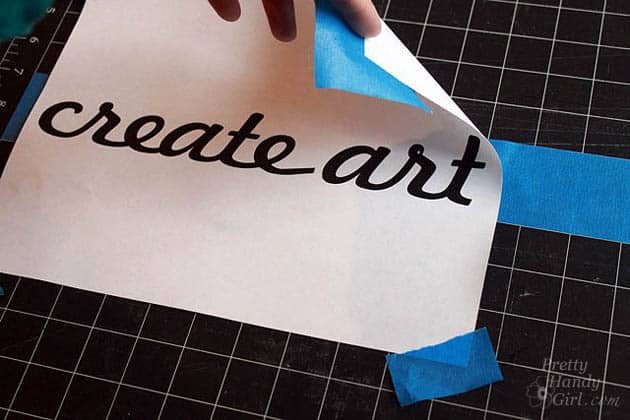
Trace around the words with the X-acto knife (be sure to have a few fresh blades on hand.) Transfer the resulting cut out tape onto the block of wood. Press the edges to secure the tape.
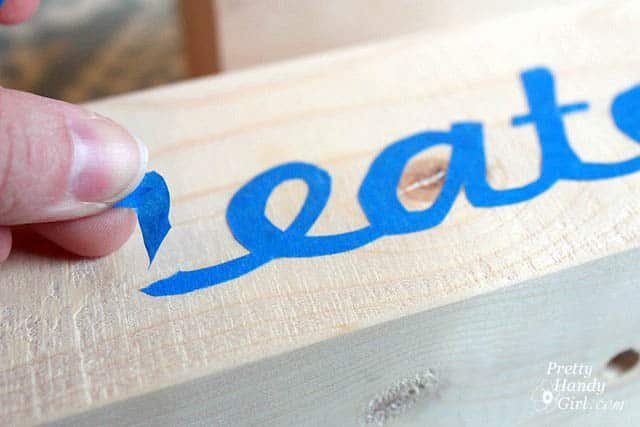
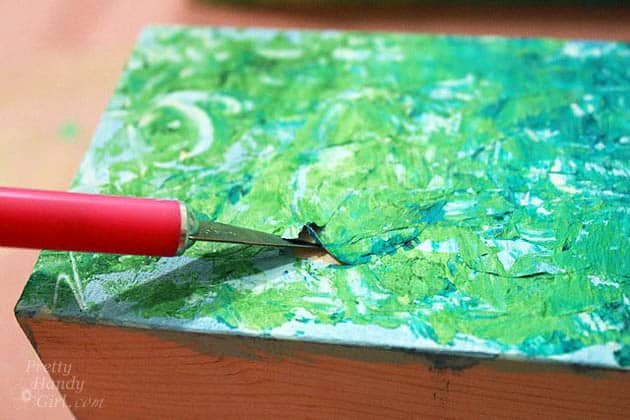
3. Painting the block: Paint a base color onto your block. Then using a brush and/or palette knife to dab thick paint over the block. (You can leave the base of the block natural since no one will see it. Use the point of your X-acto knife to gently peel off the tape mask. Let the paint dry thoroughly overnight.
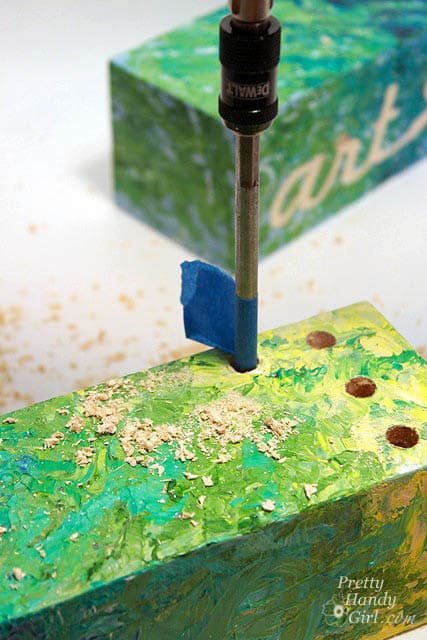
4. Drilling Holes: After the paint has dried, mark the location of the utensil holes with a pencil. Put a piece of painter’s tape on the drill bit approximately 2.5″ to mark the depth of your holes. Drill holes at each pencil mark.
Fill up the block with pencils, pens, brushes and your art supplies.
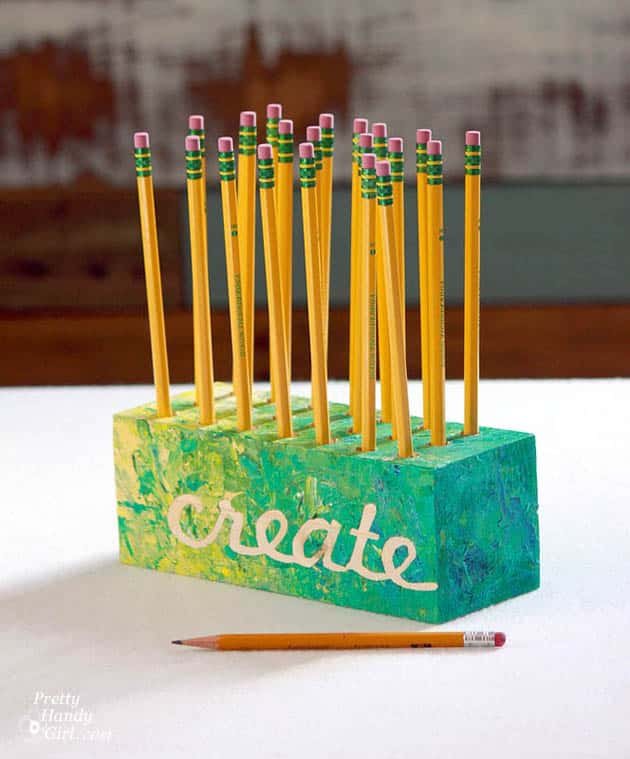
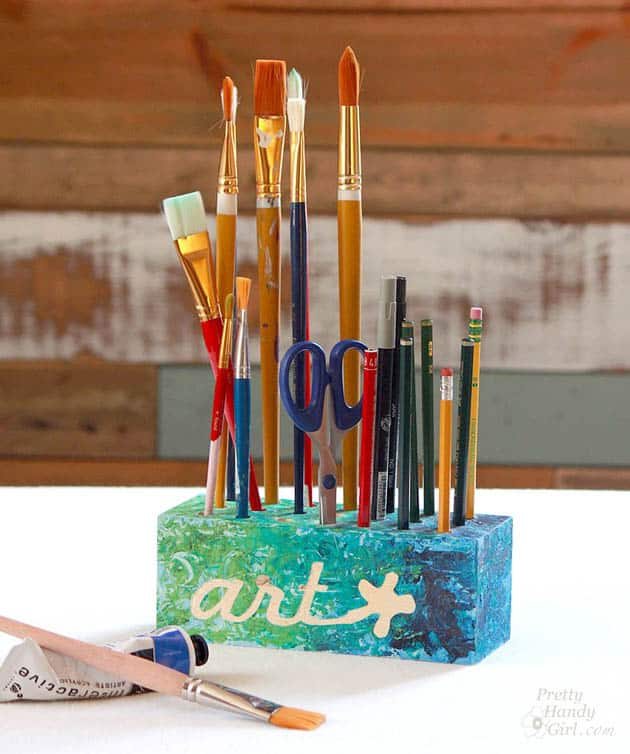
As an artist myself, I almost loved these too much to give them away. But, I gave them to my Mom and you know she’s worth it.
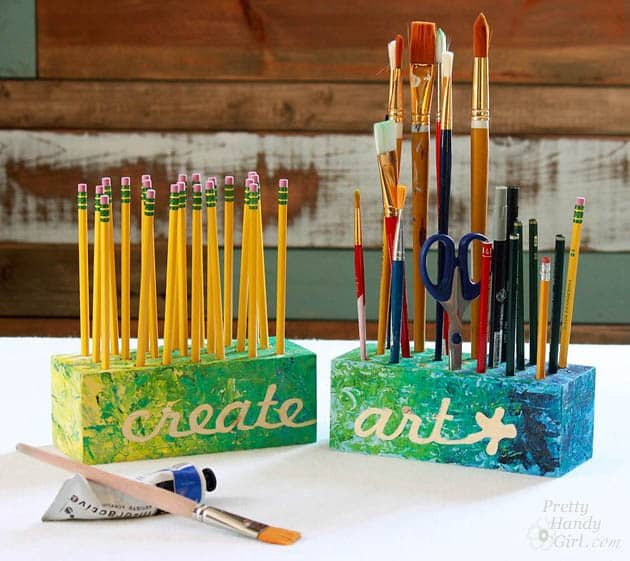
Want some more simple DIY gift ideas? I have DIY gift tutorials and creative gift wrapping ideas for almost everyone in your family!
If you enjoyed using power tools, you might like my Tool Tutorial Friday series where you can learn how to use almost any power tool.
Thanks so much for having me as a guest today.

PrettyHandyGirl.com
A DIY Blog Empowering You to Complete Your Own Project