Home and Garden
{DIY} Burlap Bulletin Board
simple step by step instructions to make a burlap covered bulletin board
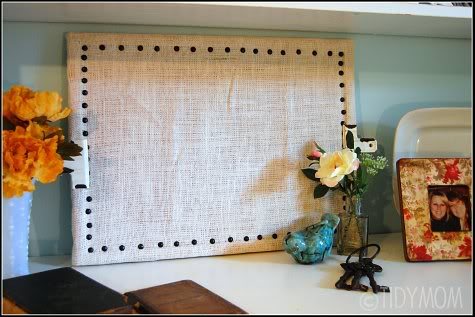
It’s so simple to dress up your office or room with this burlap bulletin board diy tutorial.
While I was in the middle of working on my new office, painting the walls and desk, I stopped for a quick little DYI project that I knew I would just love in my new space!
Supplies you will need:
a cork board – this was an old one we had laying around that the cat used as a scratching spot!
Staple Gun (a girl can’t live without one of these! Seriously if you don’t have one, you should get one!)
Burlap fabric – I bought a yard, and have some left over
Scissors
Upholstery Tacks – I used about 62 tacks the way I spaced them
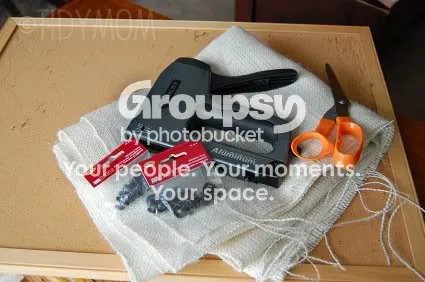 Lay out the burlap on your cork board and cut so you have about 2″-3″ more on each side. Fold over frame and staple on the back side.
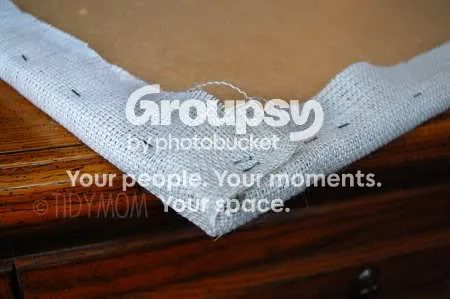 Place tacks around the board just under the frame. I didn’t measure, but what I did was first I placed a tack in each corner, then a tack in the center of each side, then another tack in the center of each pair of tacks. I continued that was until I had the board filled. You could space them all butt up to each other, or you could space them out more and use less tacks.
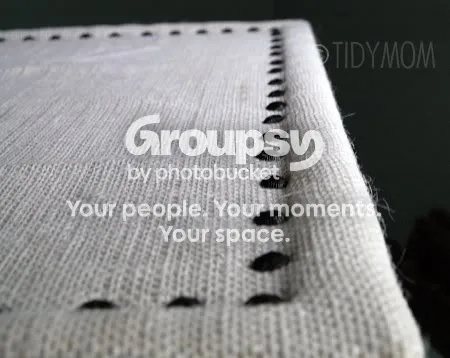
That’s it!!! Easy Peasy!
Here’s a quick “before” shot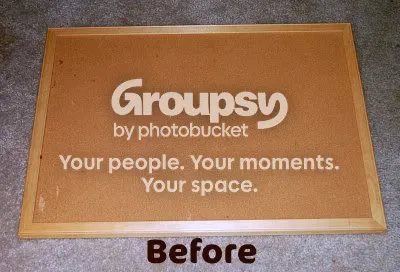
and after maybe 15 mins. – I bought those cute rustic clips and thought they looked perfect on each side of my new bulletin board!
I just LOVE how it turned out and I have a few more plans that include burlap in my new space!!
My new office space is coming along – I have pictures to share later this week, and a few more easy projects I did for the room!! I’m SO excited with how this room is turning out! Like a BREATH of FRESH AIR!